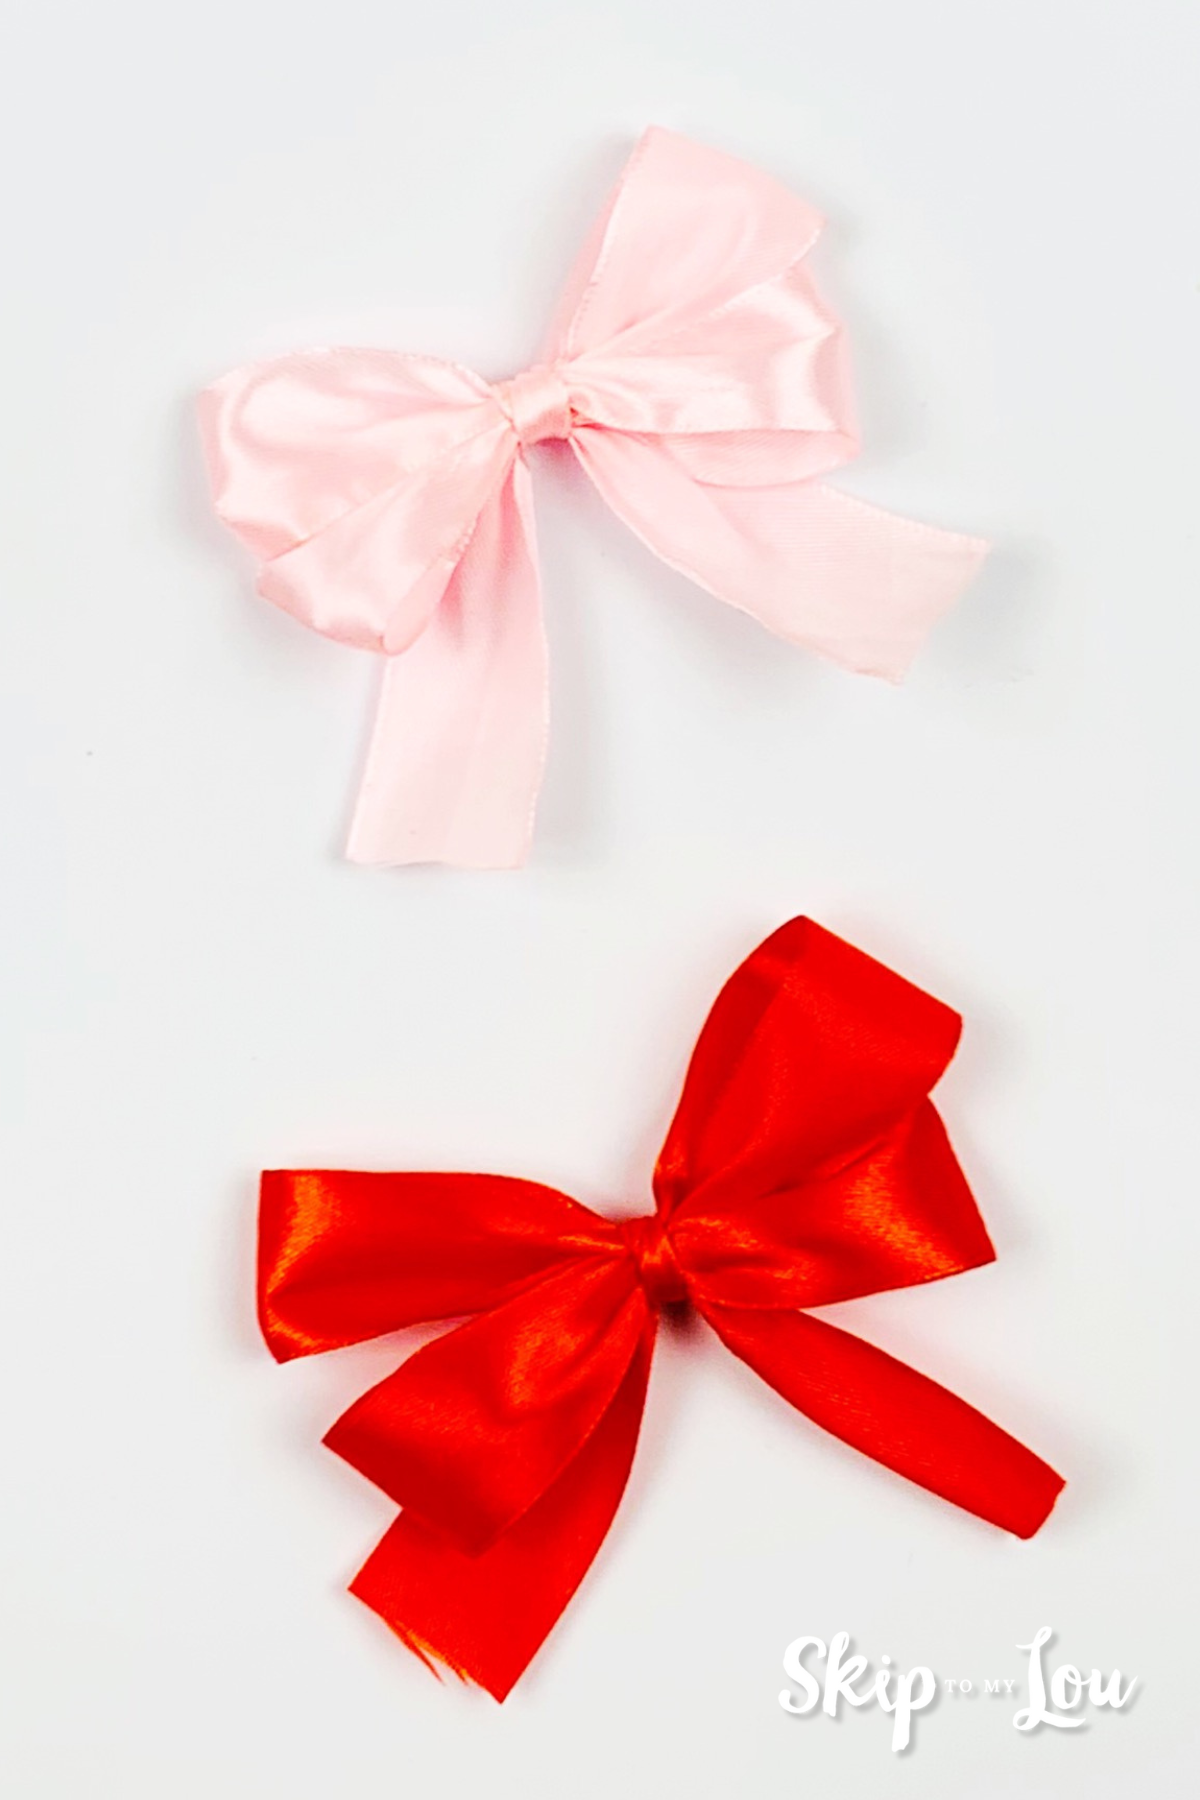
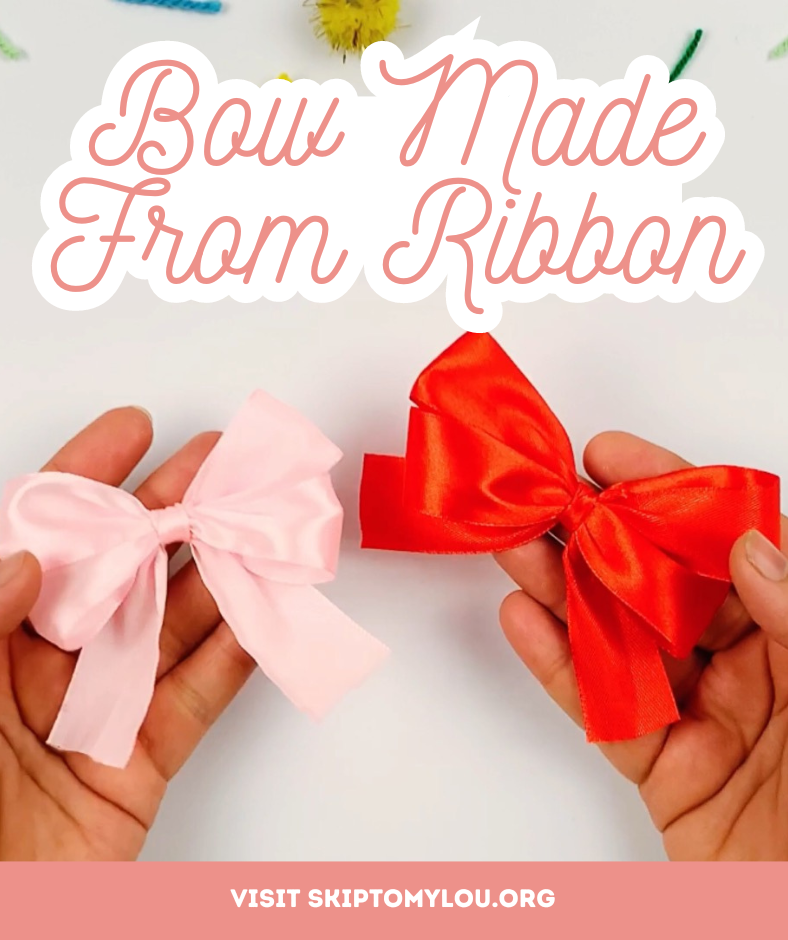
If you’ve always wanted to make a ribbon bow but didn’t know, today that’s all going to change. In fact, in a few minutes, we guarantee that you’ll learn to make the perfect bow… every time!
Our tutorial provides the secrets to creating a stunning yet simple bow from any type of ribbon, You can use these handmade bows in so many different ways, from gift wrapping as a festive bow on Christmas gifts, for example, to holiday decor, perhaps on your front door. Or simply as a decorative bow on your DIY crafting box, the possibilities are endless.
This is a great way to save money or to enjoy a craft project with your kids.
To make your DIY bow in a super easy way, you’ll only need two things. You probably have them lying around the house already, otherwise, you can purchase them from a craft store.
- A piece of ribbon of your choice (a wide ribbon, as you can see in the video, is perhaps best to start with, but you could try with a thin ribbon too, once you get the hang of it. A new ribbon is best to make your big, beautiful bow.)
- A pair of scissors
So if you are ready to begin, let’s jump straight in.
It’s a good idea to watch the video first to get an overall idea of the process and then you can follow our step-by-step guide
RIBBON BOW VIDEO
12 steps to make your own bows from ribbon
For your first full bow, you should use the same width of the ribbon that we are using. Don’t worry, you won’t need much ribbon to make a bow, and once you’ve practiced a few times, you can try different widths.
Make your own bows by following these simple steps:
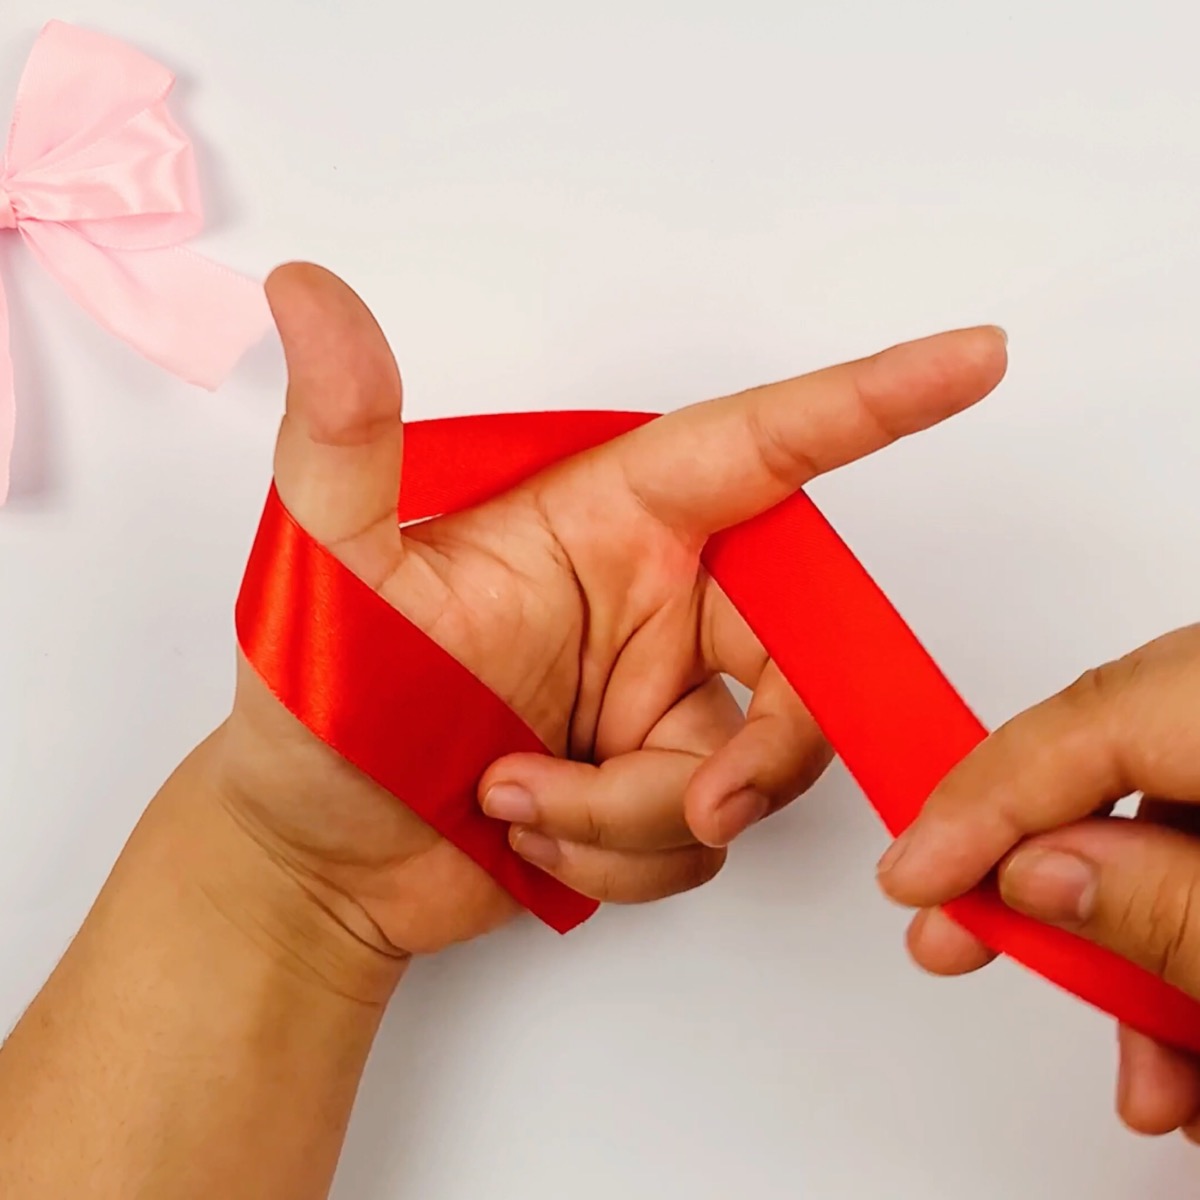
Step 1: To start making all these pretty bows, you need to make your thumb and index finger into an L shape as if you were pointing. Form the first loop by holding one end of the ribbon with your fingers in the palm of your hand and making a small loop behind your thumb and index finger and back towards your palm, as in the image below.
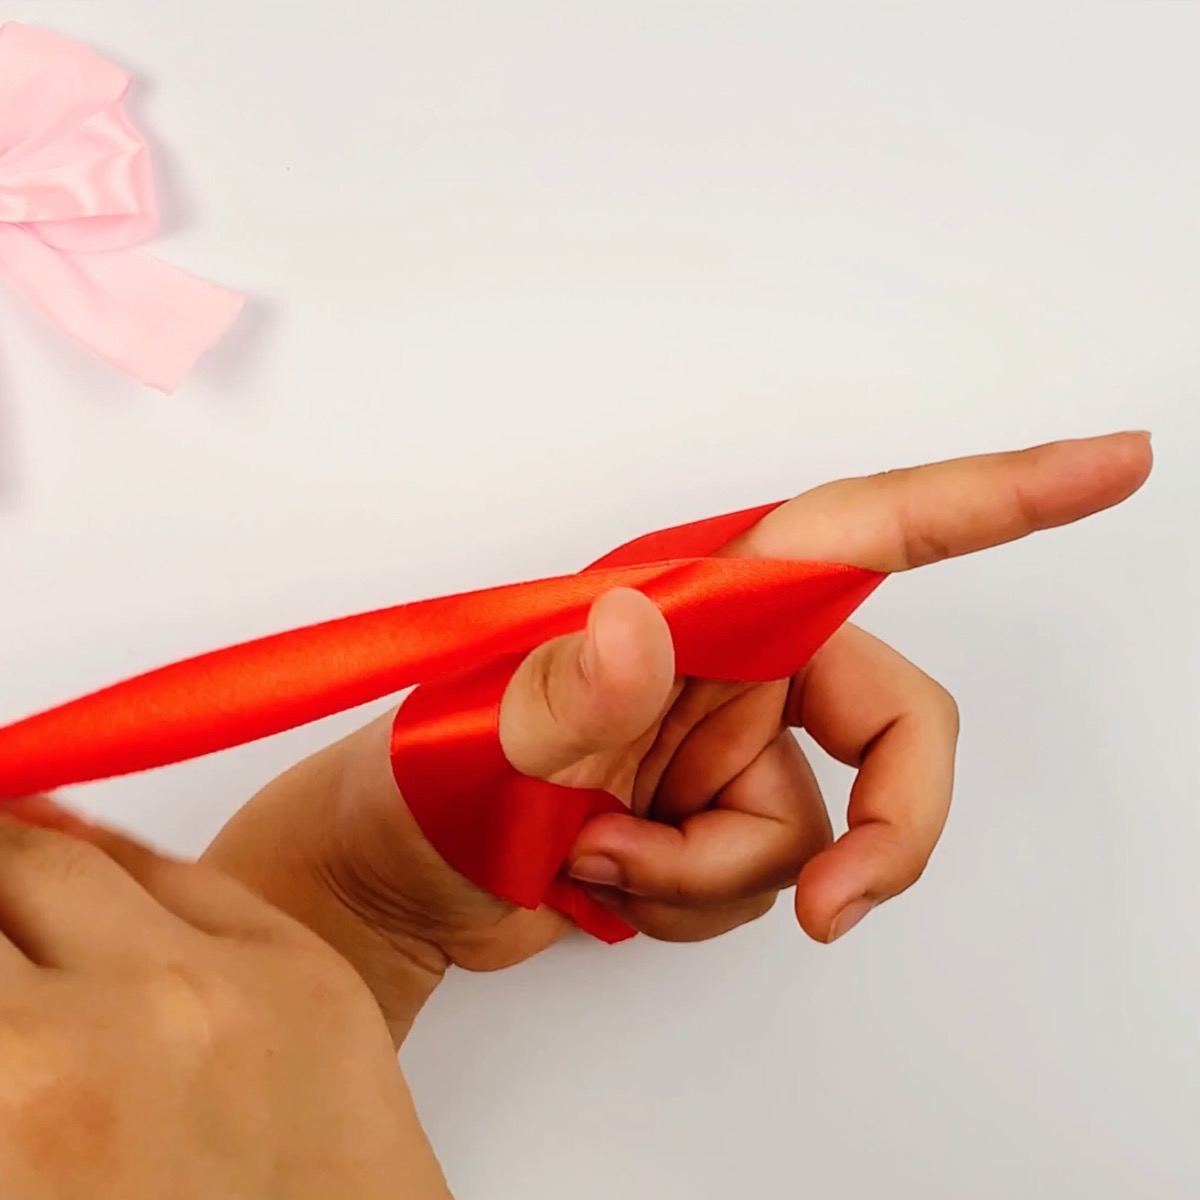
Step 2: Wrap the ribbon back over your index finger, as shown in the image below.
Step 3: Wrap the ribbon around your thumb as you take the end of it back towards your index finger, as shown in the image below.
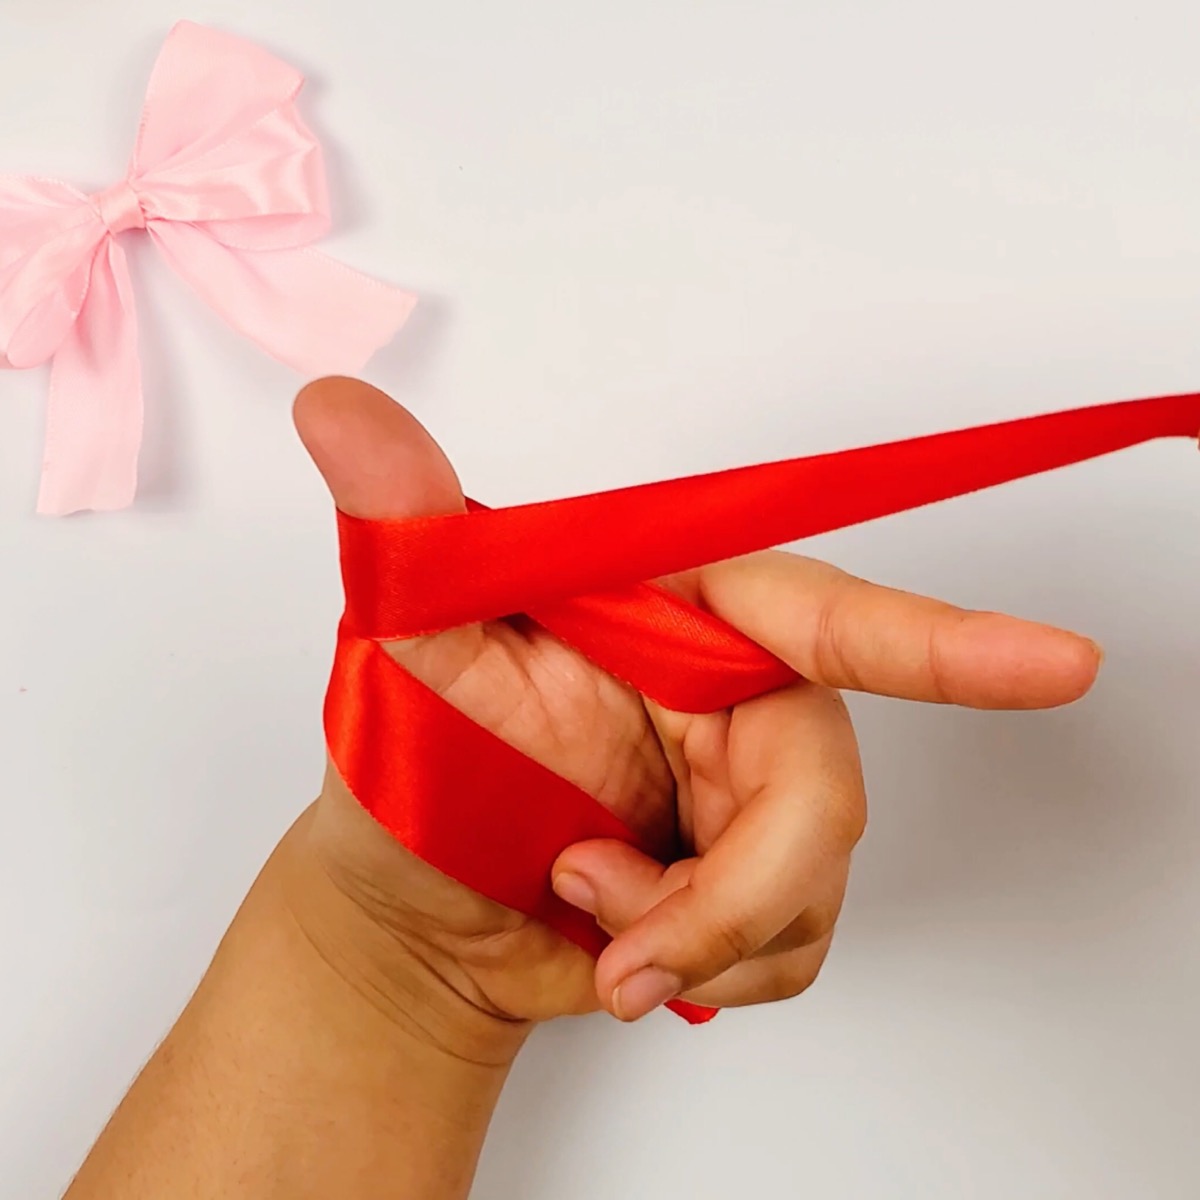
Step 4: Now pull the ribbon downward at a 90-degree angle to your index finger, as shown in the image below.
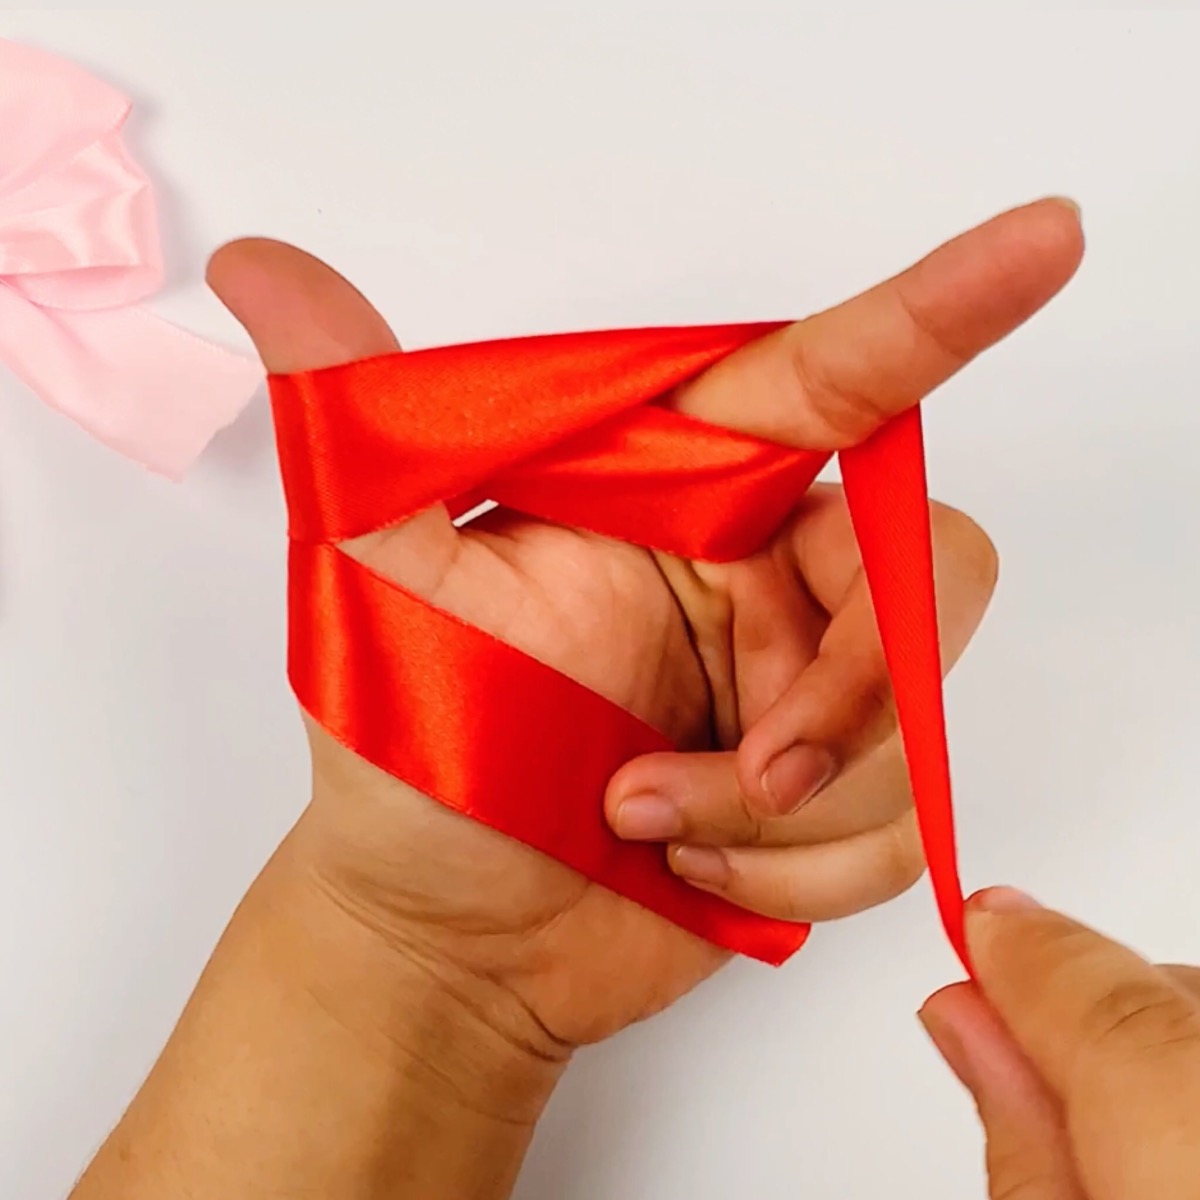
Step 5: Tuck the end of the ribbon underneath the piece of ribbon crossing your palm, as shown in the image below.
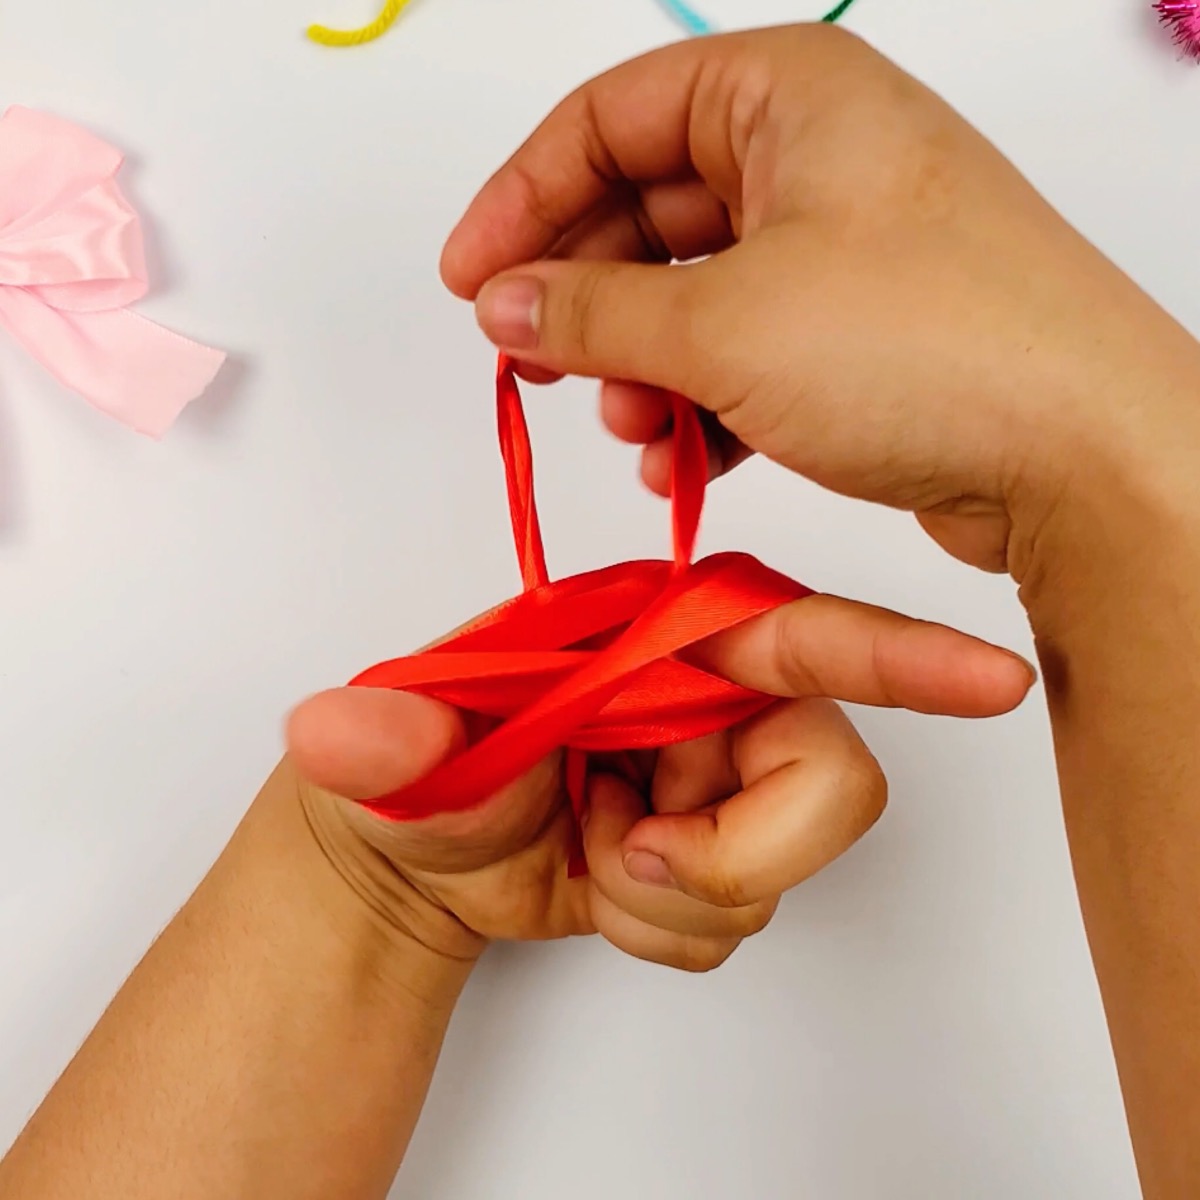
Step 6: Pull the ribbon all the way through and underneath towards the back of your hand. Make sure it passes under all other sections of ribbon, as shown in the image below.
Step 7: Take the remaining ribbon all the way out towards the back of your hand as shown in the image below.
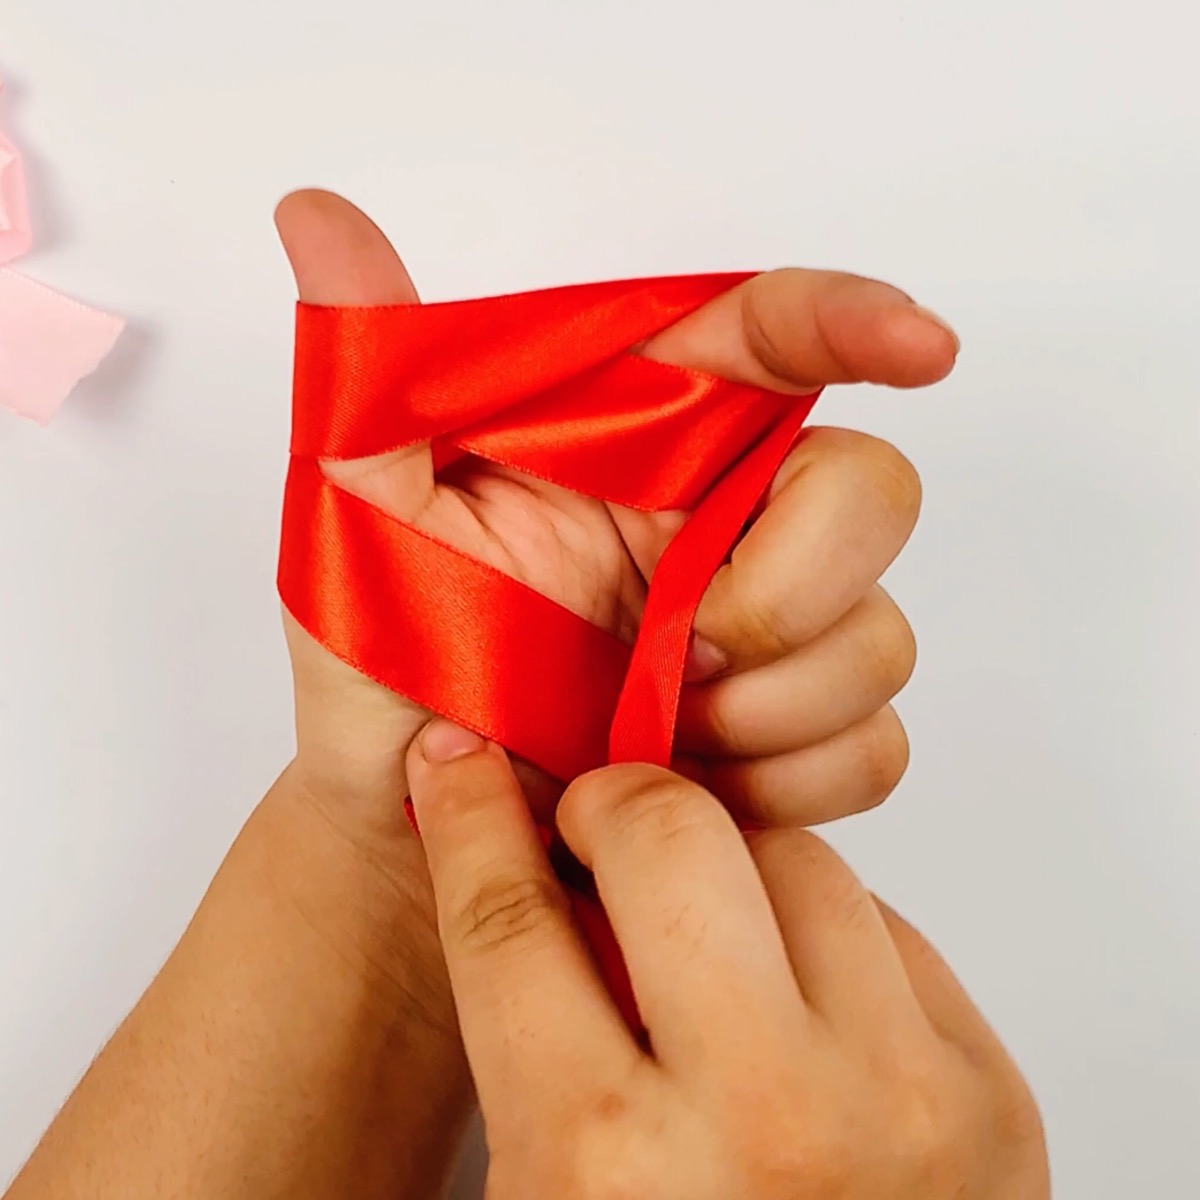
Step 8: To form the loops of the bow, bring the ribbon back over the front of your hand as shown in the image below.
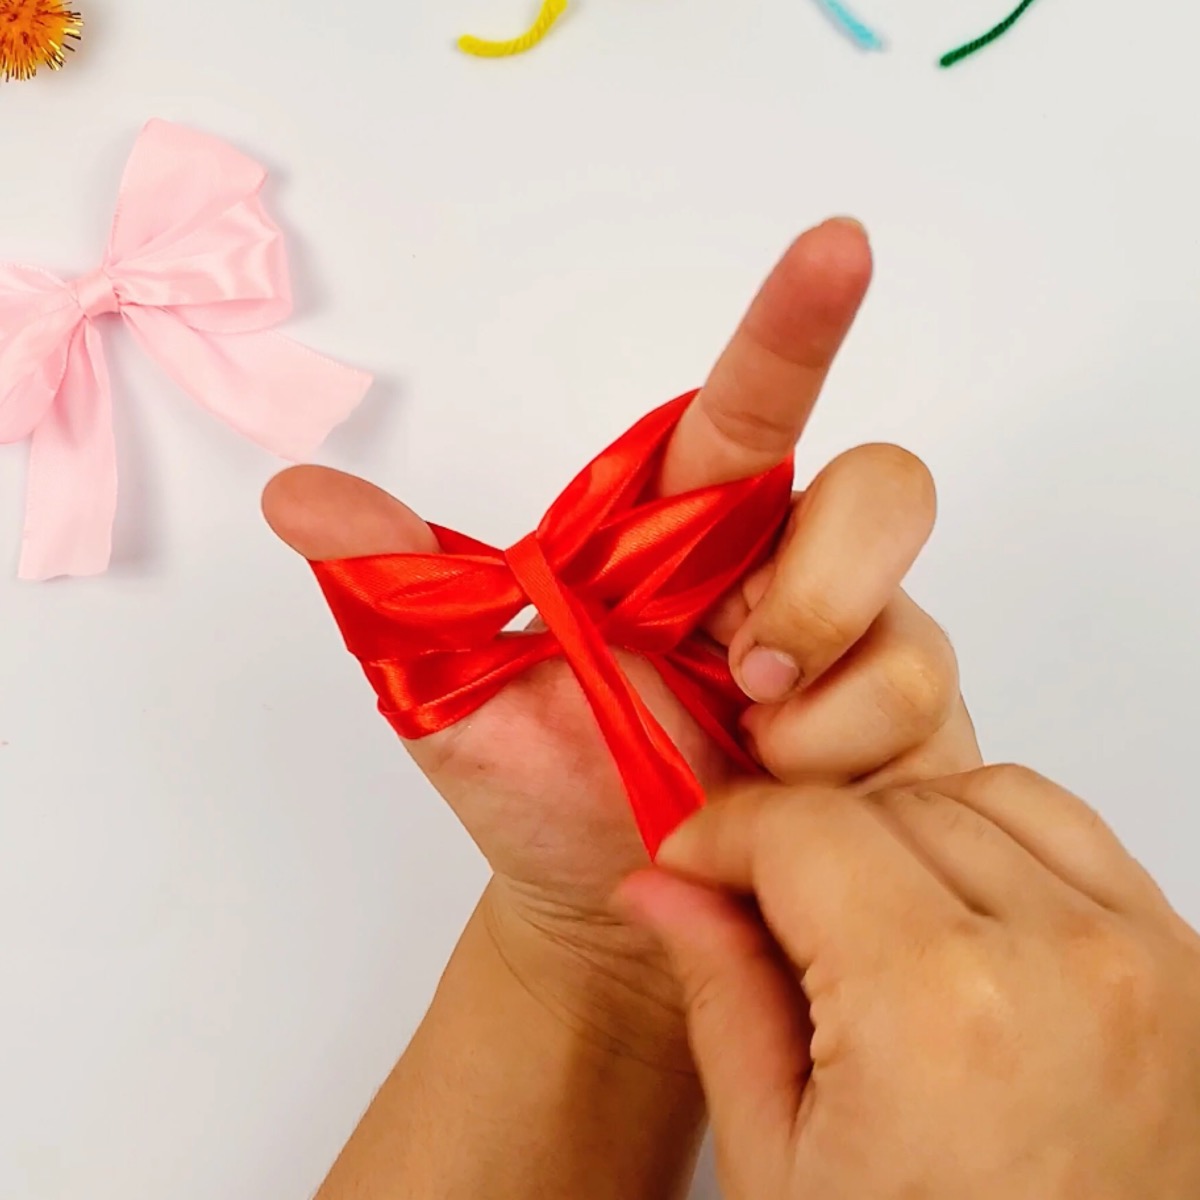
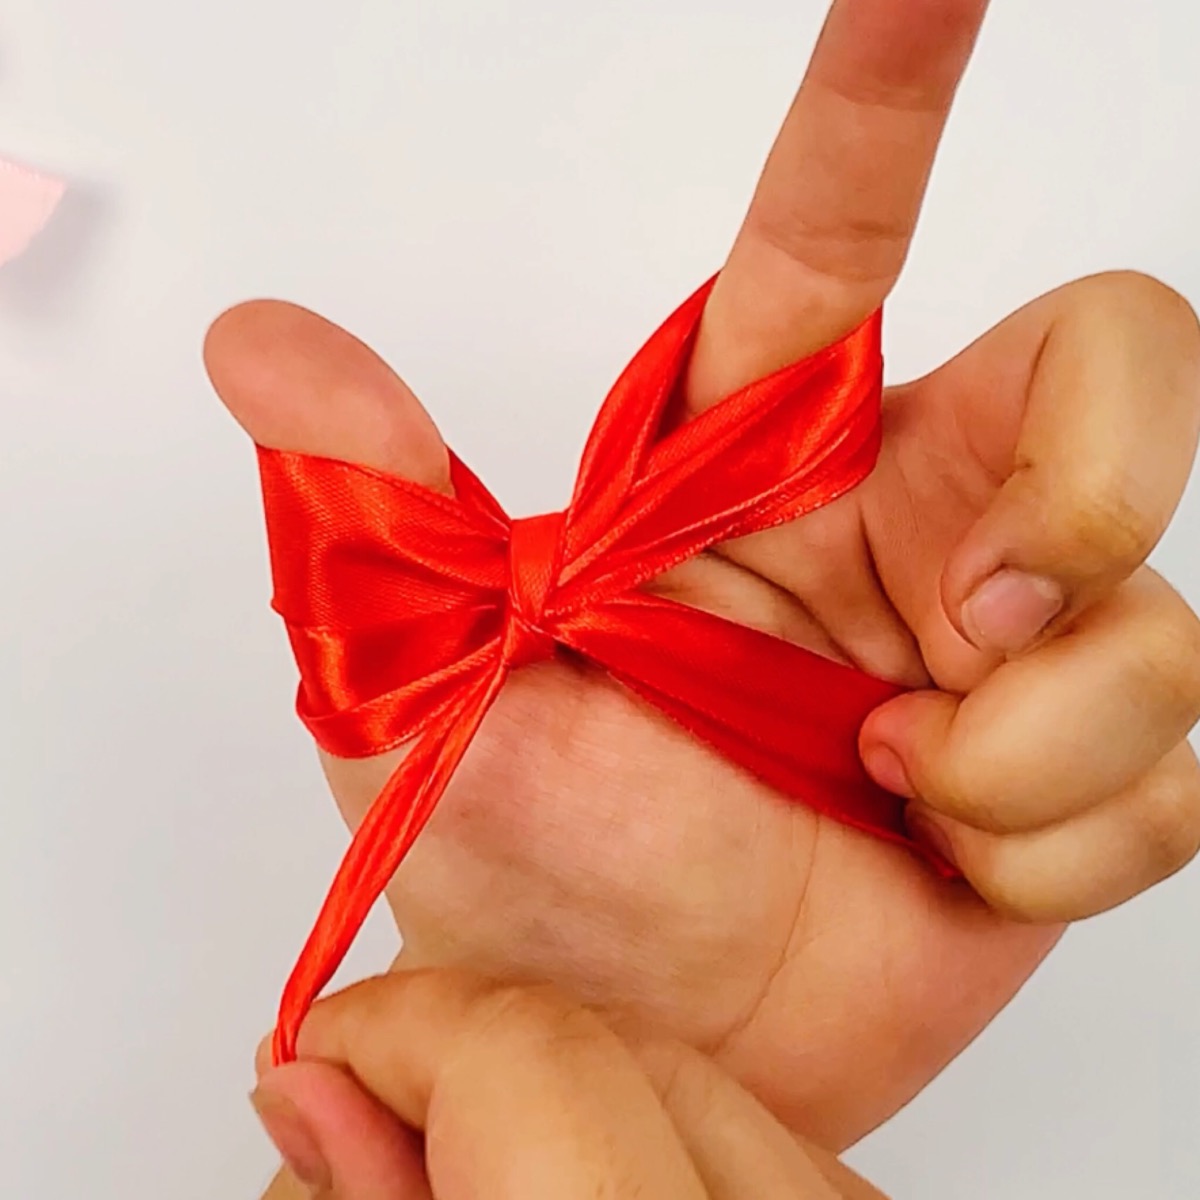
Step 9: Now tuck the ribbon under the first piece crossed over your index finger as shown in the images below.
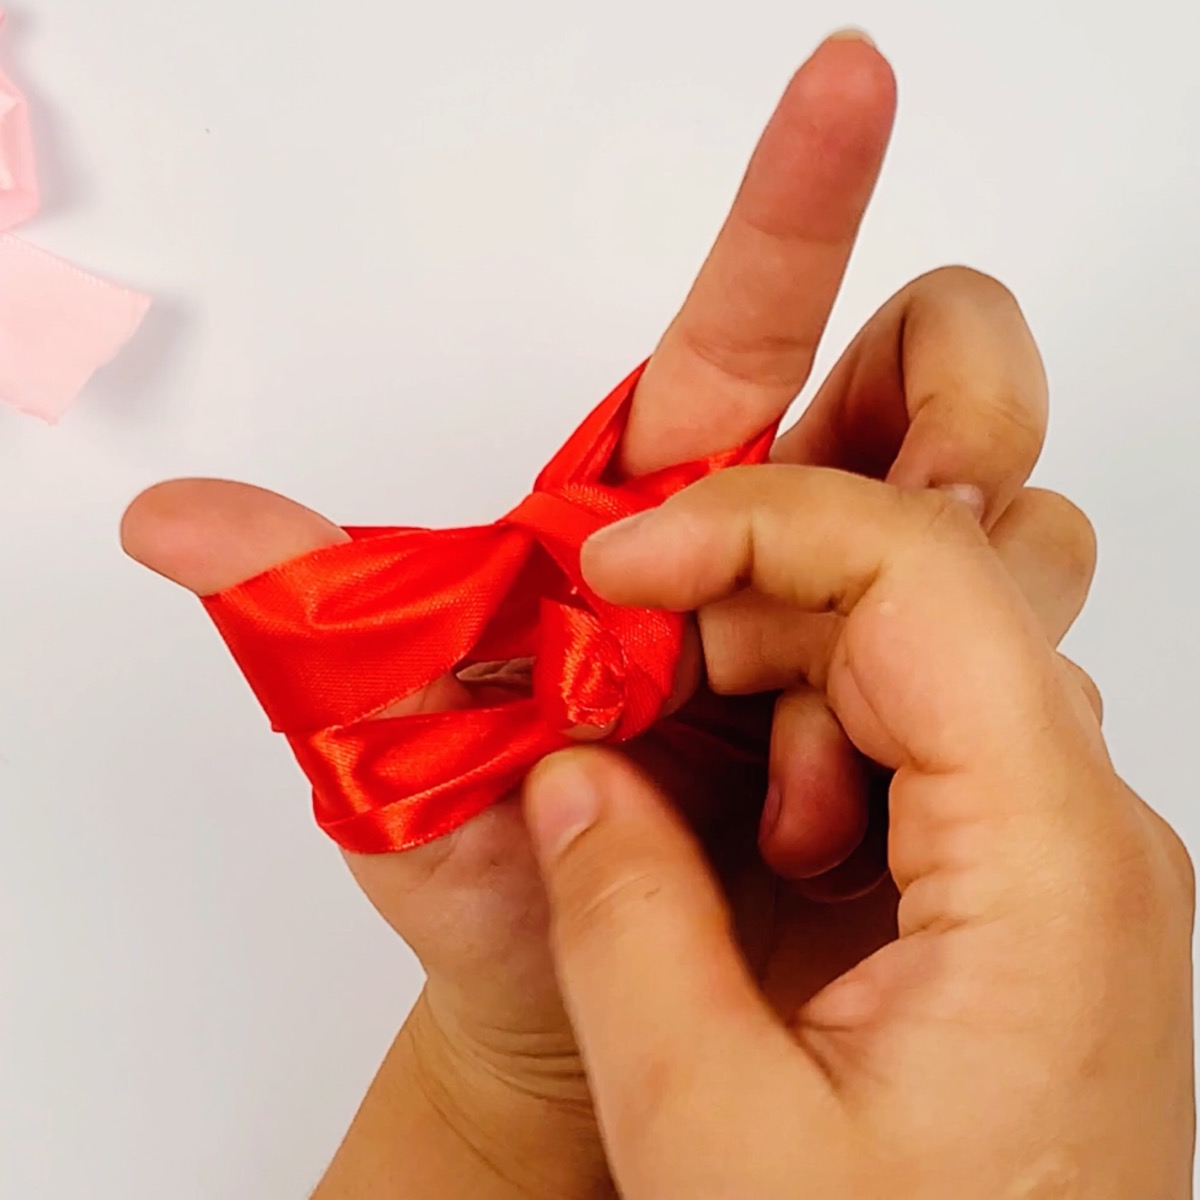
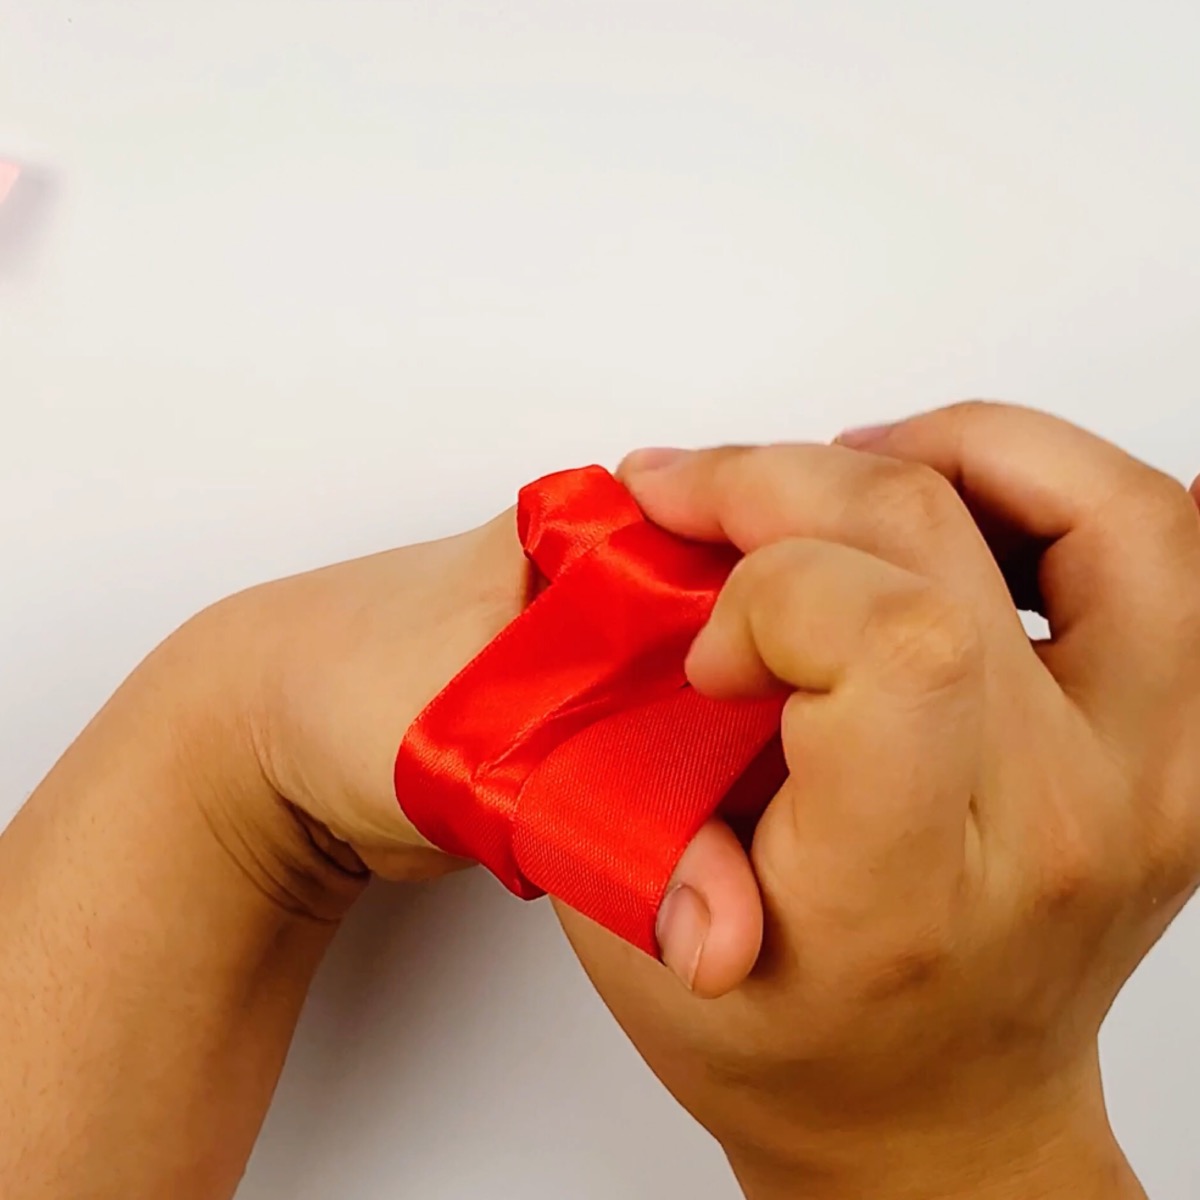
Step 10: Pull the ribbon tight towards the left to secure it as shown in the image below.
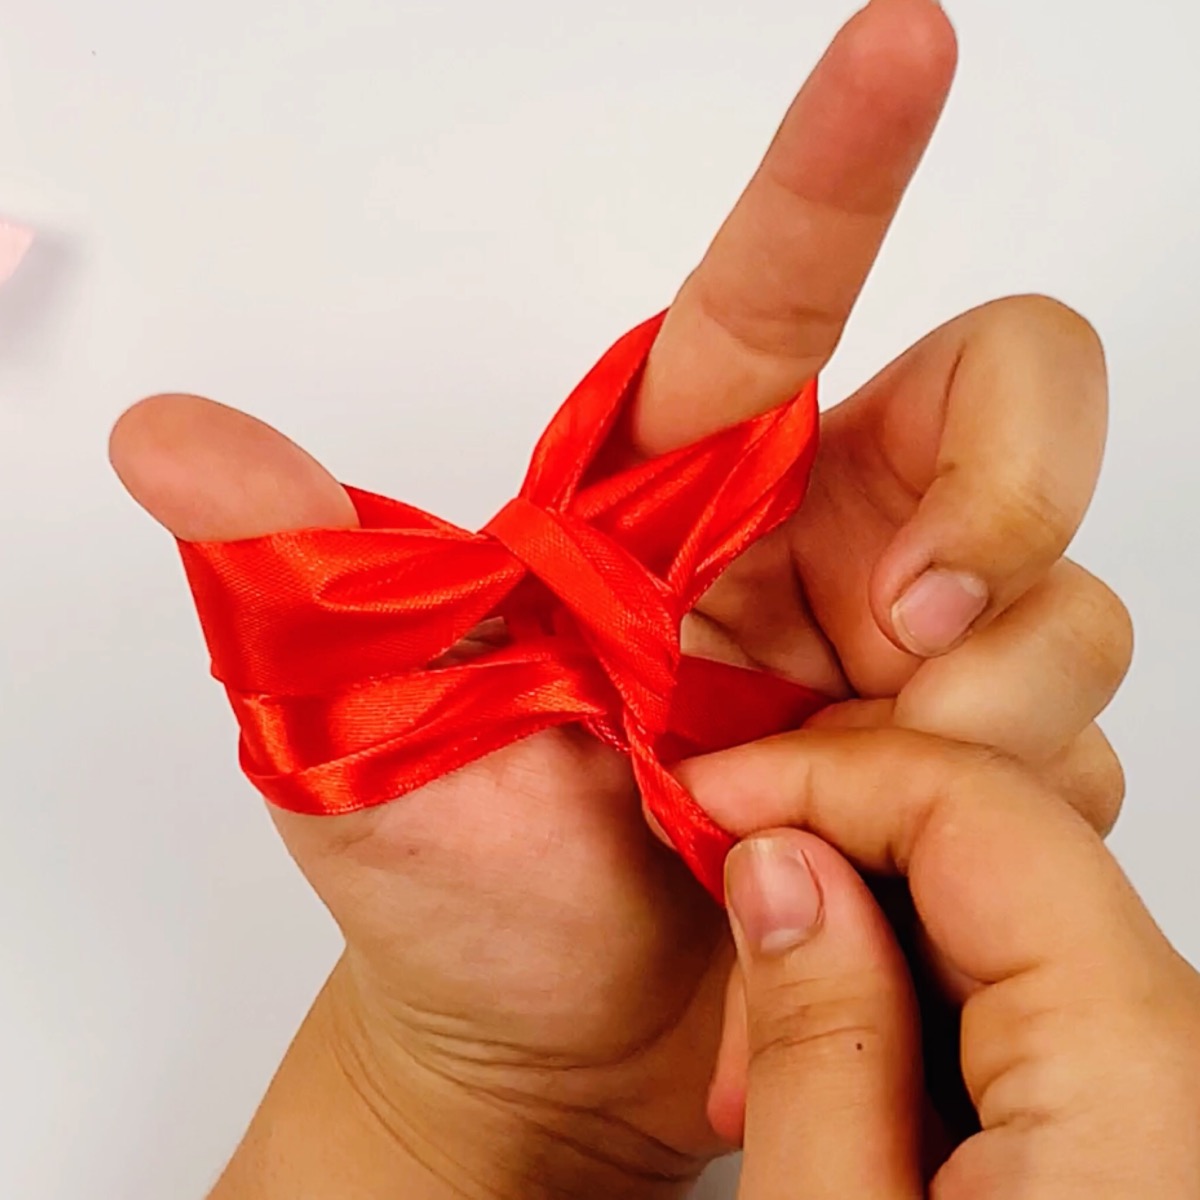
Step 11: Line up the left tail of the bow with the right. Cut off any excess ribbon from the left so it is the same length as the right, as shown in the images below.

Step 12: Fluff out the bows. You now have a perfect ribbon!
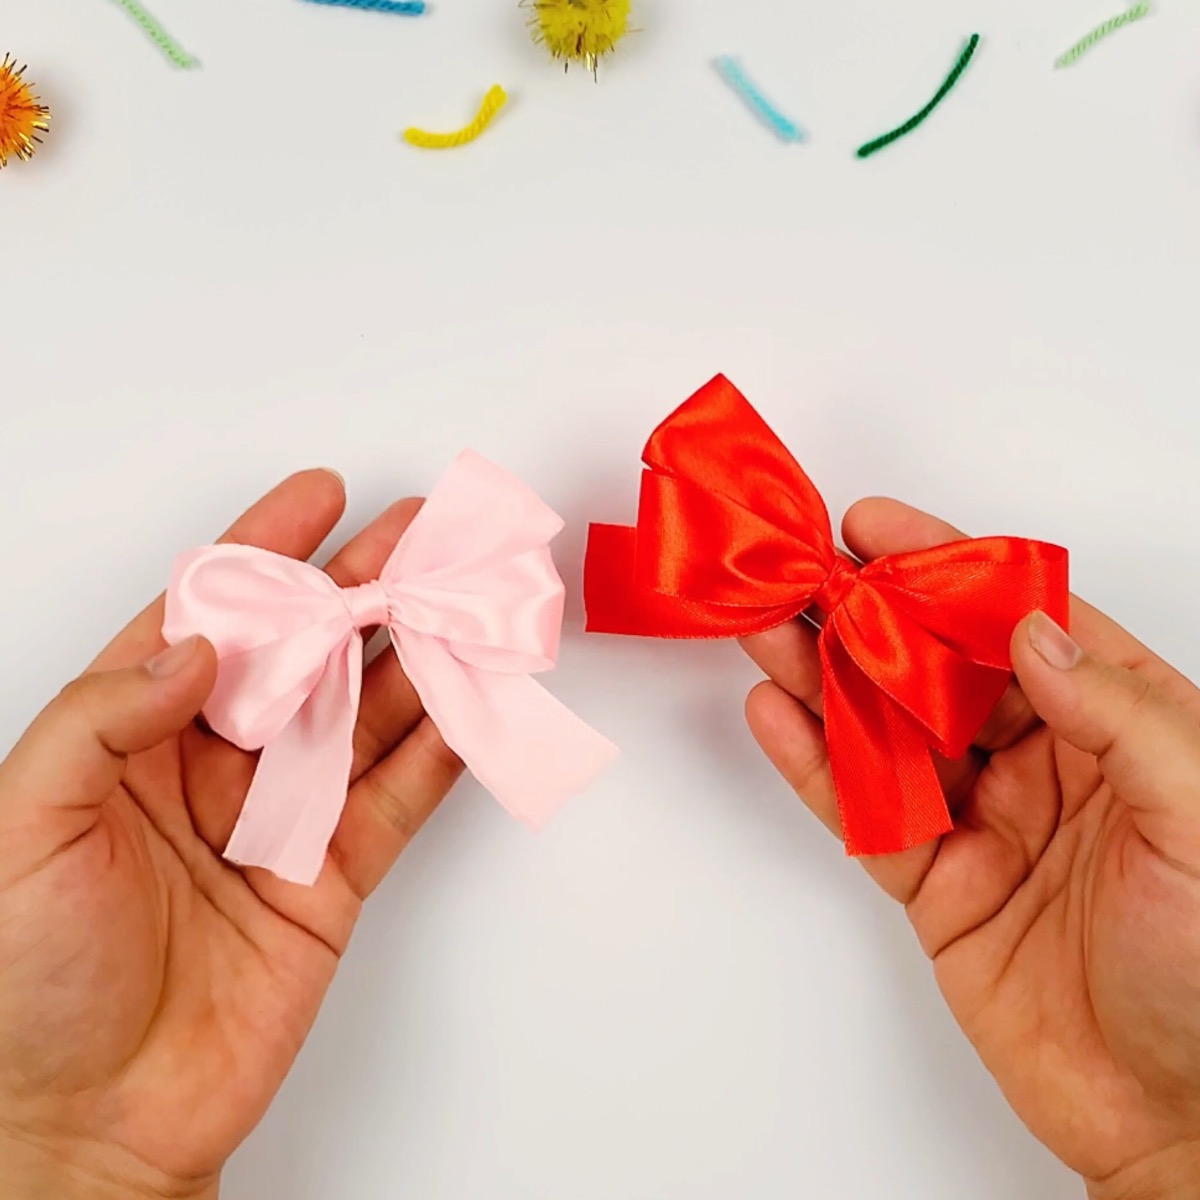
And that’s the art of making a ribbon bow!
Whether you’re crafting for the holiday season to spruce up a holiday wreath or adding a personal touch to everyday gifts, a custom bow made with love is a unique addition to any gift!
More Crafting Ideas
- How to Make a Pom Pom
- How To Make A Burlap Wreath Tutorial {EASY STEP BY STEP}
- Thank You Gifts Printable Craft
- How to print on ribbon
- Cupcake Liner Flowers
- Tissue Paper Color Transfer Wall Art
- 6 DIY Headband Tutorials
I would love to keep you fully stocked with creative ideas, yummy recipes, fun crafts, and loads of free printables. Subscribe to Skip to my Lou to get new ideas delivered to your inbox. Follow me on Facebook, Pinterest, Twitter, and Instagram for all my latest updates.


