A sewn keychain gift card wallet is the perfect way to add a personal touch to your gift-giving. This simple sewing project is not only quick and easy to make but also incredibly versatile, making it ideal for everything from birthday gifts to Christmas surprises. Making a custom gift card holder turns a simple gift card into something truly special and heartfelt. Whether you’re sewing for a friend, family member, or coworker, this personalized keychain wallet will make the gift-giving experience extra memorable and meaningful.
Related: Need more gifts to sew? If you have a teen on your gift list, this curved zip pouch is a guaranteed hit, or make this embroidered needle book in just 30 minutes. I also love to refresh a room, and these 30-minute throw pillow covers make that easy.
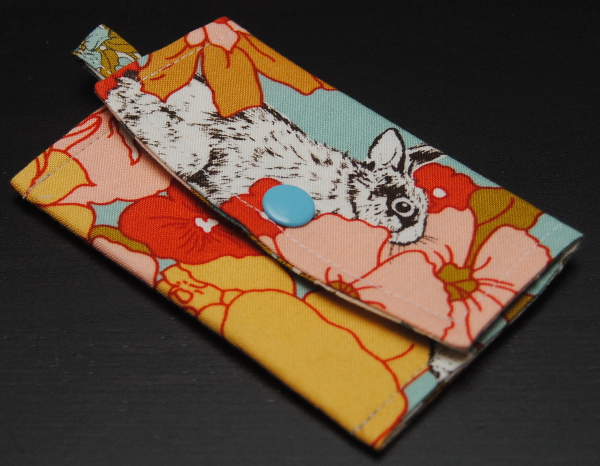
I love giving gifts that are practical but fun … and quick. With my current busy schedule, quick projects are a must! This little sewn keychain wallet is designed so that you can give it with a gift card for the holidays, and then the receiver can use it to store their ID or their debit card or whatever business-card-sized item they need close at hand, right on their keychain. Pretty cool, huh? Oh, and this project uses up all those little fabric scraps you have lying around, too!
DIY Gift Card Holder Supplies
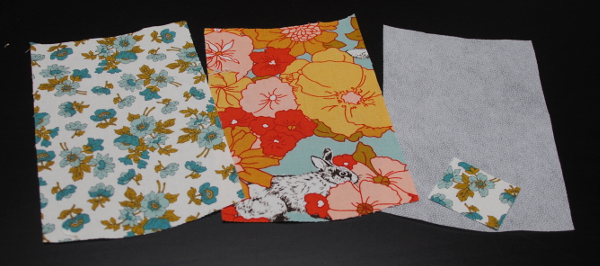
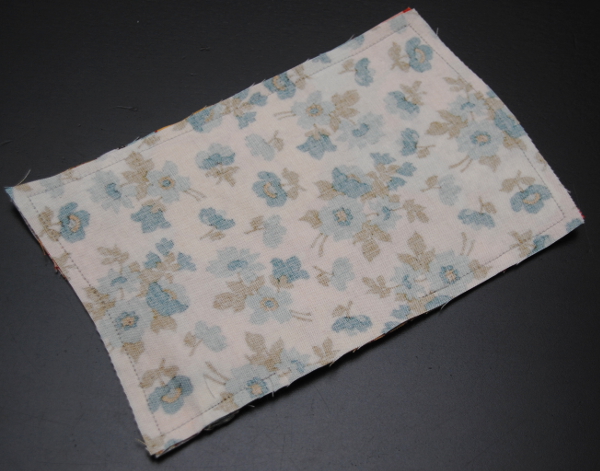
- You’ll need two pieces of cotton quilting fabric, roughly 5″ X 8″
- the same amount of lightweight fusible interfacing
- a tiny 1 1/2″ X 1 3/4″ scrap of fabric for the tab,
- a snap
- a keyring. Start by downloading and printing the pattern:
- free PDF Keychain Gift Card Wallet Pattern
How to Sew a Keychain Gift Card Wallet
Start by downloading and printing the pattern: Keychain Gift Card Wallet Template. Be sure to print it actual size and check that the 2 1/2″ box measures 2 1/2″.
Cut one pattern piece each from the inner fabric, outer fabric, and interfacing. (
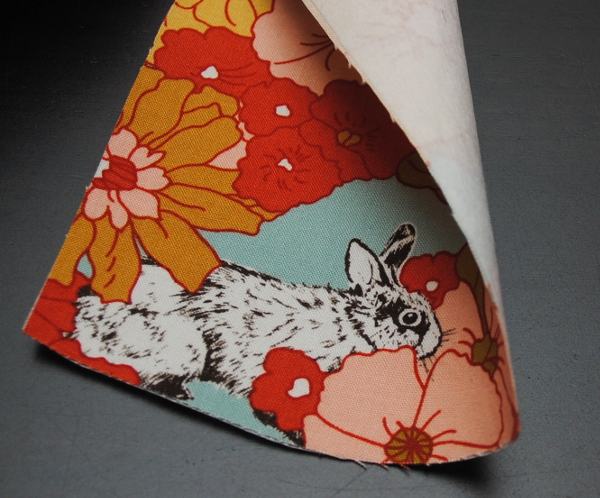
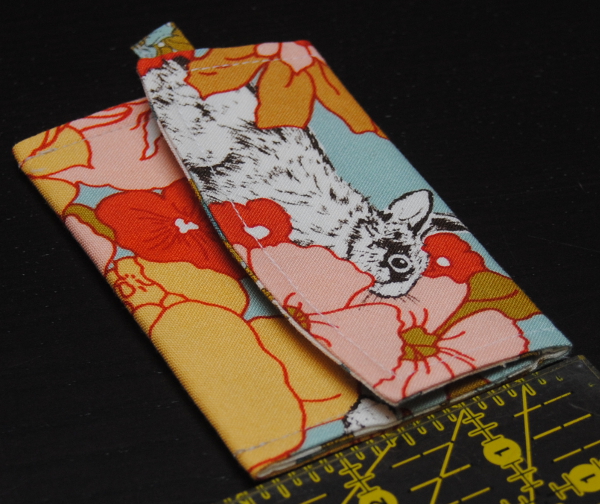
NOTE: If you want an image on the flap like mine, be sure to cut your outer fabric so that the bottom of your image faces the top curve and that it is located in the top 2″ of the pattern piece.
Iron the interfacing to the back of the outer fabric.
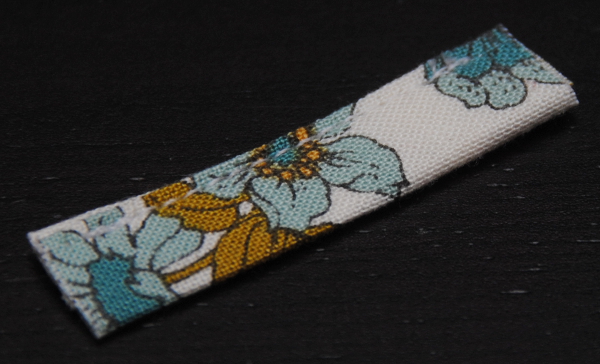
Form the loop by folding the loop piece in half the short way, matching up the long edges with the wrong sides together. Press well along the fold. Unfold, then fold each long raw edge into the center matching them up with the center crease. Press. Re-fold along the center crease, hiding the raw edges of the long sides inside. Press well. Pin along the long open edge. Topstitch 1/8″ from the open side. Here’s a drawing to show this clearly:

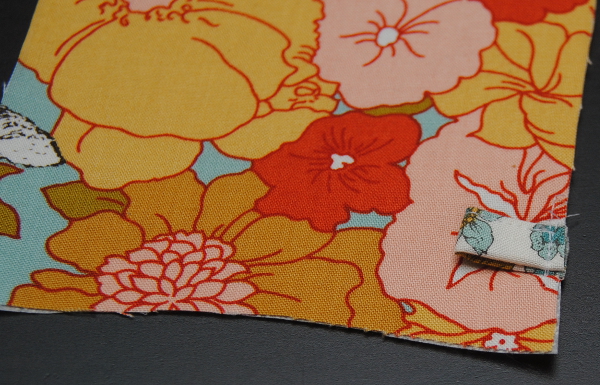
Fold the loop in half and pin it to the edge of the outer piece, 3/4″ above the bottom edge, as shown above. Baste in place 1/8″ from the edge.
Place the inner and outer right sides together and pin. Stitch all the way around using a 1/4″ seam allowance and leaving a 2 1/2″ opening in one long side.
Clip the corners and turn. Push all the corners and curves out neatly and then press really well.

With the inner facing you, fold the bottom edge up 2 1/4″ and press. Pin.
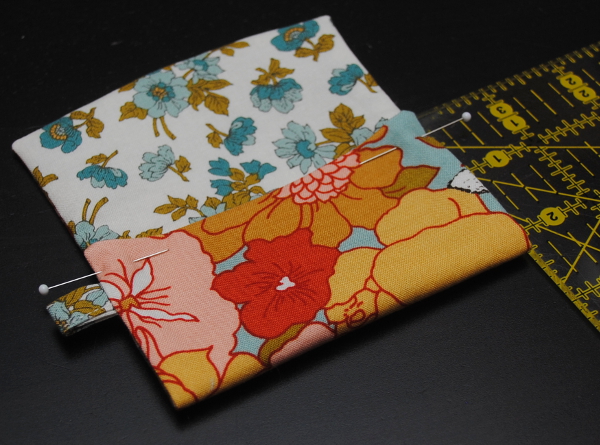
Starting at one bottom corner, topstitch just inside 1/4″ up one side, around the flap curve, then back down the opposite side. (This sews your pocket in place and closes the opening.)

With the pocket facing you, fold the top down 1 1/2″ and press really well. (Plenty of steam will help here!)
Apply the stud side of your snap to the flap. Center it just above the topstitching. Peek under the flap with the stud touching the pocket and mark the position of the socket side of the snap. Apply the socket side of the snap to the front of the pocket.
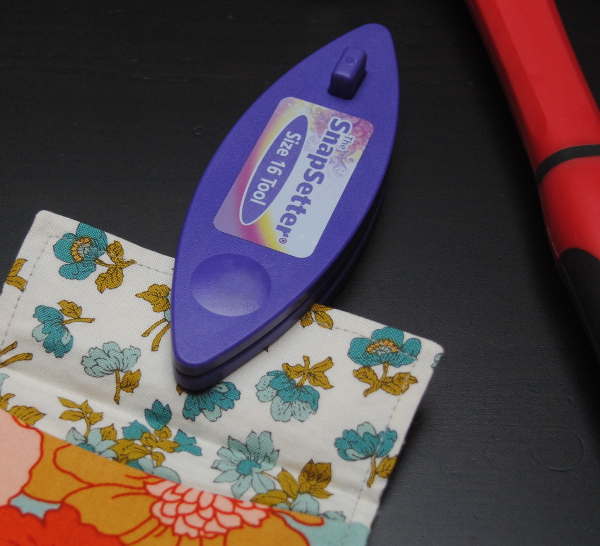
Check the position of your snap.
Slide the loop through a key ring.

Fill the wallet with a gift card, and it’s ready to give!


Bonnie Ferguson is the designer behind the formerly Fishsticks Designs Sewing Patterns. Bonnie’s patterns include clothing and accessories for boys and girls, as well as a large collection of quick and simple, instant-gratification projects! She blogs semi-regularly, sharing free patterns, tutorials, sewing tips, pattern extras, and a few gluten-free, all-natural recipes at Hem & Bind.
More Gifts to Sew
Looking for more unique handmade gift ideas? Click here to discover easy-to-sew projects that will wow everyone on your list!
- Pleated Pouch
- Easy Lined Totebag
- Rice Heating Pad
- Handwarmers
- Zipper Pouch – love the leather trim on this one! It look like it came from a high-end boutique.
- First Aid Pouch
- DIY Felt Gift Card Holder
- Custom Holders Made from Colorful Cardstock – these are great if you don’t sew!
- Christmas Gift Card Holders for Teachers – use these cute sayings to add a more personalized touch to your handmade creation!
I would love to keep you fully stocked with creative ideas, yummy recipes, fun crafts, and loads of free printables. Subscribe to Skip to my Lou to get new ideas delivered to your inbox. Follow me on Facebook, Pinterest, Twitter, and Instagram for all my latest updates.


Jo, working on getting the pattern.
Would love this pattern but I can’t seem to get to the page!
Hi I clicked on the pattern link but it warns me that the connection isn’t private and tells me to go back to the original website. Is it possible for you to send me the pattern directly? I’m planning to make these as gifts for the young women in my church 🙂
Thank you!
Excellent tutorial! I’ve cut 8 of these in less than an hour, and plan to make them tomorrow in approx. the same time.
Thank you.