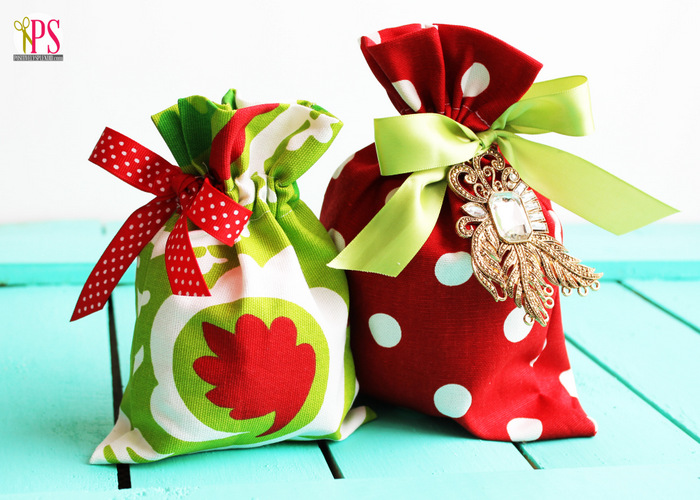
Welcome to the Bake Craft Sew Along! This drawstring gift bag is a fun and easy gift craft that anyone who enjoys sewing can make! So, if you love to sew then you won’t want to miss a day of sewn handmade gift ideas.
")

Hello, everyone! My name is Amy, and my blogging home is called Positively Splendid.
About Amy
When I’m not chasing after my four little ones, you’ll usually find me knee-deep in my latest creative endeavor. Having grown up in a home brimming with sewing notions and paintbrushes, I have a profound love for all things creative, and I firmly believe each and every person has the ability to create something beautiful with their own two hands! On any given day at PS, you’ll find ideas ranging from sewing and crafts to home decor and DIY projects, and even some recipes and kid-friendly ideas thrown into the mix. I would love for you to stop in for a visit!
I am absolutely delighted to be sharing a fun tutorial here at Cindy’s place for the Bake, Craft and Sew Along today! When it comes to holiday gift-giving, I really strive to make the presentation of the gift as special as the contents inside.
Making your Drawstring Gift Bags
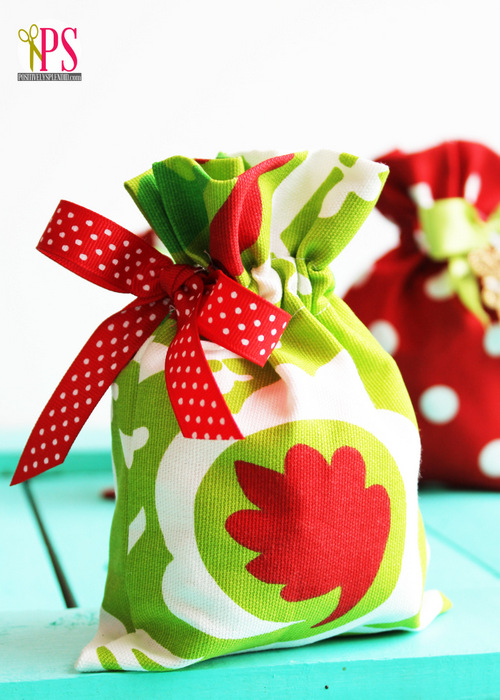
Today’s idea for quick-and-easy drawstring gift bags craft will enable you to add extra panache to your holiday gift-wrapping, and because they are made of fabric, they can be passed along from recipient to recipient for many holidays to come. These come together with just a few minutes’ time and a small scrap of fabric and other basic supplies. Let me show you how!

Below is an easy step-by-step instructional. If you sew , even just a little, most of the project materials you may already have. These cute drawstring gift bags are the gift that keeps on giving. Your recipient may even wish to use your crafted bag for someone on their gift list! At the very least your drawstring gift bag will serve as a reminder of your intentionality. This added personal touch will definitely increase the “special” factor of any gift. So, let’s get started!
Related: Cute drawstring gift bag tutorial
Items Needed for this Craft
- Fabric scraps (refer below for the dimensions needed for each size)
- Coordinating thread
- Ribbon
- Disappearing ink pen for fabric
- Basic sewing supplies: sewing machine, shears, etc.
- Optional, but recommended: rotary cutter and mat
Before you begin, cut your fabric and ribbon to the following dimensions:
- For a small (approximately 7-inch) bag: one fabric piece cut to 6×20″; one ribbon piece cut to 22″
- For a medium (approximately 9-inch) bag: one fabric piece cut to 8×24″; one ribbon piece cut to 24″
- For a large (approximately 11-inch) bag: one fabric piece cut to 10×30″ ; one ribbon piece cut to 26″
Instructions to Make Your Drawstring Gift Bag
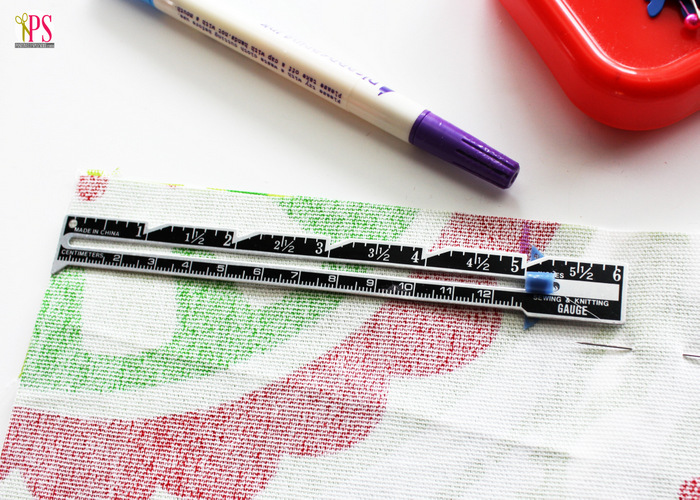
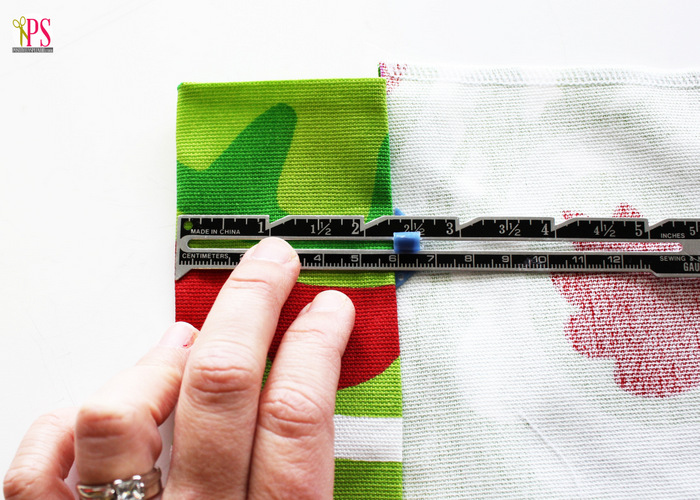
Step 1
First, fold your fabric piece in half width-wise, aligning each of the short ends. Pin. Measure 5 inches from the unfolded short edge down one of the long sides, and mark with a disappearing ink marker.

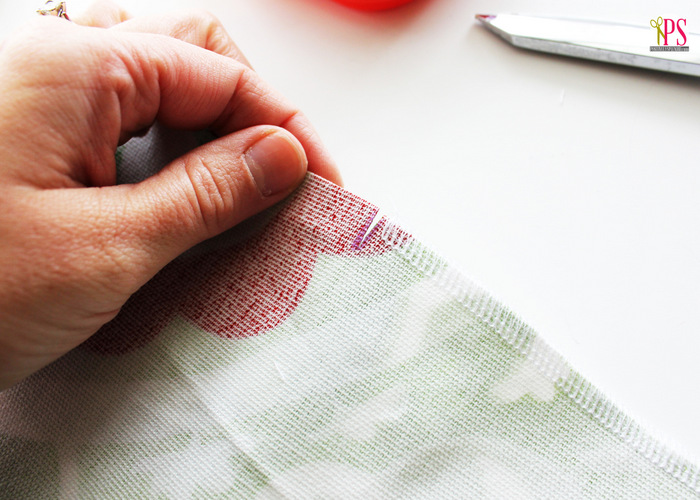
Step 2
After that, you need to make a 1/4″ snip just above the point where your short line of stitching ends. (This should be right at the mark you made earlier.)
Using a 1/4″ seam allowance, stitch from the mark you made in the previous step down to the folded edge of the piece. Stitch the entire length of the opposite long side. Finish the seams with a serger or a zig-zag stitch.
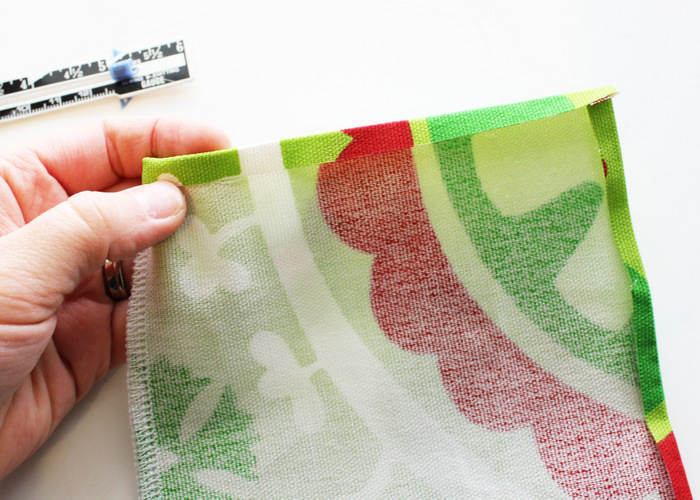
Step 3
Once the seams are completed, fold down the fabric above the snip 1/4″; press. Flip the bag over and repeat on the opposite side.

Next, fold the top edge of the bag down 1/4″ and press.
Step 4
Fold the top edge of the bag (the edge you just pressed) down 2.25″ toward the inside of the bag; pin into place.
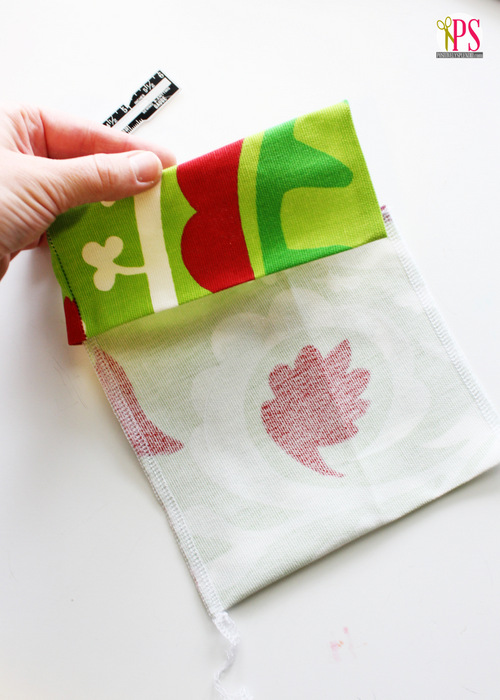
Note: The resulting cuff will measure 2.25″, and it should be precisely aligned with the snip you made in the previous step.
Step 5
Stitch 1/8″ from the lower folded edge to secure.

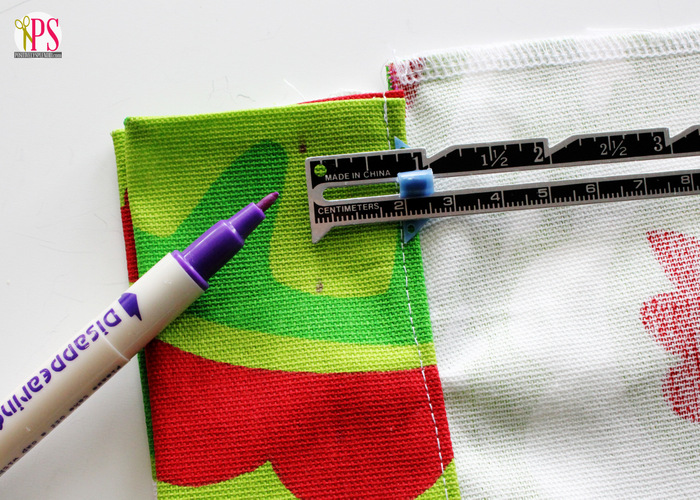
Step 6
Using your disappearing ink marker, mark 3/4″ from the line of stitching you just made.
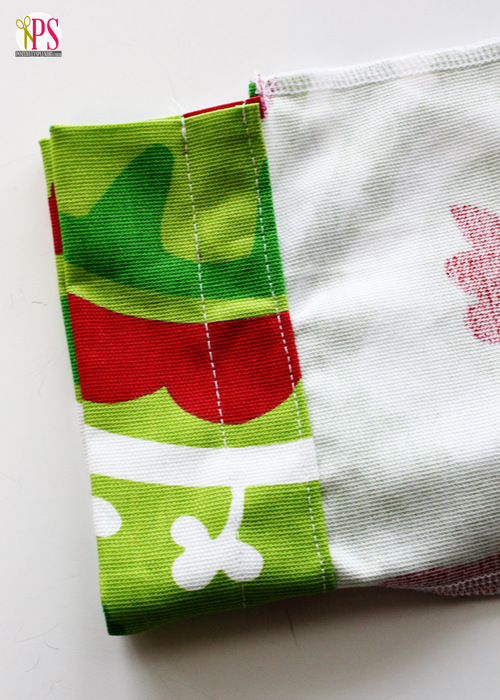
Step 7
Stitch along these marks to form the casing through which you’ll feed the ribbon drawstring for your bag.
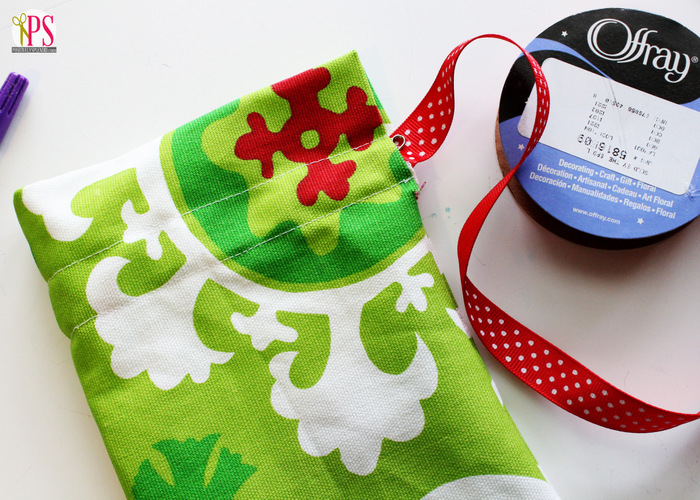
Step 8
Now, feed your ribbon piece through the casing with a bodkin (or a safety pin).
Step 9
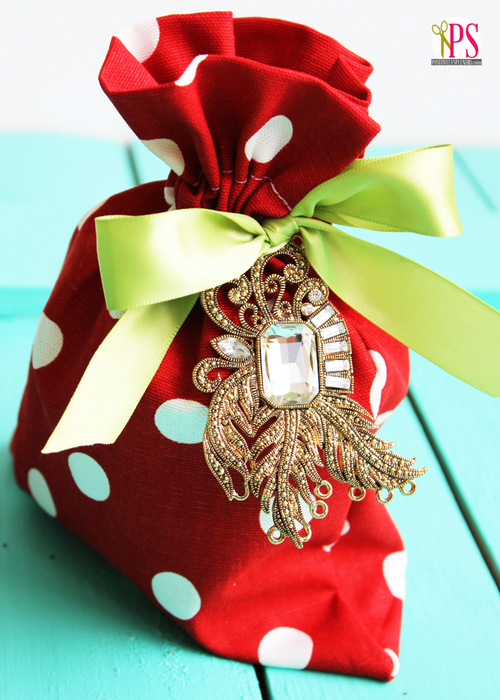
For added flair, embellish the bags even more with a pretty brooch, or a festive gift tag. The possibilities are endless!
Step 10
Finally, fill your bags with any gift item that strikes your fancy: jewelry items, edible treats, and more!
You are finished!
Tell us about your gift bags! What fabric did you use? How was the reaction to receiving a gift in your handmade drawstring giftbag?
more gift wrapping ideas from Skip to my Lou
- Fun boxes for gifts!
- Make a sheer pocket drawstring gift bag.
- DIY printable burlap bag.
- 12 days of Christmas gift bags.
- Another drawstring bottle bag for that special gift!
Thanks so much to Cindy for having me over today! Happy sewing!
Visit Amy at her blog, and connect with her at all of the places below:


SEW Amazing Giveaway worth over $700
Stop by Positively Splendid for more sewing inspiration and to enter the SEW Amazing Giveaway today (you only have today to enter)! I am giving away more than $700.00 worth of sewing goodies! You won’t want to miss this!
Even more…
- According to Kelly is featuring gifts that can be crafted
- A Southern Fairytale is sharing recipes perfect for making edible gifts!
Don’t forget to enter our SEW Amazing Giveaway. Just visit Positively Splendid today.


Great, love it, thanks
FYI – Neither link for Positively Splendid work.
I love this little bag tutorial. I have pinned for future inspiration. 🙂 Thanks for sharing.
Also, I’m sorry to say, I haven’t been able to get any of the links for the giveaway to work. I tried the other night, and then again tonight and it just doesn’t link up 🙁 Hopefully everyone else is having better luck?
omgosh how adorable are these? LOVE – and I wonder if I can hand sew, since I don’t own a sewing machine…
Thanks for sharing!
These are ADORABLE!!! So many ideas in my head for these!! Thank you so much for sharing! 🙂
These are SO cute!! I’m a newbie sewer and I’m totally making these for gifts this year! 🙂
The bags look fantastic! I love the embellishments! I actually just bought material to make some giant bags (same directions, just bigger) so I can wrap a carry-on suitcase for my son. I love re-using fabric bags every year and they’re especially nice for those hard to wrap big gifts.
The finishing touches make this a great bag. Thanks for sharing.