Here is a Friday Flashback about making bath bombs.
Bath bombs make the perfect Valentine’s Day gift when packaged to look like a bomb along with a tag that says, “You’re the ‘bomb’!”
They would also make cute teacher appreciation gifts!
Homemade Fizzy Bath Bomb Recipe
How to make foaming bath bombs
Supplies:
2 Cups Baking Soda
1 Cup Citric Acid
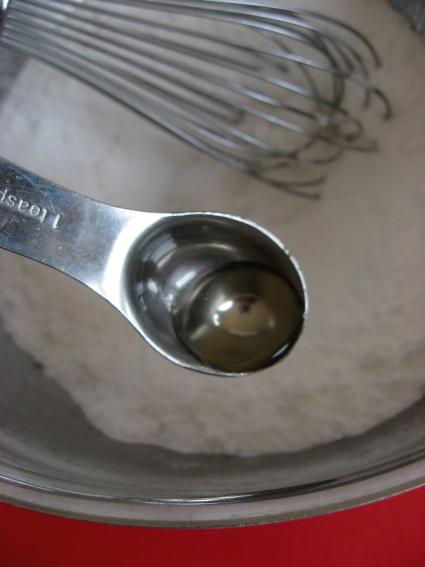
4 teaspoons massage oil ( or 2 teaspoons essential oil and 2 teaspoons olive oil)
Spray bottle with water
mold (60 mm 2 part plastic ball) (I am also thinking the bottoms of two large Easter eggs could be used)
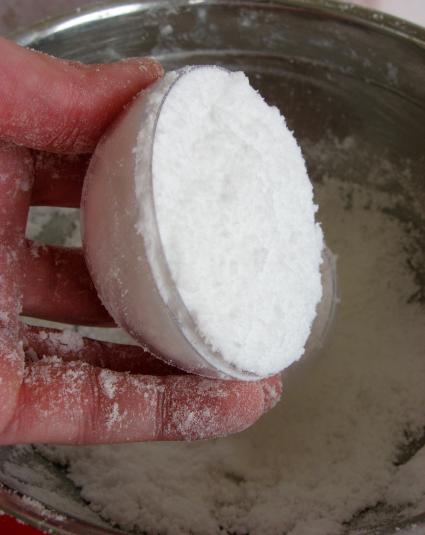
This amount only made 5 bath bombs. If I was making more I would buy the citric acid online in bulk. The small bottle you see pictured (1/2 cup) was $2.50. I purchased it from my local health food store.
Mix baking soda and citric acid in large mixing bowl. Mix very well! You can use an electric mixer if you like.
Add in 4 teaspoons of scented massage oil (or other combination of skin safe essential oil for scent and another oil for moisturizing the skin). The scent is personal, so start with a teaspoon or so and add more until you are satisfied. Mix well.
This next step can be a bit tricky because you don’t want your bath bomb to start fizzing. Start by adding a couple of fine mist sprays of water to your mixture and mix well.
You will continue spraying until the mixture will clump in your hand when squeezed. (I used 5-8 sprays, however this will depend greatly on your local climate)
Fill one half of your mold. Pack it tightly.
Fill the other half of the mold and place them together—don’t snap together. I slightly overfilled each half. When I pushed the two halves together they became a ball.
Gently remove the ball from mold. If I had problems with the ball coming out easily I dumped the mixture back into my bowl, added a mist of water (carefully), mixed well and then tried again.
Cut out about a 10 inch circle of black tissue paper.
Wrap tissue up around your bath bomb and trim if necessary.
Place a silver pipe cleaner in the center and then wrap a shiny red pipe cleaner around the the tissue paper and silver pipe cleaner. Add a tag and you are finished! You might want to write instructions for using the bath bomb on the back of the tag.
The bath bomb worked great. It provided fizz, bubbles and fun for my daughter’s bath.
Enjoy!


Citric acid is sold in wine supply stores and a better price for a bigger bag
I’ve searched for these molds since I first saw this post a year ago. Where can I find them?
How much of the Kaolin Clay do you add?
thank you for this great idea! we made some with powdered food colourings and whizzed up herbs and citrus zest!
hi. THANK you for saying how much it makes – I’m DYING to make them but live in NL Canada and that bottle of citric acid here is $6 – went out and looked today – hardly worth it to make them. soo want to though. have cute little gingerbread molds for them already. sign
I’ve made many batches of these- just a word of advice, don’t make tem on a rainy day, or day when it is super-humid out or they will not dry properly. You can dry them in the oven on 150 degrees for several hours to speed it up. And one drop or so of gel-based food coloring makes them pretty and won’t stain.
Hey this was a great recipe for a bath bomb, never thought it’d be this easy! I actually featured this recipe along with some other bath relaxation recipes. divasroom.com/easy-diy-recipes-bath-relaxation Thanks again for posting this recipe!
If you are adding oils to this mixture, be careful that you don’t slip in the tub. The oils are great for the bath, but they make the tub slippery and falls can happen. You can just as easily make these without oils to prevent this, just omit the oil. You can add a touch of food coloring to make them more colorful or use candy molds to make different shapes. Add Kaolin clay to make them harder and the clay is great for detoxification.
Thanks so much TJ for helping us out!
Try witch hazel instead of water. The water is activating your baking soda and causing it to start foaming prematurely. Also, you DO need to let them dry for a few days. As they dry out, they will become harder and more sturdy. If you want more foam, you can add some SLSA(Sodium Lauryl Sulfoacetate). It’s different from SLS that is very controversial.
Jill, I have no idea. Are all your ingredients fresh? Help anyone?
I just tried this recipe but the mixture is expanding like crazy,becomes very airy and is rising like it has yeast in it……why????
Are you supposed to let them dry after molding them into balls? I made these and wrapped them in tissue paper immediately after.. they soaked the tissue paper and the balls got so deformed they ripped through the paper! 🙁
I just made a batch of these with Lavender & Shea Butter massage oil and they smell amazing! Just wondering if anyone has an idea how long I can store these guys and will they still perform the same?
hi, what can i add if i want it to foam up?