Hello Skip to My Lou readers!
I’m Sumo, from Sumo’s Sweet Stuff, and I’m so excited to be visiting you today!

You’ll find a little bit of crafting, and a whole lot of sewing over at Sumo’s Sweet Stuff. What can I say, with three girls, it’s just too fun to sew them up some coordinating outfits. (I prefer coordinating to matching, it just sounds better, right?)
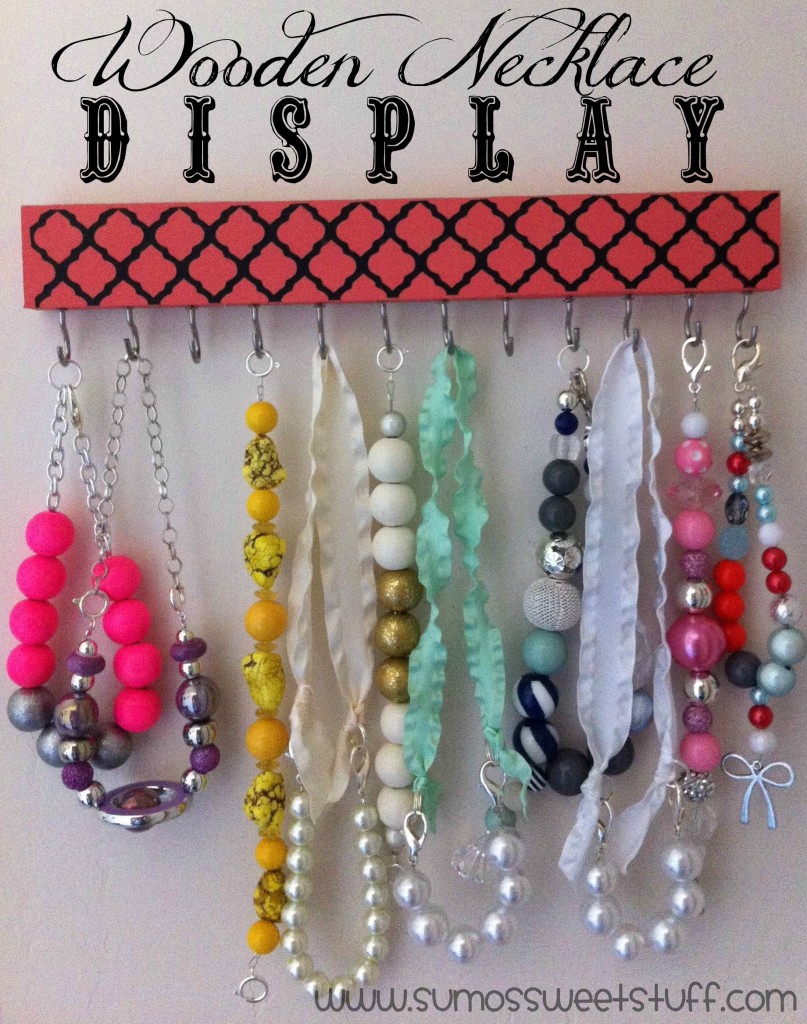
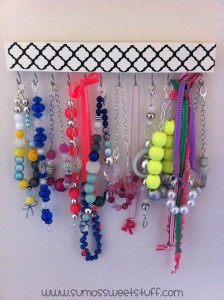
To go along with those coordinating outfits, every girl is never fully dressed without some accessories. And we’ve got them in abundance at our house. Today I’d like to share how we manage some of those accessories with this wooden necklace display.
Our necklaces used to look like this, in a sad, lonely (and messy!) drawer in the bathroom.
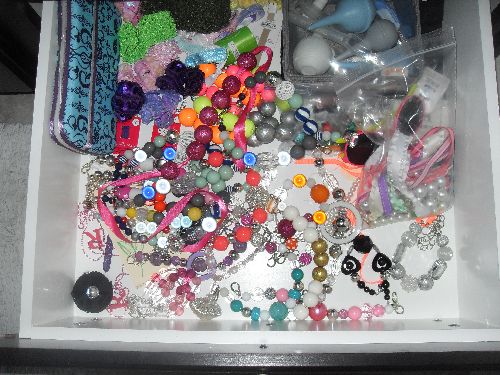
It kind of makes me twitch to look at that. So I had to do something about it!
Here’s what you need to get started:
– wood (cut to size)
– paint
– paint brushes
– vinyl
– digital cutter (this design was cut with a Cricut)
– c hooks
– drill

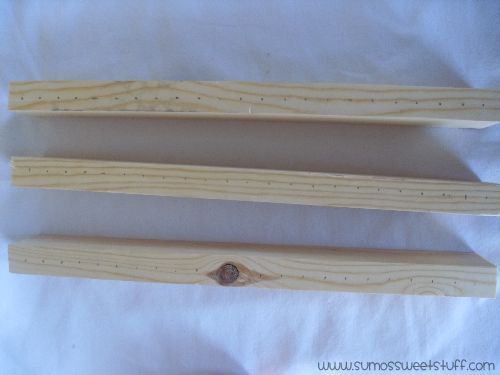
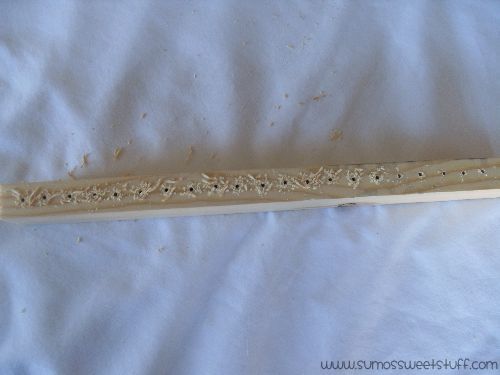
You’ll need to cut your wood (or have someone cut it for you!) to the size that you want. Be sure to sand any rough edges if needed. Now mark where the hooks will go on the underside of the piece of wood. You can do as many or as few as you like!
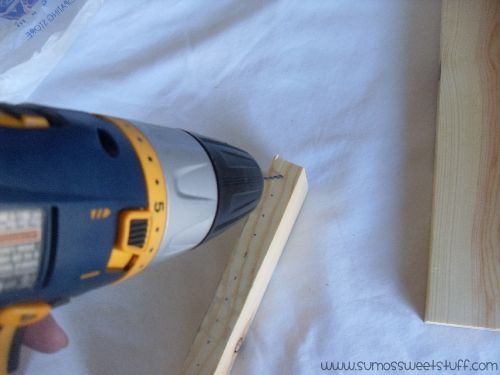
Use the drill to drill the holes in the wood. This was my second time ever using a drill, and I’m not so proud to admit that I broke my husband’s drill bit and a piece is hanging out in the necklace holder even now!
Now all of the holes are ready to go!
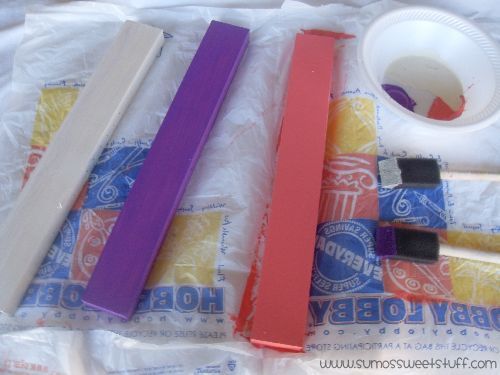
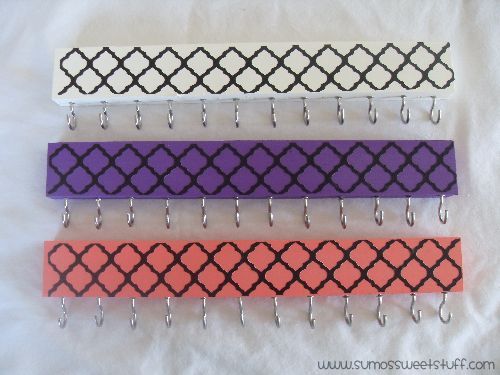
Which means that it’s time to get painting. Three girls = three necklace holders = three different colors.
Once the paint is dry and you are happy with how many coats you’ve done, start screwing in the c hooks. Make sure they are in there good, and lined up evenly and facing the same direction. I ended up putting the hooks in every other hole.
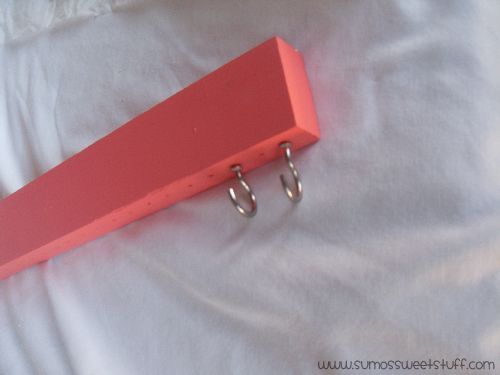
Looking good!
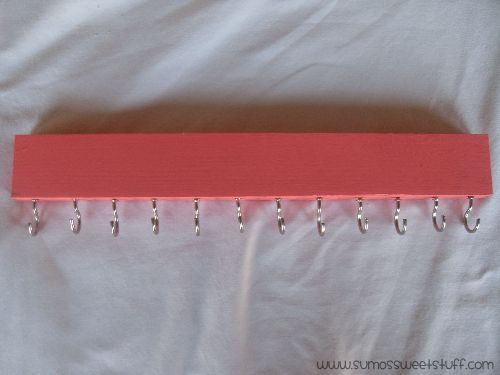
Cut the vinyl in the pattern that you like, and to the size of the front face of your wood piece.
Make sure that the paint is totally dry before applying the vinyl, or else it will not stick. I let mine dry over night to make sure it was completely dry. You can use transfer tape if you like, but since my pieces were so small, I just slowly applied the vinyl from one end to the other, rolling back the piece of paper as I went.
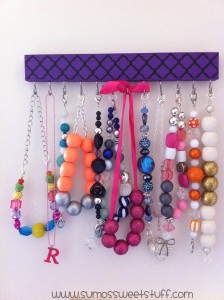
Now go hang those babies up, and gawk at how many necklaces you actually have.
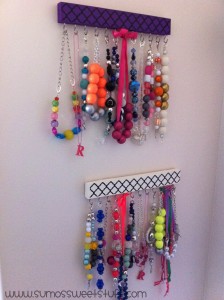
I had no idea that we had so many; it was hard to tell when they were all jumbled up in that drawer!
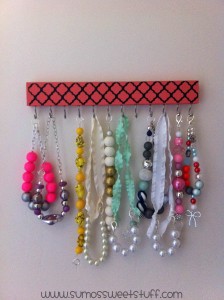
Now they are all perfect and ready to view once outfits are picked out for the day. So much easier!
After making these, I realized that we probably have plenty of necklaces for awhile, so I vowed not to make any for awhile. Like, maybe a month or something. You know how it goes….
Thank you so much for letting me visit today. I hope to see you over at Sumo’s Sweet Stuff!


Well Summer, if you get itching to make some more necklaces…or make room for new ones…you know how to get a hold of me! So cute! 🙂
xoxo
Thanks Summer! I love your necklace display!! Thank you for guest posting today!!
I love this idea!!! Thank you for sharing.
Pretty organized :o)