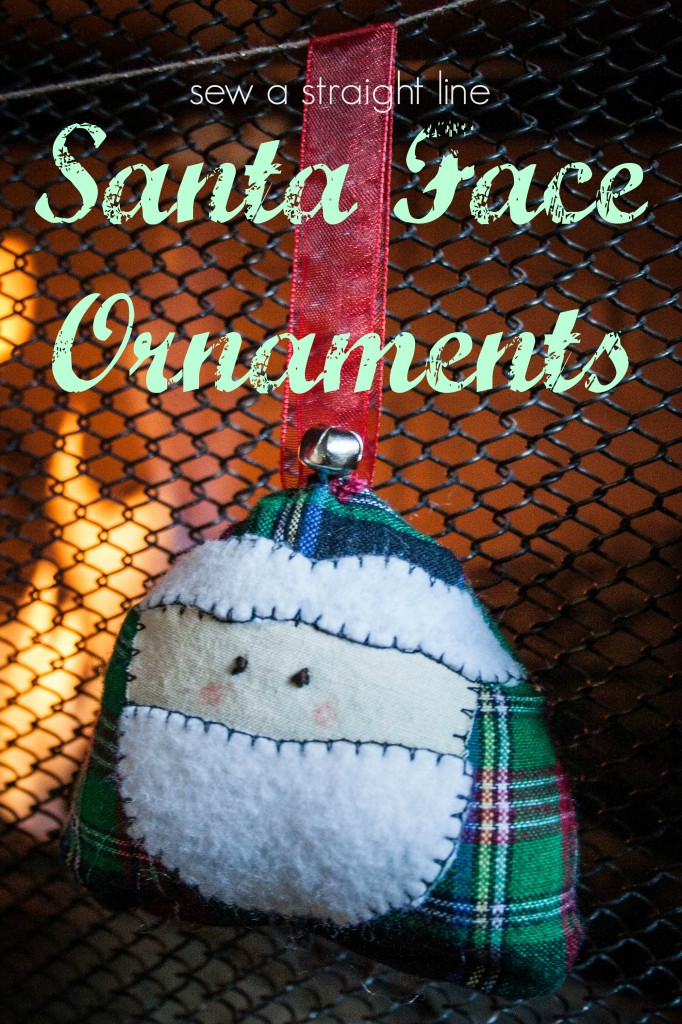
If you’re looking for a fun and festive way to decorate your Christmas tree this year, why not try making some Santa face ornaments? These easy-to-make ornaments are a great project for beginners, and they’re sure to add some extra holiday cheer to your home. Plus, you can use them as gift tags too!
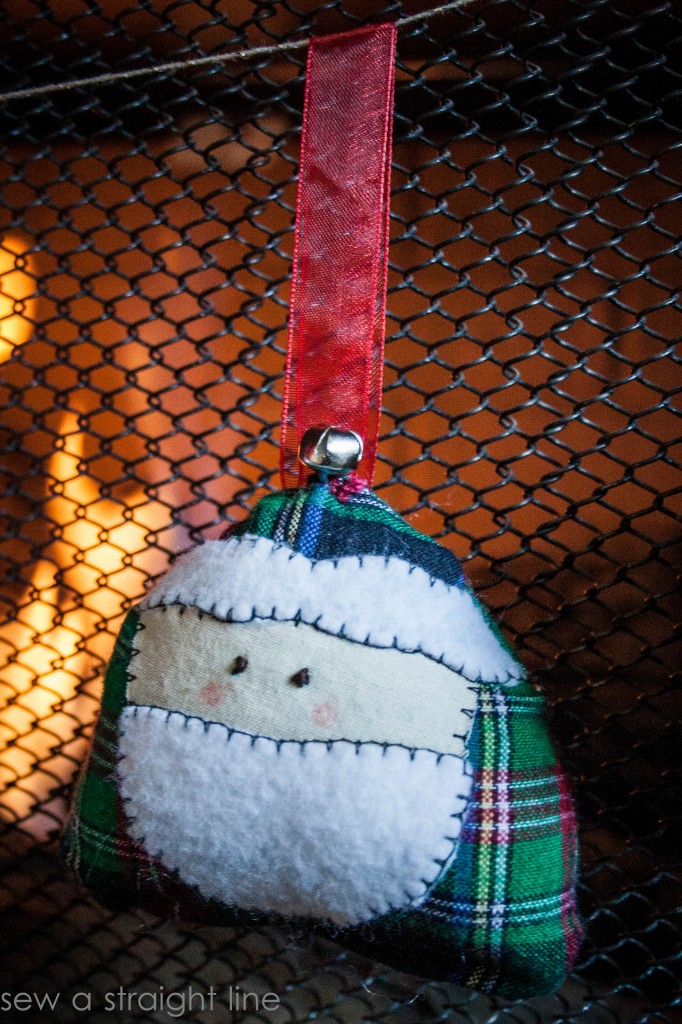

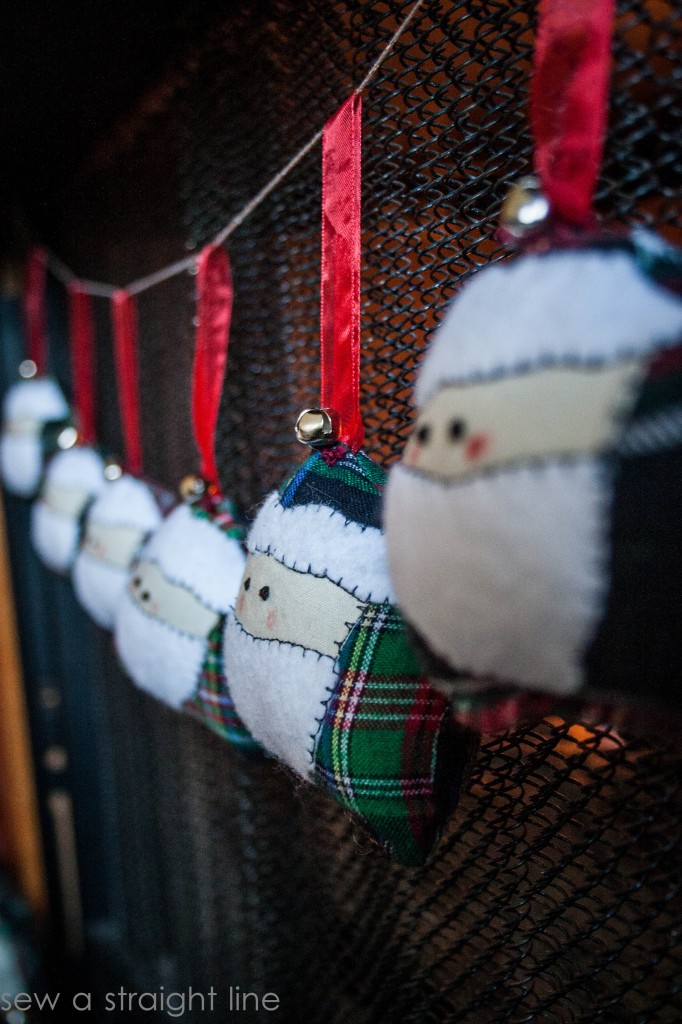
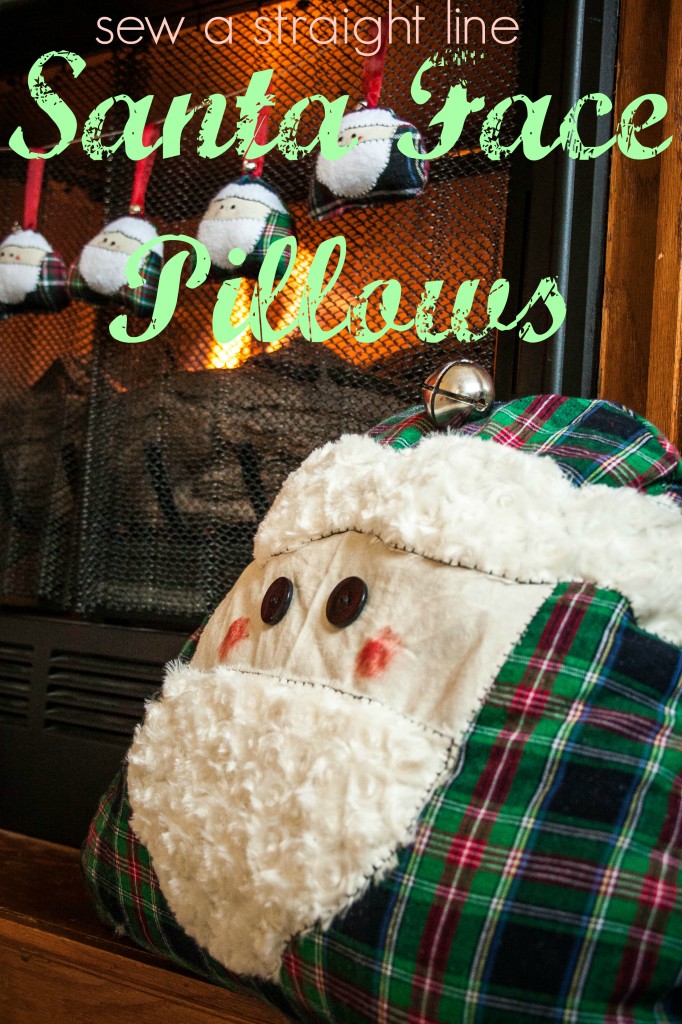
Today I’m going to share a simple, quick tutorial and pattern to make folksy Santa Face ornaments. My sister came up with this pattern almost 15 year ago, when she and I would get together to make homemade neighbor gifts and decorations right after I was married. She gave me permission to share it all with you. These little ornaments look great on the tree, strung along a garland, added to gift wrap, or even as a little extra to a holiday table place-setting. They are super fast to make, and use very little fabric. When my sister and I first made these, we actually used old pajama pants! They’re great for stash busting, and simple enough for even the most novice sewist. The pattern and tutorial for the Santa Face pillows is up on my blog HERE. But, first let’s make some Santa Face Ornaments!
These ornaments are meant to look homey and folksy. Perfection isn’t the goal. So just have fun with them!
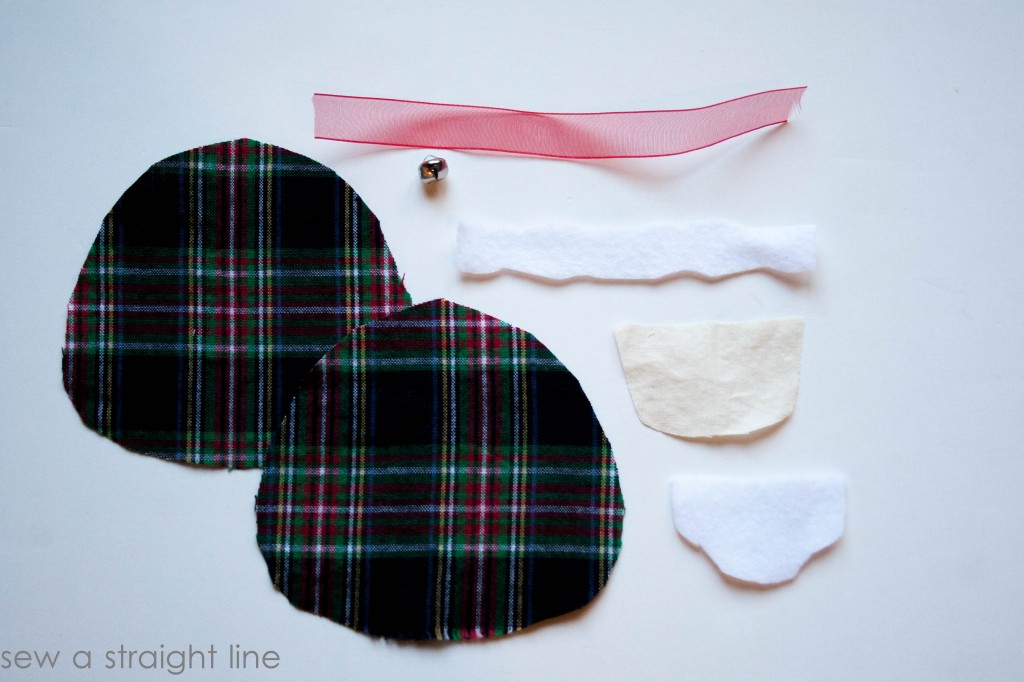
Materials Needed:
-scraps of Christmas-y fabrics (I used plaid flannel), at least 2 5″*5″pieces (so charm packs work great!)
-3″*3″ square of cotton muslin
-5″* 5″ white flet
-7″ strip of ribbon
-small bell
-embroidery floss in brown or black
-polyfill stuffing, or other stuffing material of you choice
-the pattern:
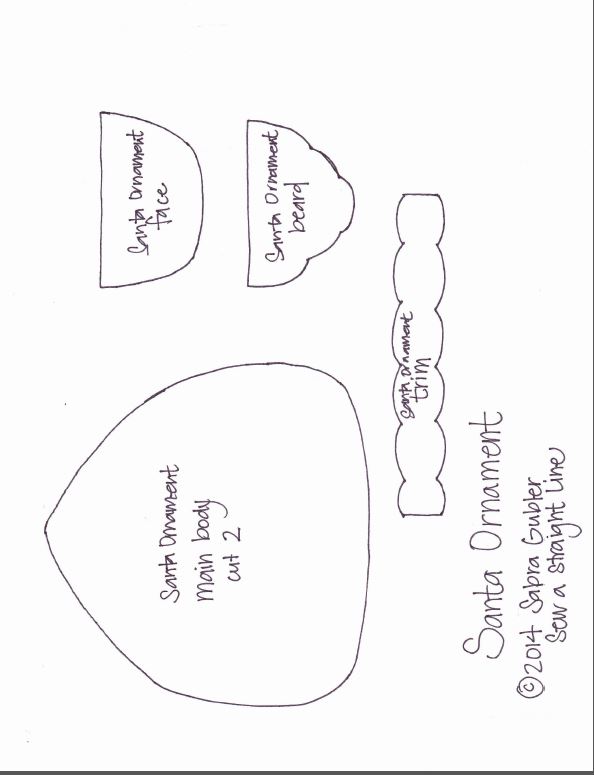
The exact size of the ornament isn’t crucial. This pattern should print out fully onto an 8*10 piece of paper. I didn’t include a sizing square, because you can really print this any size you want!
How to Make a Santa Ornament
Cut out pattern pieces
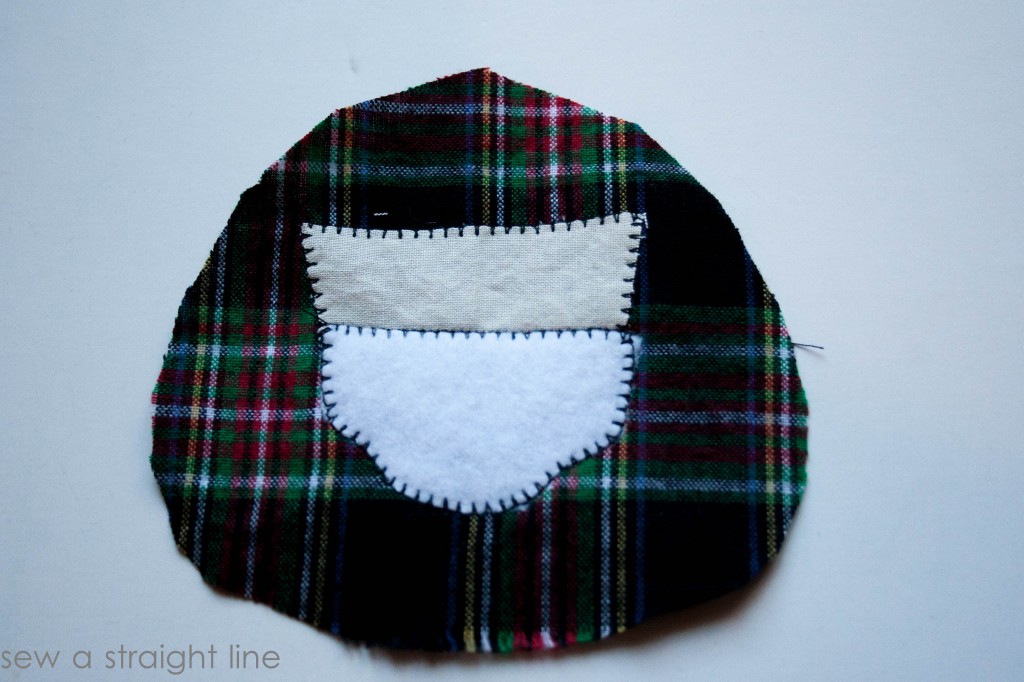
Lay the Face onto the Main Body, about 1.5-2 inches from the center top, and centered. Stitch onto the body. I used a blanket stitch on my sewing machine, but you could do this by hand or use another stitch on a machine.

Place the Beard onto the Face, near the bottom. Again, there aren’t set placements. Each Santa will look unique. Stitch onto the Main Body and the Face the same way as you did the Face piece.
Repeat for the Trim, placing it across the top of the Face. There will be some overhang at both ends.

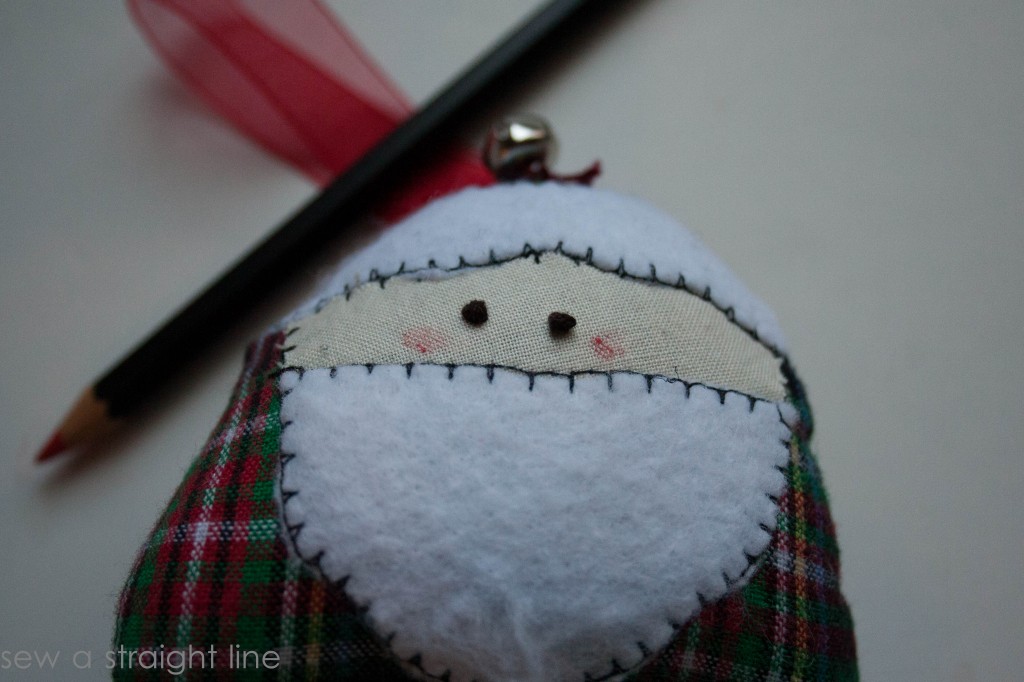
Using the embroidery floss, stitch two French knots or circles in the center of the face, for the eyes


Fold the ribbon in half, and place both raw edges at the top center of the Main Body, with the loop of the ribbon extending down. Pin in place.

Right sides together, place the back Main Body with the front Main Body, matching raw edges. Leave a gap at the bottom for turning and stuffing, and stitch around all the edges. Make sure to go through all the layers at the top: The main Body pieces and the ribbon. Trim the overhanging Trim at this point.


Pull the Santa right-side out through the gap in the stitching. The ribbon helps at this point. Reach in and grab it, and you should be able to just pull the whole thing out that way. Push out the corners.


Stuff through the gap, as full as you want. I stuffed my Santas pretty full.

Fold the gap in on itself, and stitch closed. You can hand stitch for a clean finish, or I just topstitched it on my machine.

Use embroidery floss to sew the bell onto the top of the “hat”/Main Body


To finish my Santas off, I used a watercolor pencil to add rosy cheeks.
And that’s it! Now, make half a dozen more!
Don’t forget to grab the pattern for the pillows on my blog, Sew a Straight Line HERE!
Sabra blogs at Sew a Straight Line. She loves making fashionable, fun styles for her kids and herself, that look neither homemade nor what you’d find at all the stores. Her goal is to sew as much of her own and her four kids’ clothing as she can, her passion is making that clothing as professional and awesome as possible. And sometimes she throws in some fun home-sewing ideas and projects into the mix!
More Holiday Fun
I would love to keep you fully stocked with creative ideas, yummy recipes, fun crafts, and loads of free printables. Subscribe to Skip to my Lou to get new ideas delivered to your inbox. Follow me on Facebook, Pinterest, Twitter, and Instagram for all my latest updates.

Comments are closed.