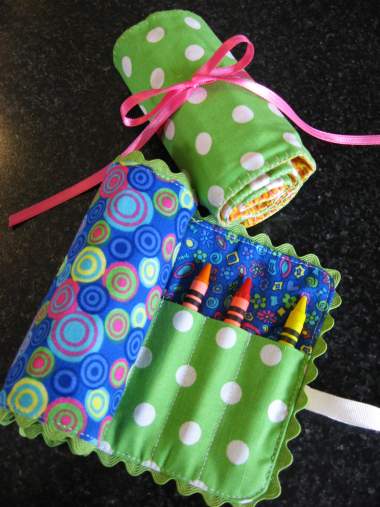
Every parent needs a stash of crayons to help a little one stay busy. This crayon roll is a fun way to keep track of crayons and have them readily accessible. I’ve included easy-to-follow instructions to make this DIY craft super simple, and it is cute enough to give as a gift!
RELATED: These fabric roll organizers work great to hold other things too. Make the pockets more narrow on the make-up brush holder to hold colored pencils or markers.
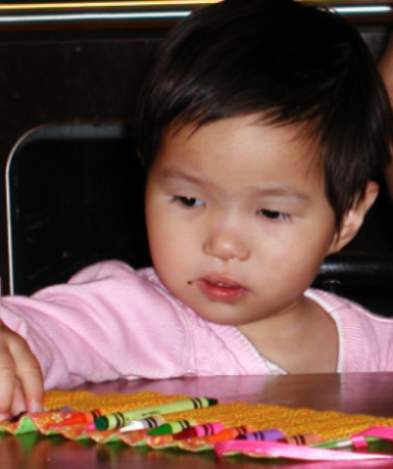
To welcome my new niece home from China on Sunday, I whipped up a crayon roll. I wasn’t able to give it to her in person but my mom said she was mesmerized by all of the crayons and how they slip into their own pocket.
Here are the supplies you’ll need
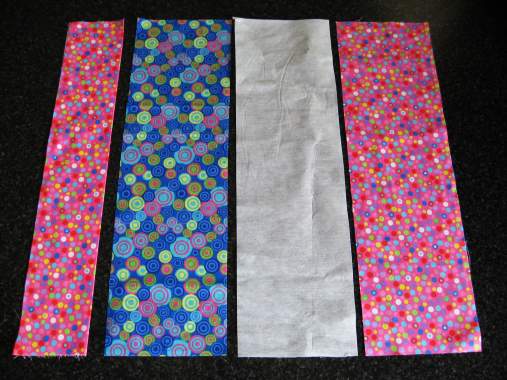
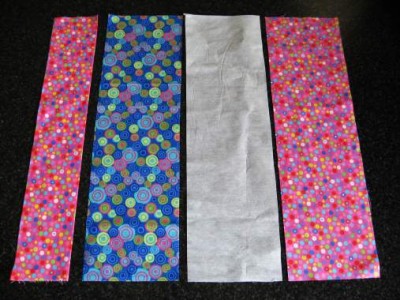
- Two pieces of fabric 5 X 16 1/2 inches (for the outside and inside)
- One 6 X 16 1/2 inch piece of fabric folded in half lengthwise and pressed (for the pocket)
- One piece of lightweight fusible interfacing 5 X 16 1/2 inches
- One package of ric rac trim
- 30 inches of ribbon
- One package of 16-count crayons
TIP: A rotary cutter, ruler and mat make it really easy to cut out these pieces. I love this folding cutting mat that also serves as an ironing board. (affiliate links)
How to Make a Crayon Roll in Five Easy Steps
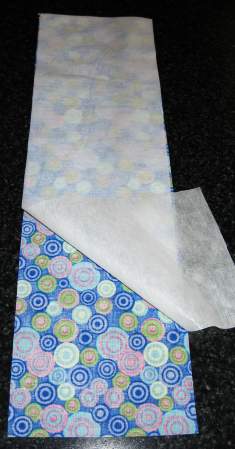
Step One: Iron the interfacing to the wrong side of the 5 X 16 1/2 piece of fabric that you want to be on the inside.
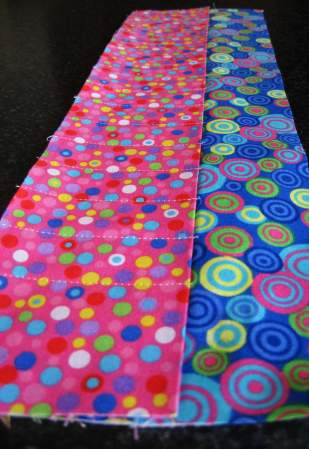
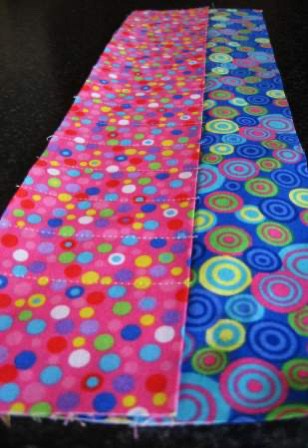
Step Two: Line up the bottom edges of the folded piece and the piece with interfacing and then pin them together. Starting over from the edge 1 1/4 inches sew lines parallel with the edge starting from the top of the crayon pocket, back-stitching at the top to reinforce. Sew the lines one inch apart across the pocket. You will have 1 1/4 inches on each side.
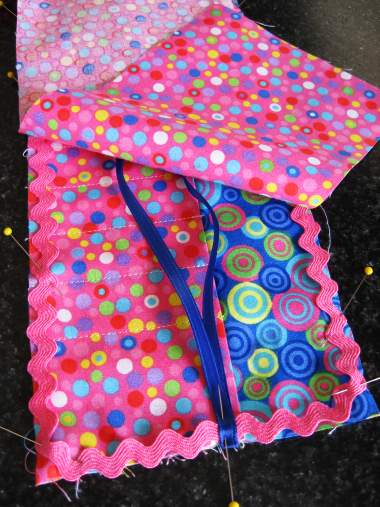
Step Three: If you want to use ric rac, pin it around the edge as shown. Fold the ribbon in half and pin it on the edge.
Note: On the one, I didn’t use ric rac I did a blanket stitch around the edge when finished.
Step Four: Pin the remaining piece of 5 X 16 1/2 inch fabric right sides together with the pocket piece. Sew around edges with 1/4 inch seam. Leave about 3 inches across the bottom for turning.
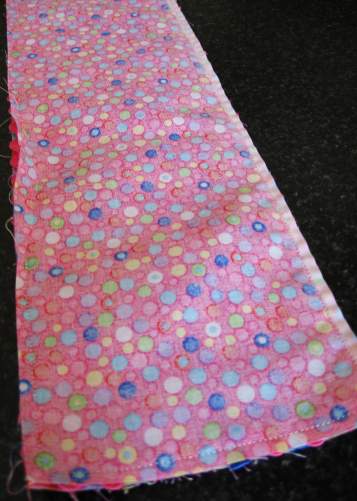
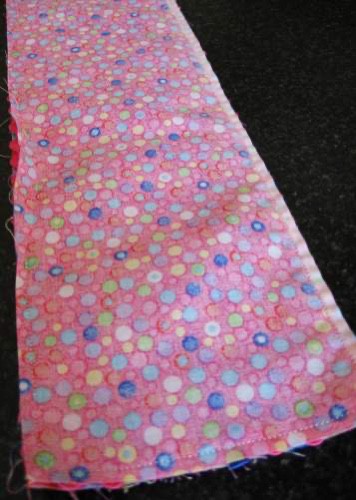
Step Five: Trim corners, turn, press and topstitch being careful to catch all layers of the opening to close.
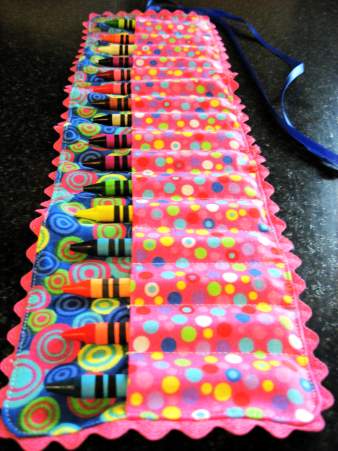
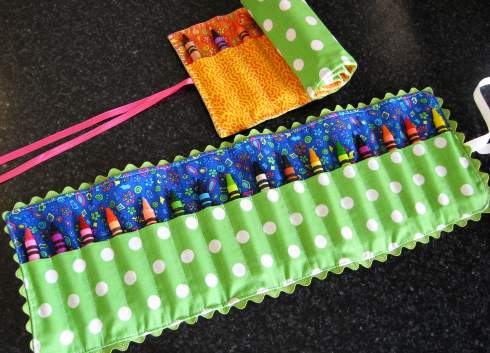
Welcome home Faith! We are so happy to have you join our family! How very lucky we are indeed to have you! Do you have a special child in your life that would love to have a fun way to hold their crayons?
Crayon Roll Variations To Try
Looking for a simpler version? Try this felt holder. It has a lot less sewing and whips up even quicker!

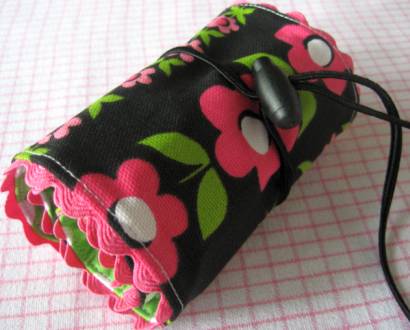
Check out this new closure for the fabric roll
More fun crayon crafts
I think that you like these additional crafts. Your kids will love using up their broken crayons to make fun new shapes, and the felt turkey holder and egg holder is perfect for your holiday kid’s table!
I would love to keep you fully stocked with creative ideas, yummy recipes, fun crafts, and loads of free printables. Subscribe to Skip to my Lou to get new ideas delivered to your inbox. Follow me on Facebook, Pinterest, Twitter, and Instagram for all my latest updates.
How to Make a Crayon Roll Crayon Holder
Equipment
- Pair of Scissors
- Iron
Ingredients
- Two pieces of fabric 5 X 16 1/2 inches for the outside and inside
- One 6 X 16 1/2 inch piece of fabric folded in half lengthwise and pressed for the pocket
- One piece of lightweight fusible interfacing 5 X 16 1/2 inches
- One package of ric rac trim
- 30 inches of ribbon
- One package of 16 count crayons
Instructions
- Iron the interfacing to the wrong side of the 5 X 16 1/2 piece of fabric that you want to be on the inside.
- Line up the bottom edges of the folded piece and the piece with interfacing and then pin together. Starting over from the edge 1 1/4 inches sew lines parallel with the edge starting from the top of the crayon pocket, back-stitching at the top to reinforce. Sew the lines one inch apart across the pocket. You will have 1 1/4 inches on each side.

- If you want to use ric rac, pin it around the edge as shown. Fold the ribbon in half and pin it on the edge. Note: On the one, I didn't use ric rac I did a blanket stitch around the edge when finished.
- Pin the remaining piece of 5 X 16 1/2 inch fabric right sides together with the pocket piece. Sew around edges with 1/4 inch seam. Leave about 3 inches across the bottom for turning.
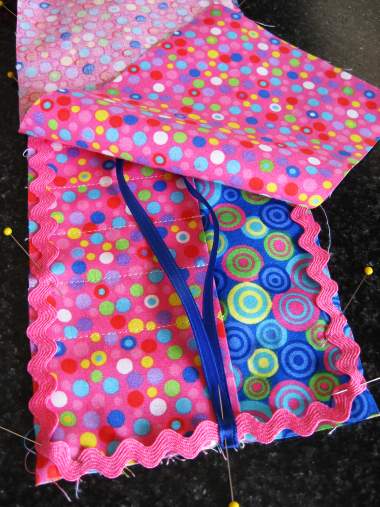
- Trim corners, turn, press and topstitch being careful to catch all layers of the opening to close
- TIP: A rotary cutter, ruler and mat make it really easy to cut out these pieces. I love this folding cutting mat that also serves as an ironing board. (affiliate links)



Yes, KJ! Just make it taller. I think it would be great for markers.
Do you think this could be made for markers/
Hi
Thank you so much for your wonderful tutorial
for your crayon roll up.
Hope your niece enjoys her crayon roll up, I am sure she will
enjoy it so much.
She is adorable, I am sure you will find new and exciting new projects for her. Please share.
Thanks again
Gail
Oh, my GOD! This is GENIUS! I’m starting to think that eeeeverybody from my surroundings is going to get this for Christmas. So what if they are adults?
I just finished one of these for a granddaughters easter basket. It was so easy to follow the instructions with the photos. Thank you so much for sharing!!!
Love it!! I gave them as a gift for my third graders at school. Now they have their markers organize and safe for all year long. Thanks a lot!!!