Hello, I’m Rin. Visiting today from my blog, Sew in Love (www.sewinlove.com.au).
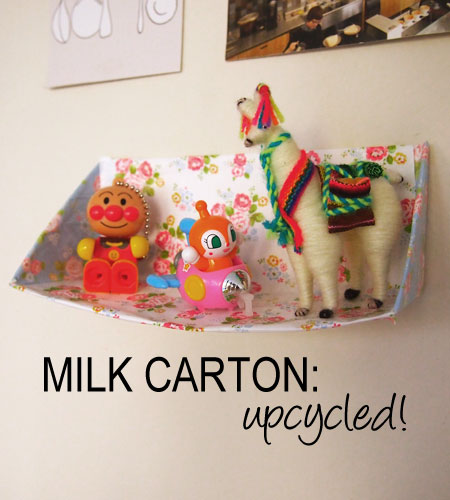
Do you have sweet little nick-nacks lying around the house, waiting for the perfect place to be displayed? Here’s a fast and easy upcycling project, to turn a milk carton into a mini shelf!
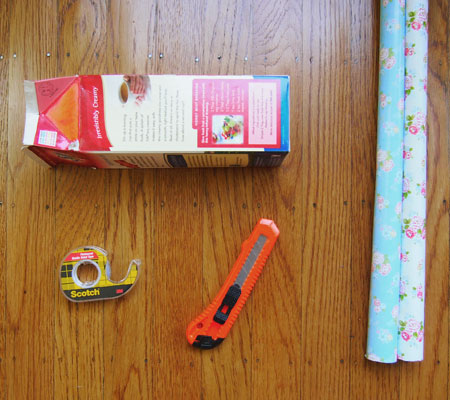
What you’ll need:
– Milk carton
– Wrapping paper
– Double sided sticky tape
– Utility knife
– Scissors
– Ruler
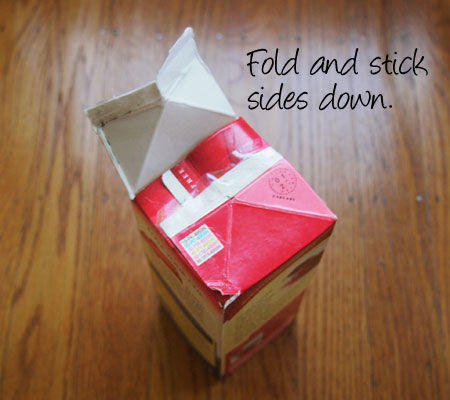
STEP 1
Trim and fold down the open end of the milk carton. Close the opening using sticky tape.
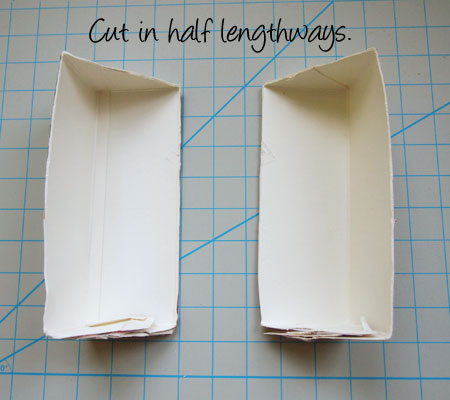
STEP 2
Cut the milk carton open, by slicing diagonally across the smaller ends and then, cutting lengthways down the carton. One carton creates two shelves.
STEP 3
Cover shelves using the wrapping paper and double sided tape.
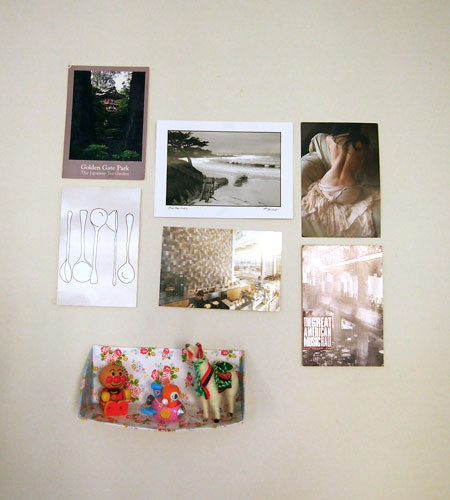
I used 3M strips to attach my shelves to the wall. What little cute things are you going to display on your milk carton shelf?
For more craft ideas, and lots of free sewing patterns, please come visit me at Sew in Love (sewinlove.com.au).
Love Rin xx


Oh my goodness, this is just adorable! I love the convenient little shelf, and I bet you could give it a little more support buy layering them 🙂