One of our favorite craft ideas is origami tutorials, and today, become royalty as we are going to show you how you can make a paper crown.
Not only is it a really easy project, but it’s a fun way to keep your kids occupied and away from their phones and tablets for a while.
Let your children bring out their inner queen and king and a glitzy royal look. Making a royal crown is a great idea for your child’s next birthday party and our super-easy guide provides not only step-by-step instructions but a video to follow too. It really rounds off a princess or prince homemade costume too.
We have a wide range of easy paper crafts and creative activities featuring various paper shapes at Skip to My Lou, perfect for school holidays! These include Make a Simple Origami Gift Bag, Fold an Origami Bow Tie, and Money Origami Shirt a Creative Way to Give Cash!

Origami is the Perfect Way to Fuel Creativity
Origami is not only an excellent stress reliever for adults, but it also offers numerous benefits for children. Engaging in origami helps children develop their concentration and focus as they work on intricate folding tasks.
It also enhances their problem-solving skills and builds patience, as they must carefully follow steps to achieve the desired outcome. Other than the obvious cognitive benefits, origami can also boost creativity and fine motor skills, making it a valuable and enjoyable activity for people of all ages.
Supplies Needed
You will need the following supplies:
- A pair of scissors
- Square pieces of paper and rectangular pieces of paper
- Glue
- Pencil
- Gemstones
Video: How To Fold An Origami Crown
Folding an Origami Crow: Step-by-step Instructions
Here’s how to fold the paper step-by-step to end up with an origami crown. Remember to check the video if you aren’t sure of the exact fold in one of the steps.
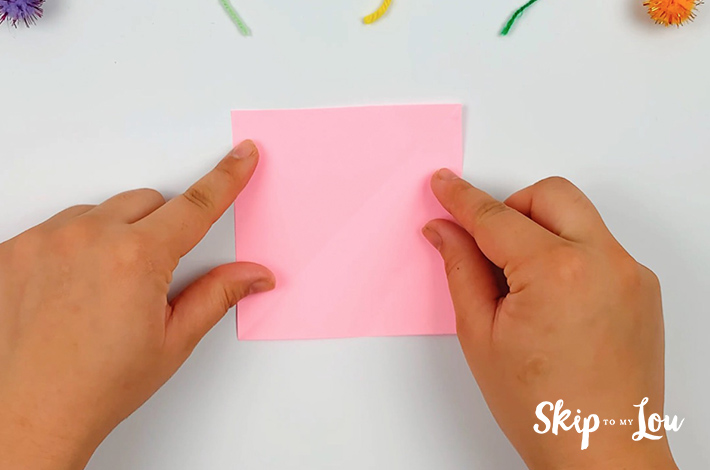
Step 1: You’ll need quite a few pieces of square paper like this to make each spike of the origami crown. The number of pieces of paper you will need depends on the size of the crown you’d like to make. Thick gold paper, silver paper, or the fanciest paper you have will make the crown even more magnificent, but I have found that any shiny paper works really well. Thicker paper can be tricky to fold, however, so bear that in mind.
Step 2: Fold the paper in half along a straight line, as shown in the image below. You can do this by folding a triangle from one side to the opposite side.
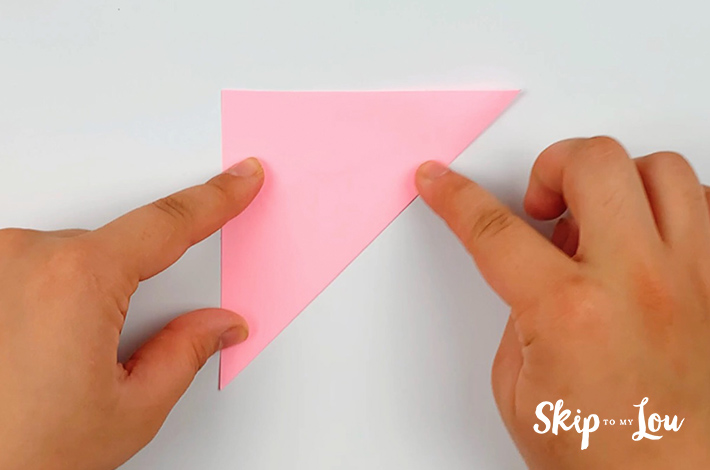
Step 3: Unfold the paper, and turn it so one of the corners of the square points upwards.
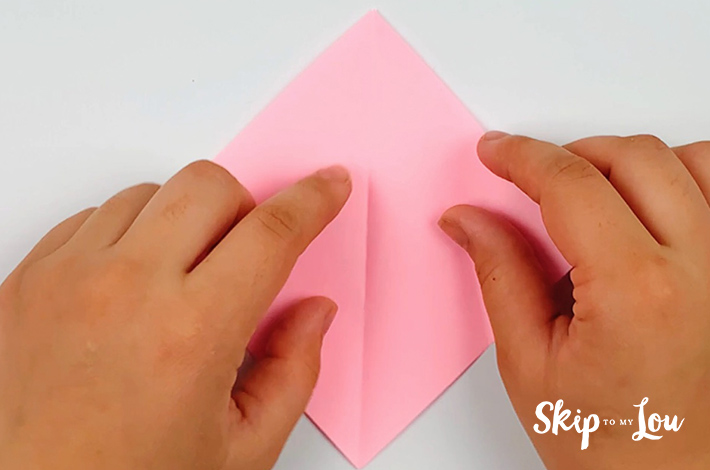
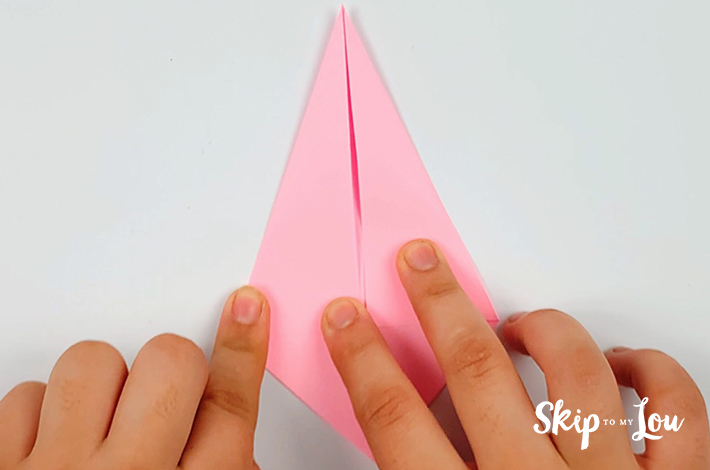
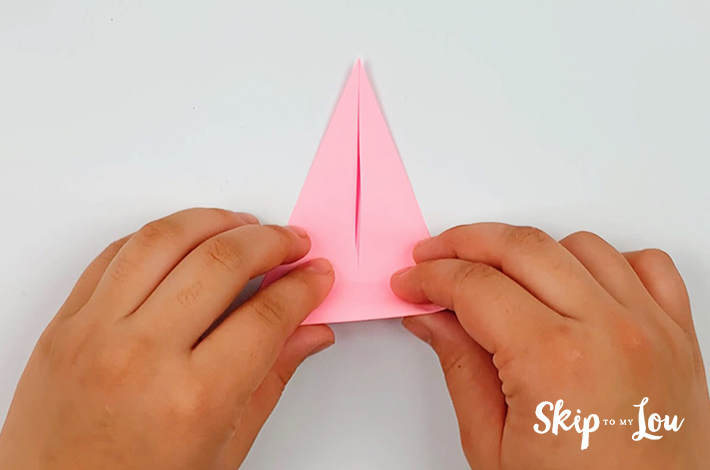
Step 4: Now fold the right-hand side of the paper to the center line and then do the same for the left-hand side.
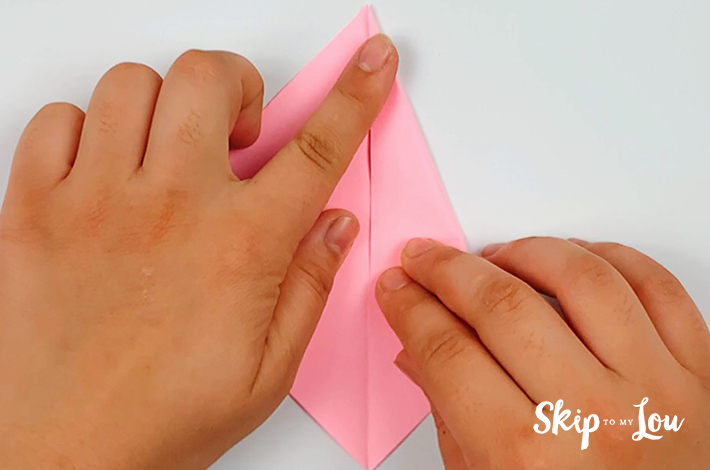
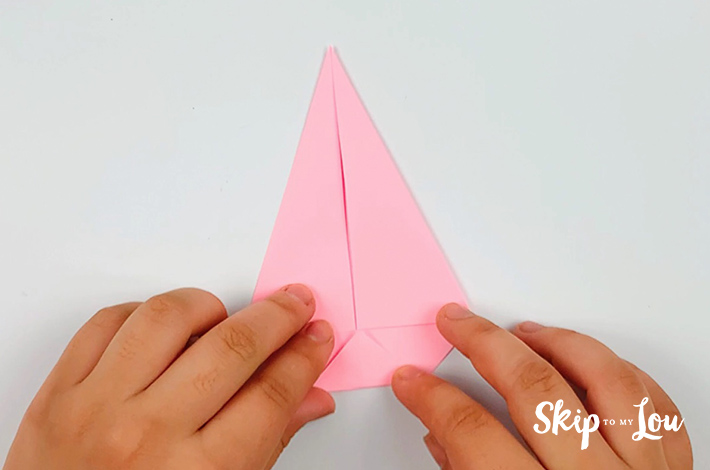
Step 5: Fold the bottom section of the paper upwards, as shown in the picture below. You want to form a small triangular point that touches the two other folds.
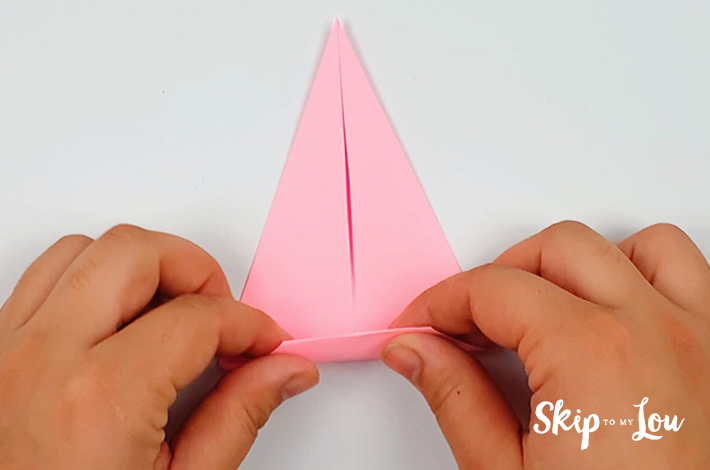
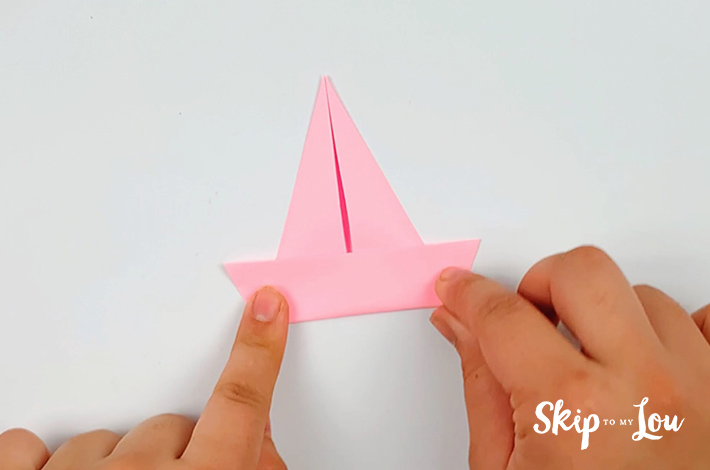
Step 6: Now fold from the bottom again. This forms a straight fold as show in the images below.
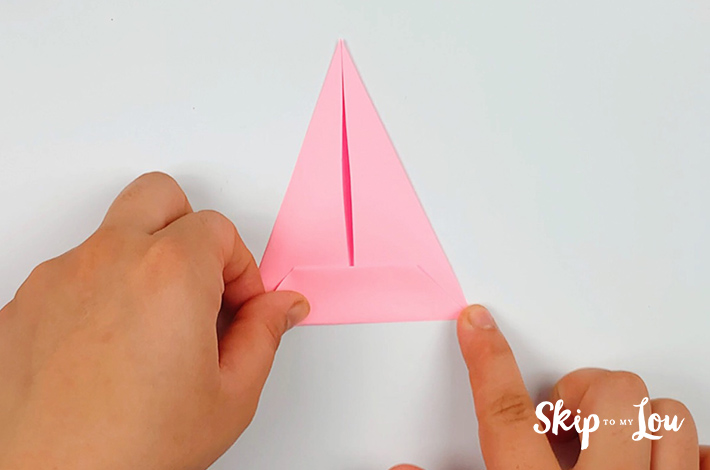
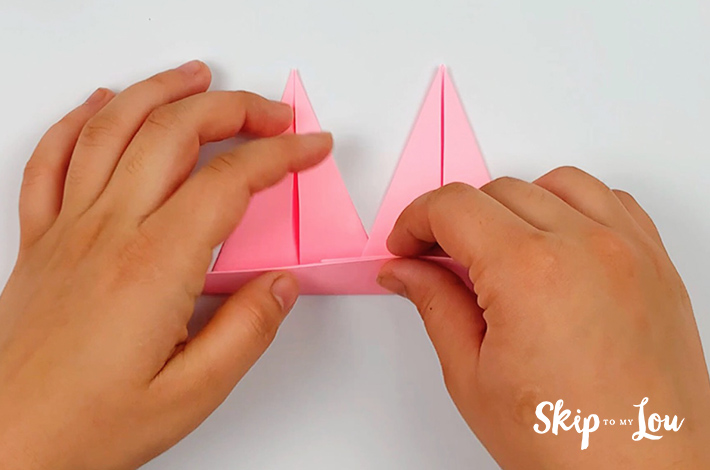
Step 7: Fold up from the bottom again. The paper will look similar to the silhouette of a sailing ship. You’ve completed the first spike. Now fold another piece of square paper in the same way, and we will show you how to connect them.
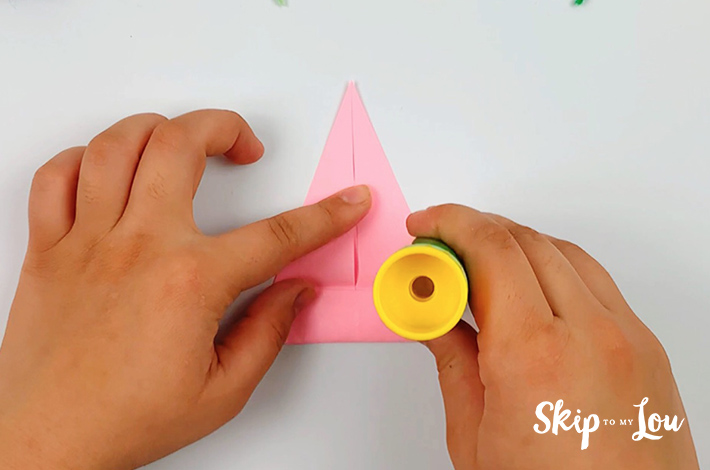
Step 8: Unfold the bottom section of the first pike and apply some glue. Place the second spike on the glued area and fold the bottom section of the paper upwards again. The video shows this clearly if you are struggling to follow these steps.
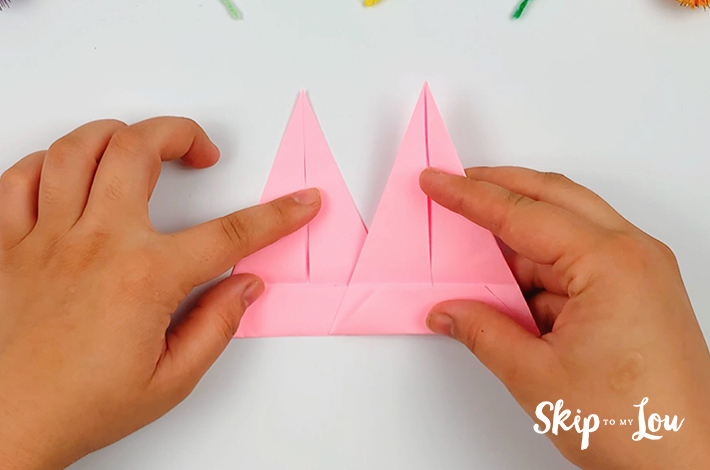
Step 9: Now make the rest of the crown spikes and secure them in the same manner. You could use a stapler, as long as the crown is loose-fitting, but we think glue is better.

Step 10: It’s time to add an easy-to-make decoration. Using a pencil, draw the shape shown below on a thin, rectangular piece of paper.
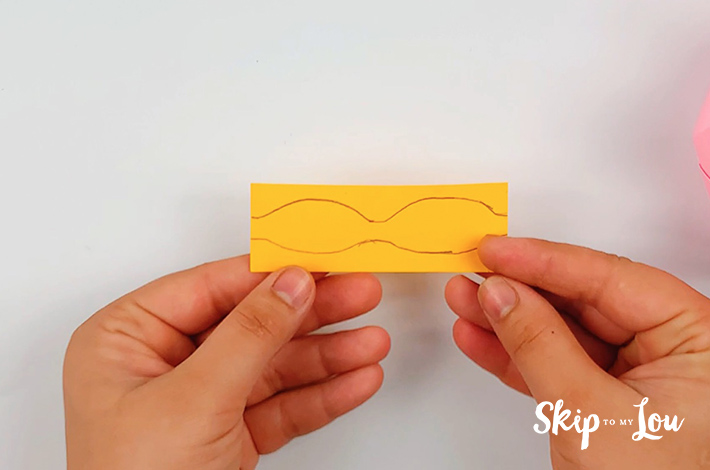
Step 11: Using a pair of scissors, cut out the shape.
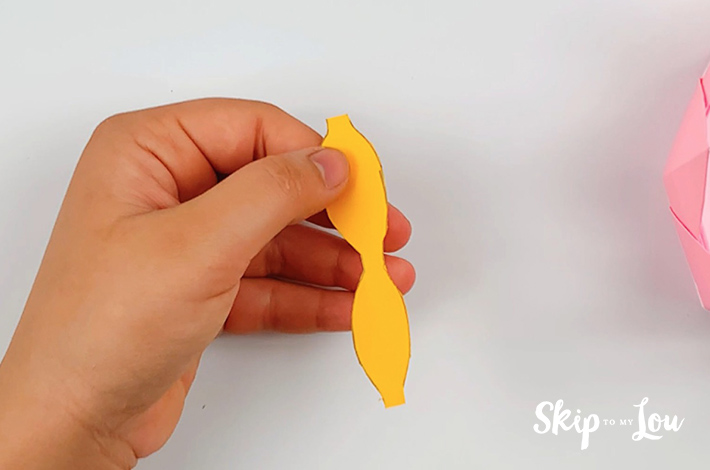
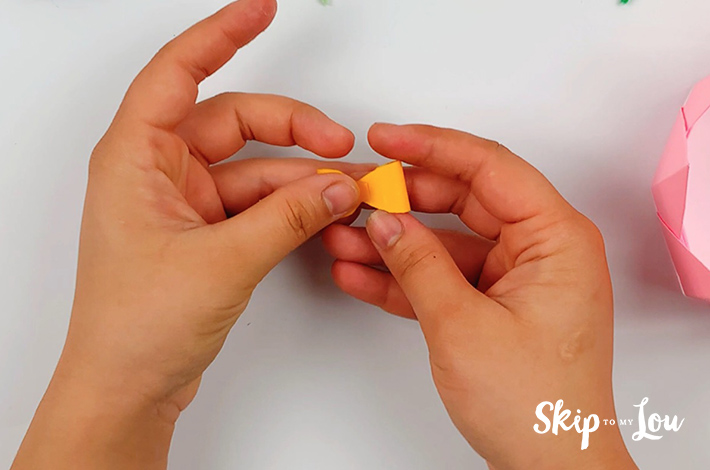
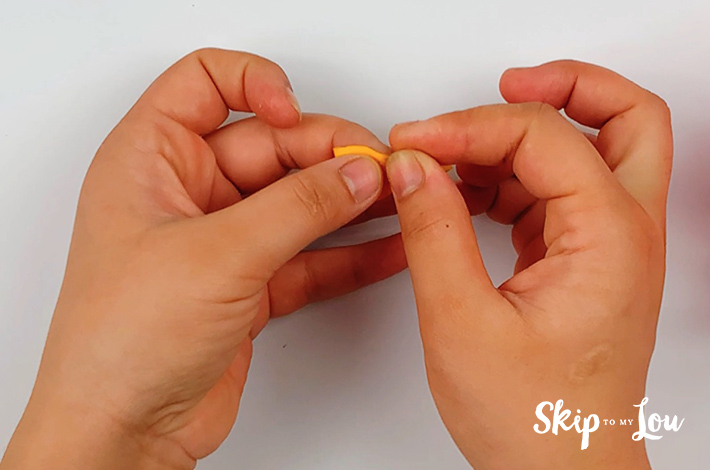
Step 12: Add some glue to the middle, then fold over the left and right sides and stick them down.
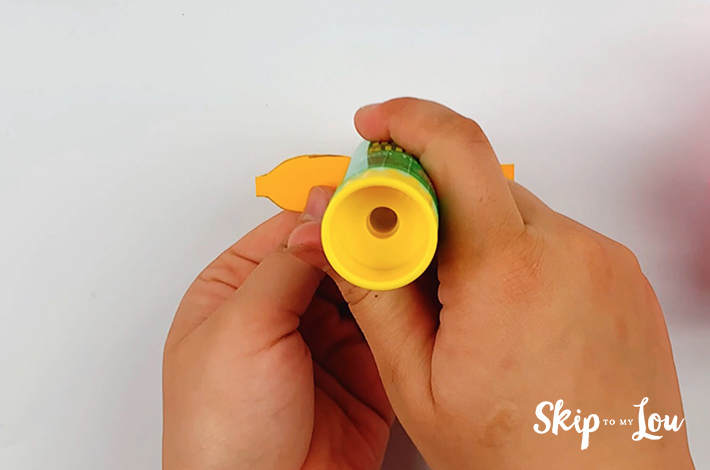
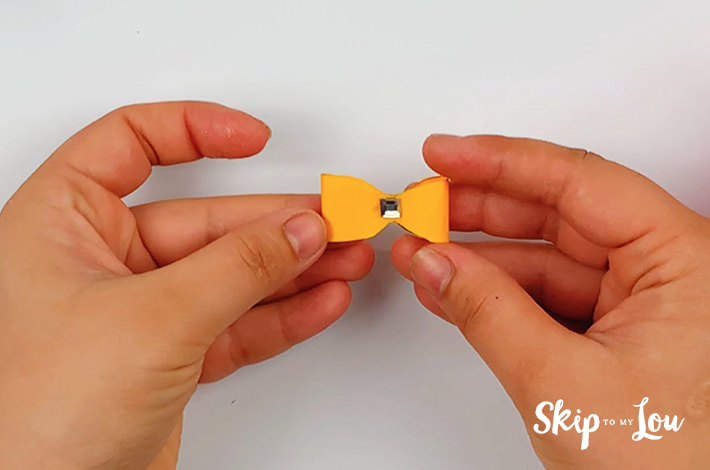
Step 13: Finally, secure a gemstone (or any other added piece of bedazzlement) and you’ve completed your first origami crown decoration.

Step 14: Now make the rest of the decorations and apply them to the base of the origami crown.
And there you have the perfect fancy reusable crown, fit for any royal occasion and certainly to become one of your kids’ origami favorites.
Add Other Unique Decorations
While our origami crowns feature paper ribbons, encourage your child to add their own decorations to their shimmering paper crown for some extra glamour.
These could include adding:
- Buttons
- Glitter
- Plastic gems, jewels, or other gem shapes
Other Easy Paper DIY Crafts
At Skip to My Lou, we have a wide range of craft interests. Why don’t you try out the following?
- Paper Towel Butterflies
- Paper Flowers
- Tissue Paper Color Transfer Wall Art
- Make a Simple Origami Gift Bag {Free Craft Idea}
- Cat Bookmark
- Thank You Gifts Printable Craft
- Folding An Easy Origami Leaf: A Step-by-Step Guide
I would love to keep you fully stocked with creative ideas, yummy recipes, fun crafts, and loads of free printables. Subscribe to Skip to my Lou to get new ideas delivered to your inbox. Follow me on Facebook, Pinterest, Twitter, and Instagram for all my latest updates.


