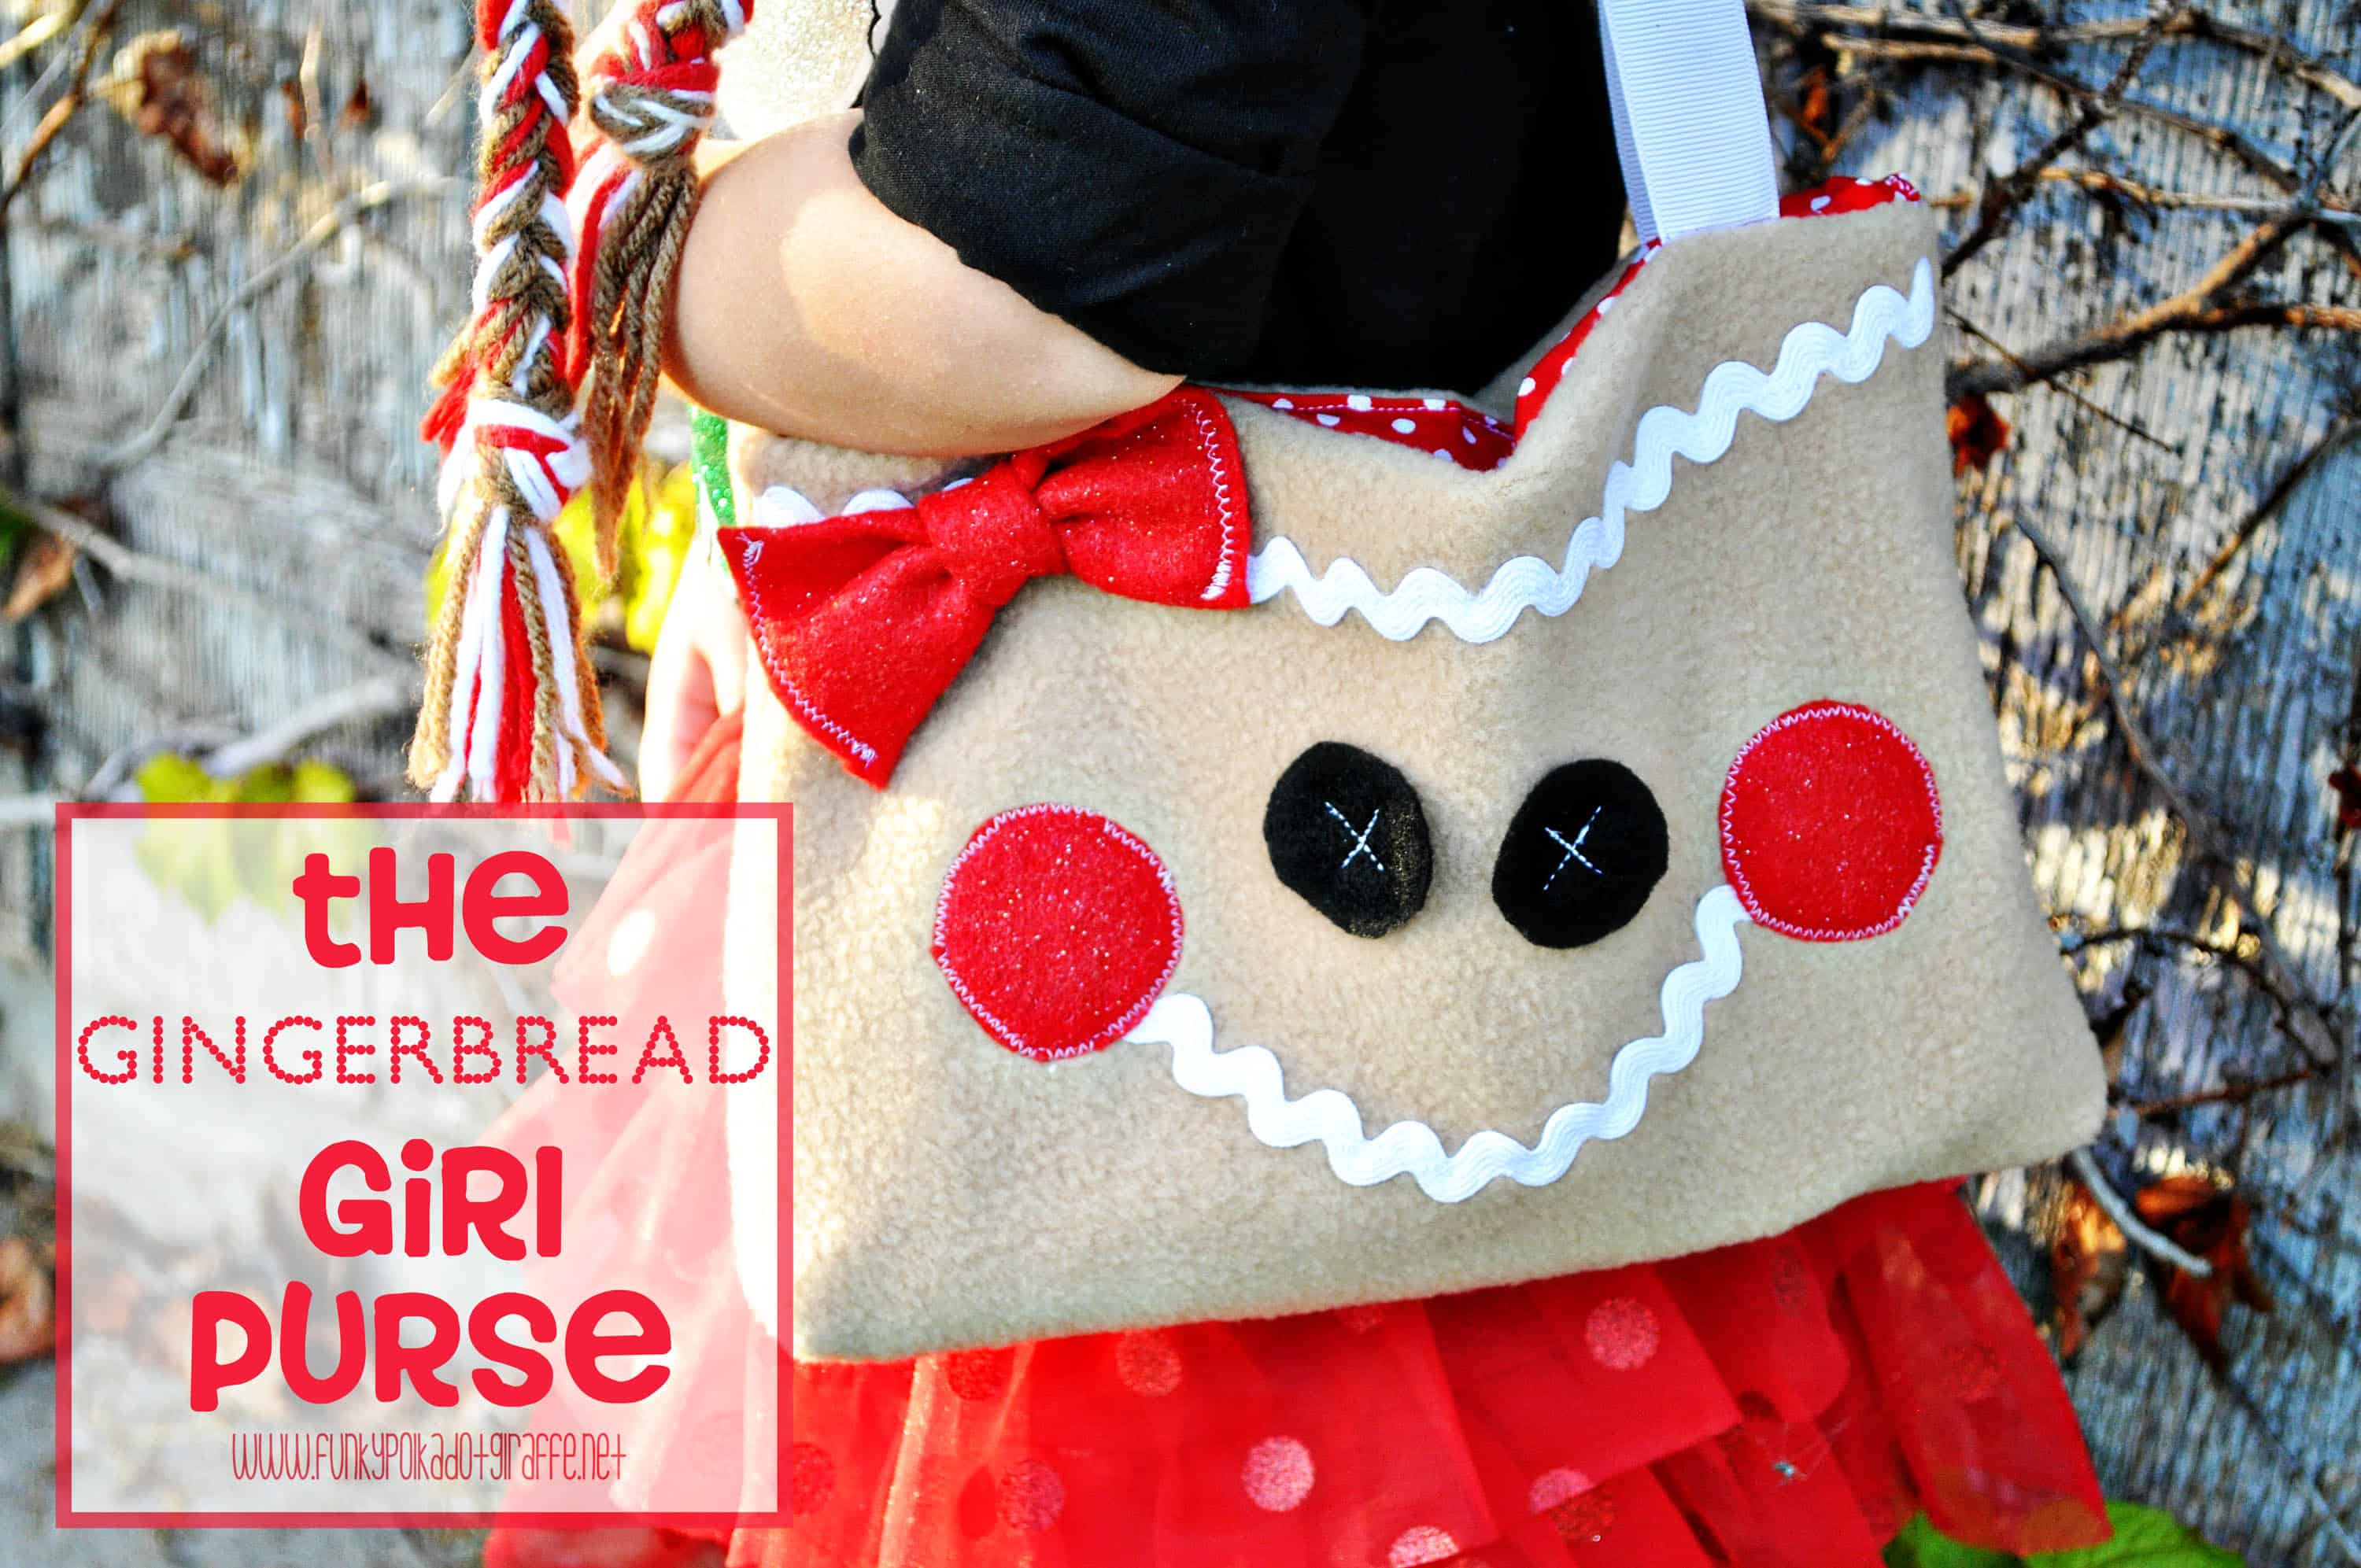
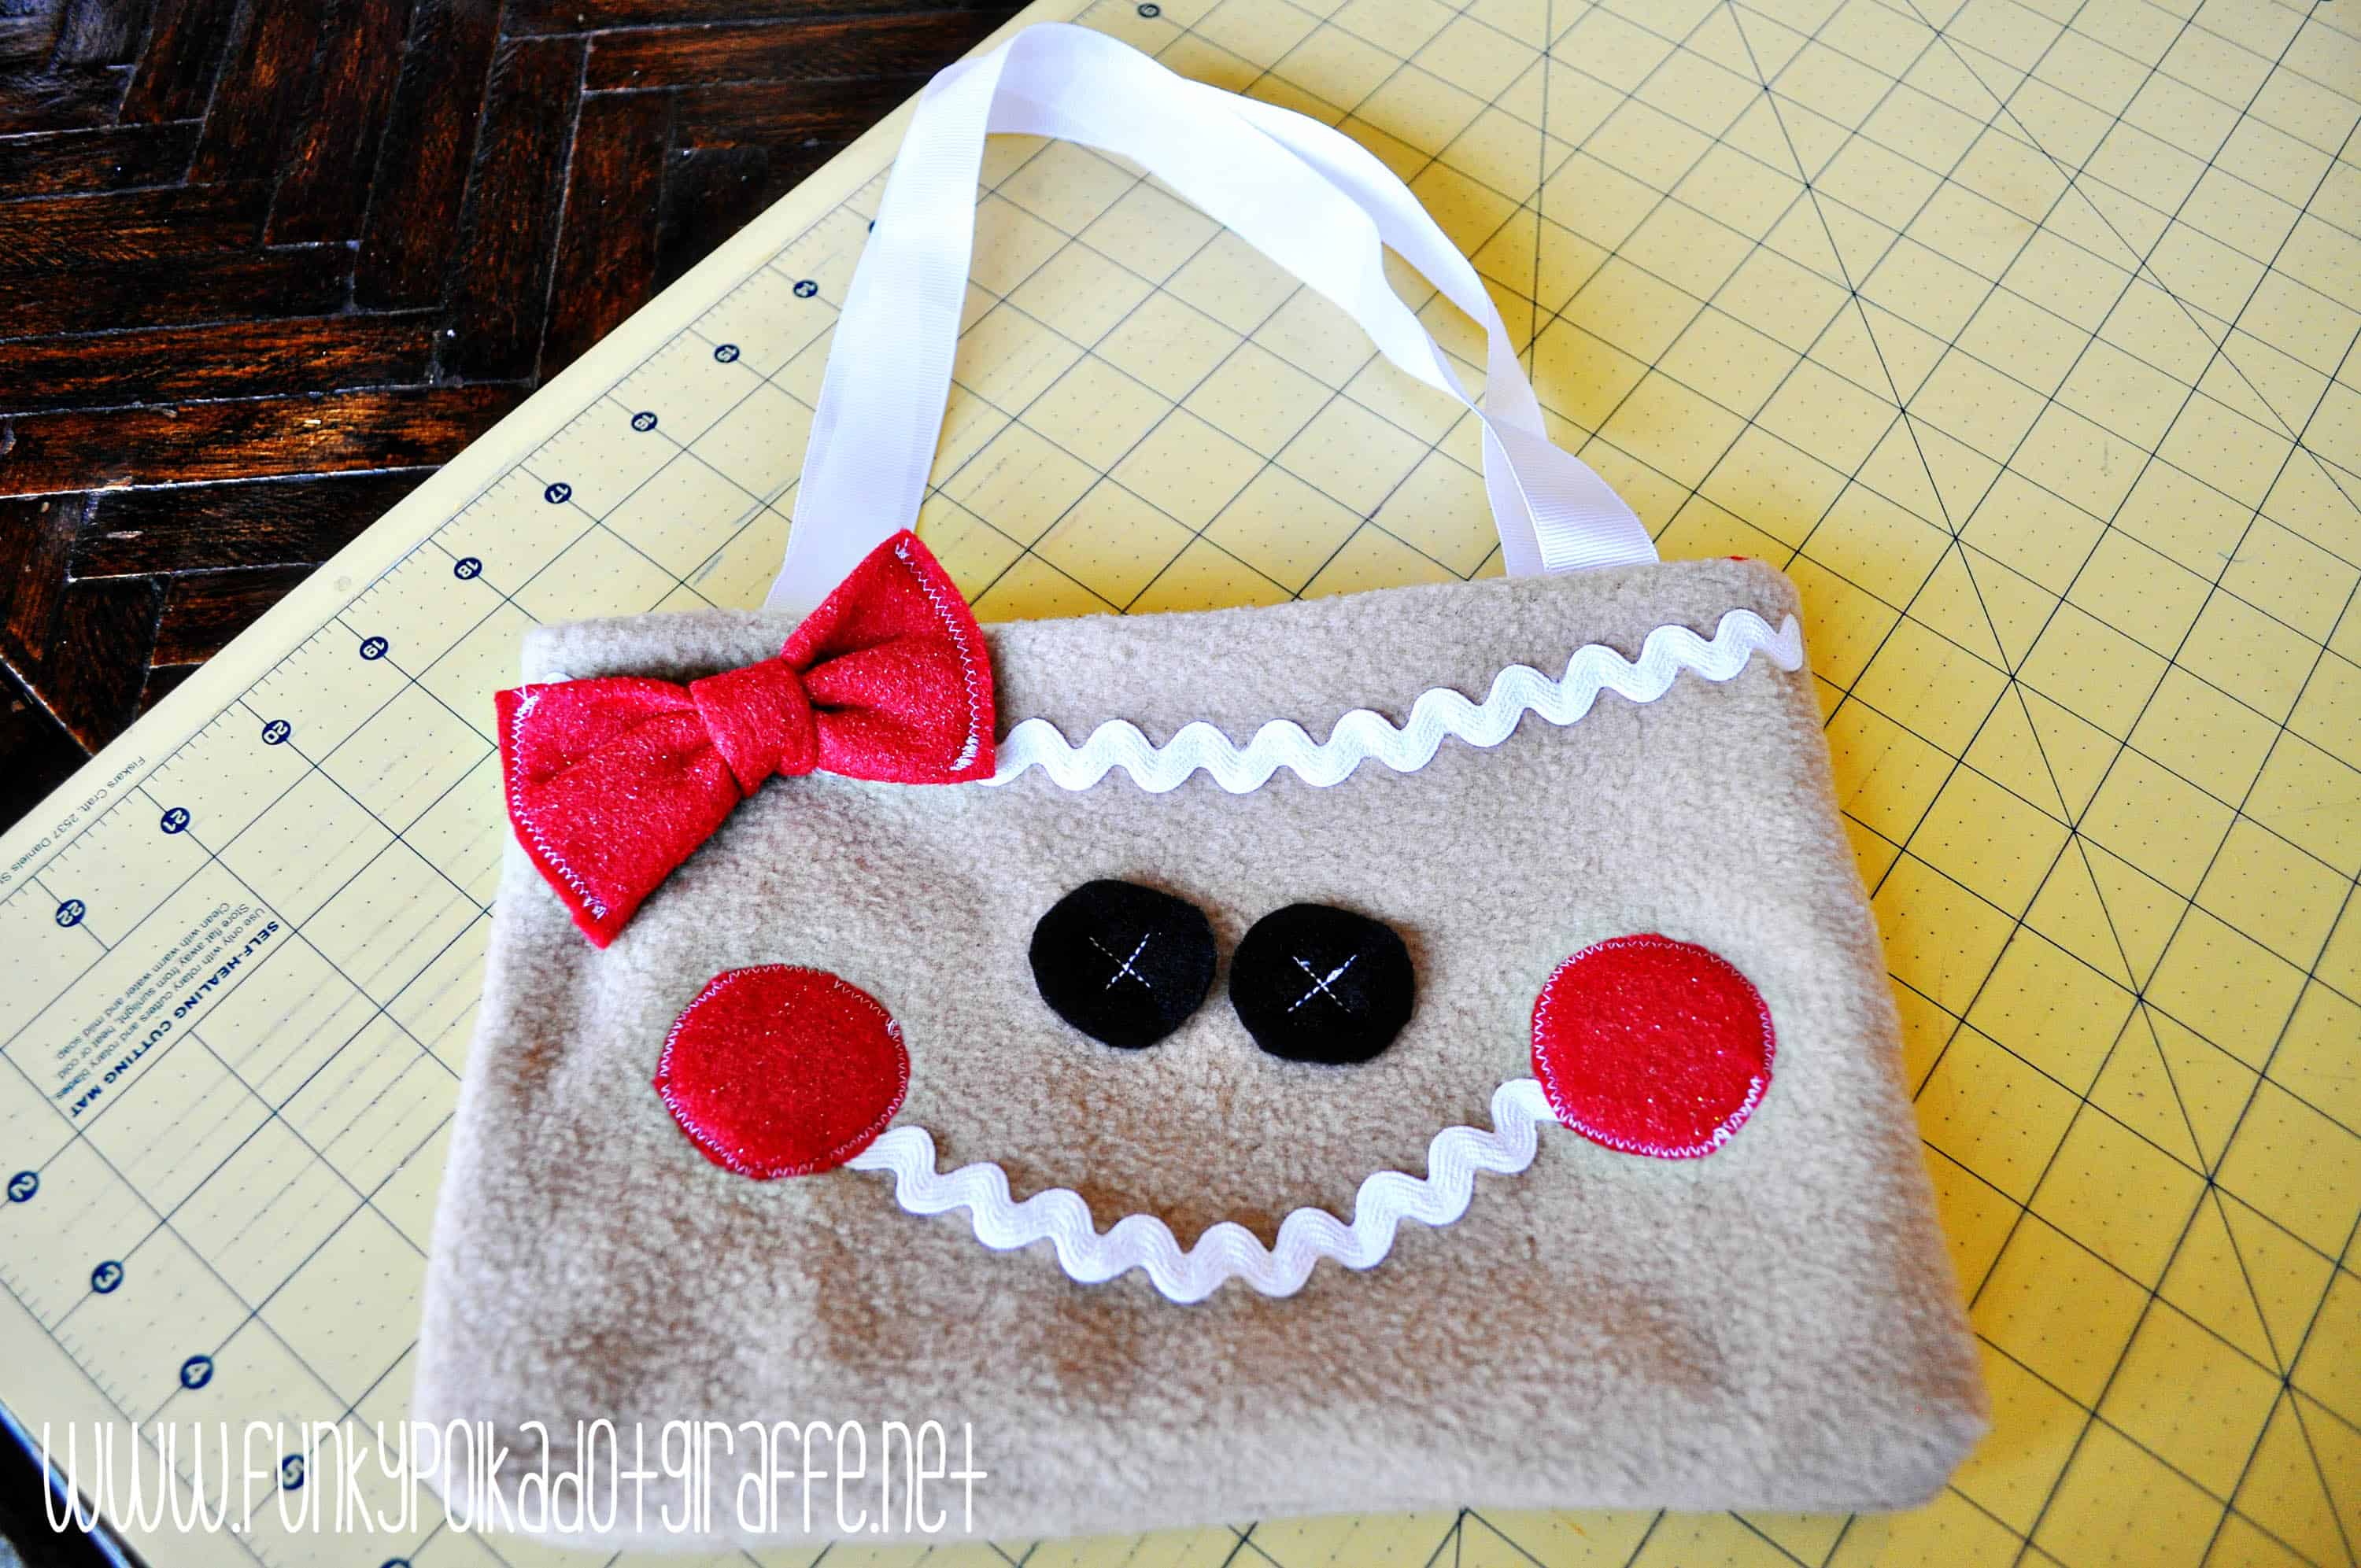
This Little Girl Gingerbread Purse will make any little girl swoon this Christmas. Make a few up for all the little girls on your list. She is sure to love it.
Little girls love to have a cute purse to carry all their little trinkets around in.
Related: You may also like this wooden baby teether to make for the baby on your list.
This sweet little girl purse is made of soft fleece, a bit of felt, ric-rac, some ribbon, and cotton print fabric. The tote purse took me about an hour to put together.
SUPPLIES
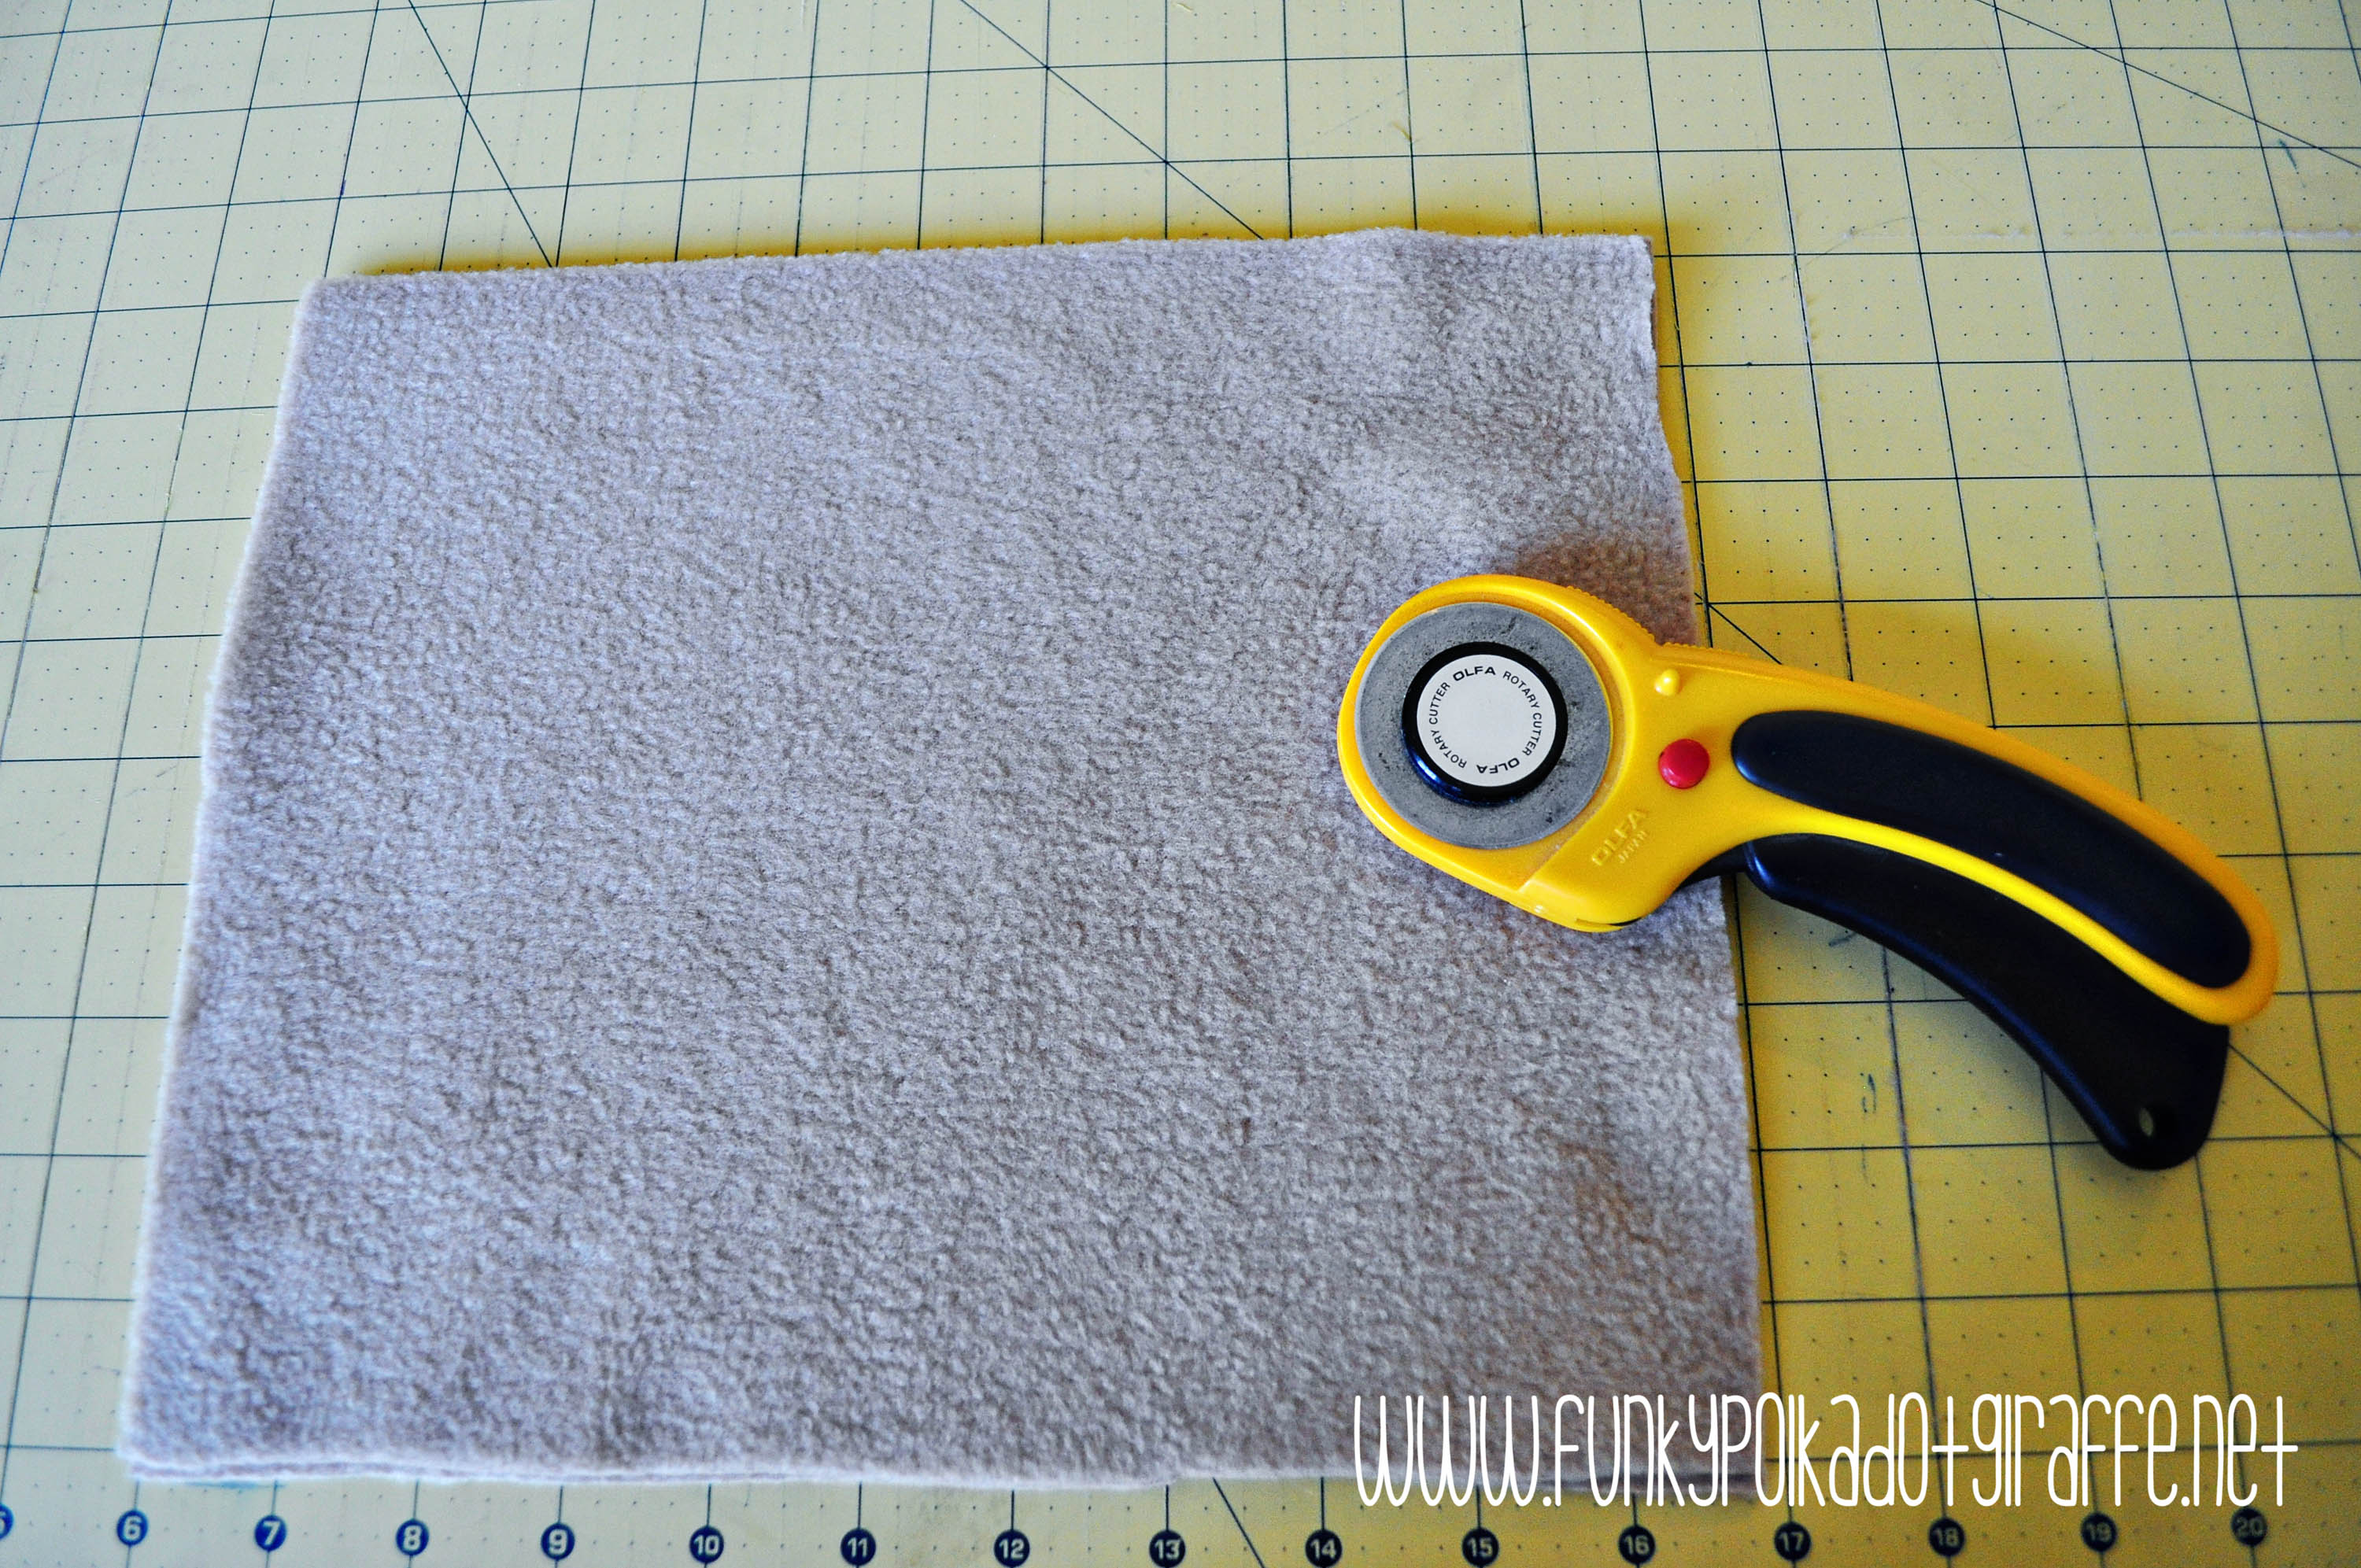
- 2 pieces of brown fleece cut to 9″x11″
- 2 pieces of red cotton fabric cut to 9″x11″
- 2 pieces of 5/8″ white ribbon cut 16″ long
- scraps of black and red felt for eyes, cheeks, bow {optional}
- white ric-rac (about 12″)
- scissors
- sewing machine
- pins
- basting adhesive {optional}
This article contains affiliate links.
My Favorite Sewing Tools
I would love to keep you fully stocked with creative ideas, yummy recipes, fun crafts, and loads of free printables. Subscribe to Skip to my Lou to get new ideas delivered to your inbox. Follow me on Facebook, Pinterest, Twitter, and Instagram for all my latest updates.
DIRECTIONS
- Cut two pieces of brown fleece to 9″x11″
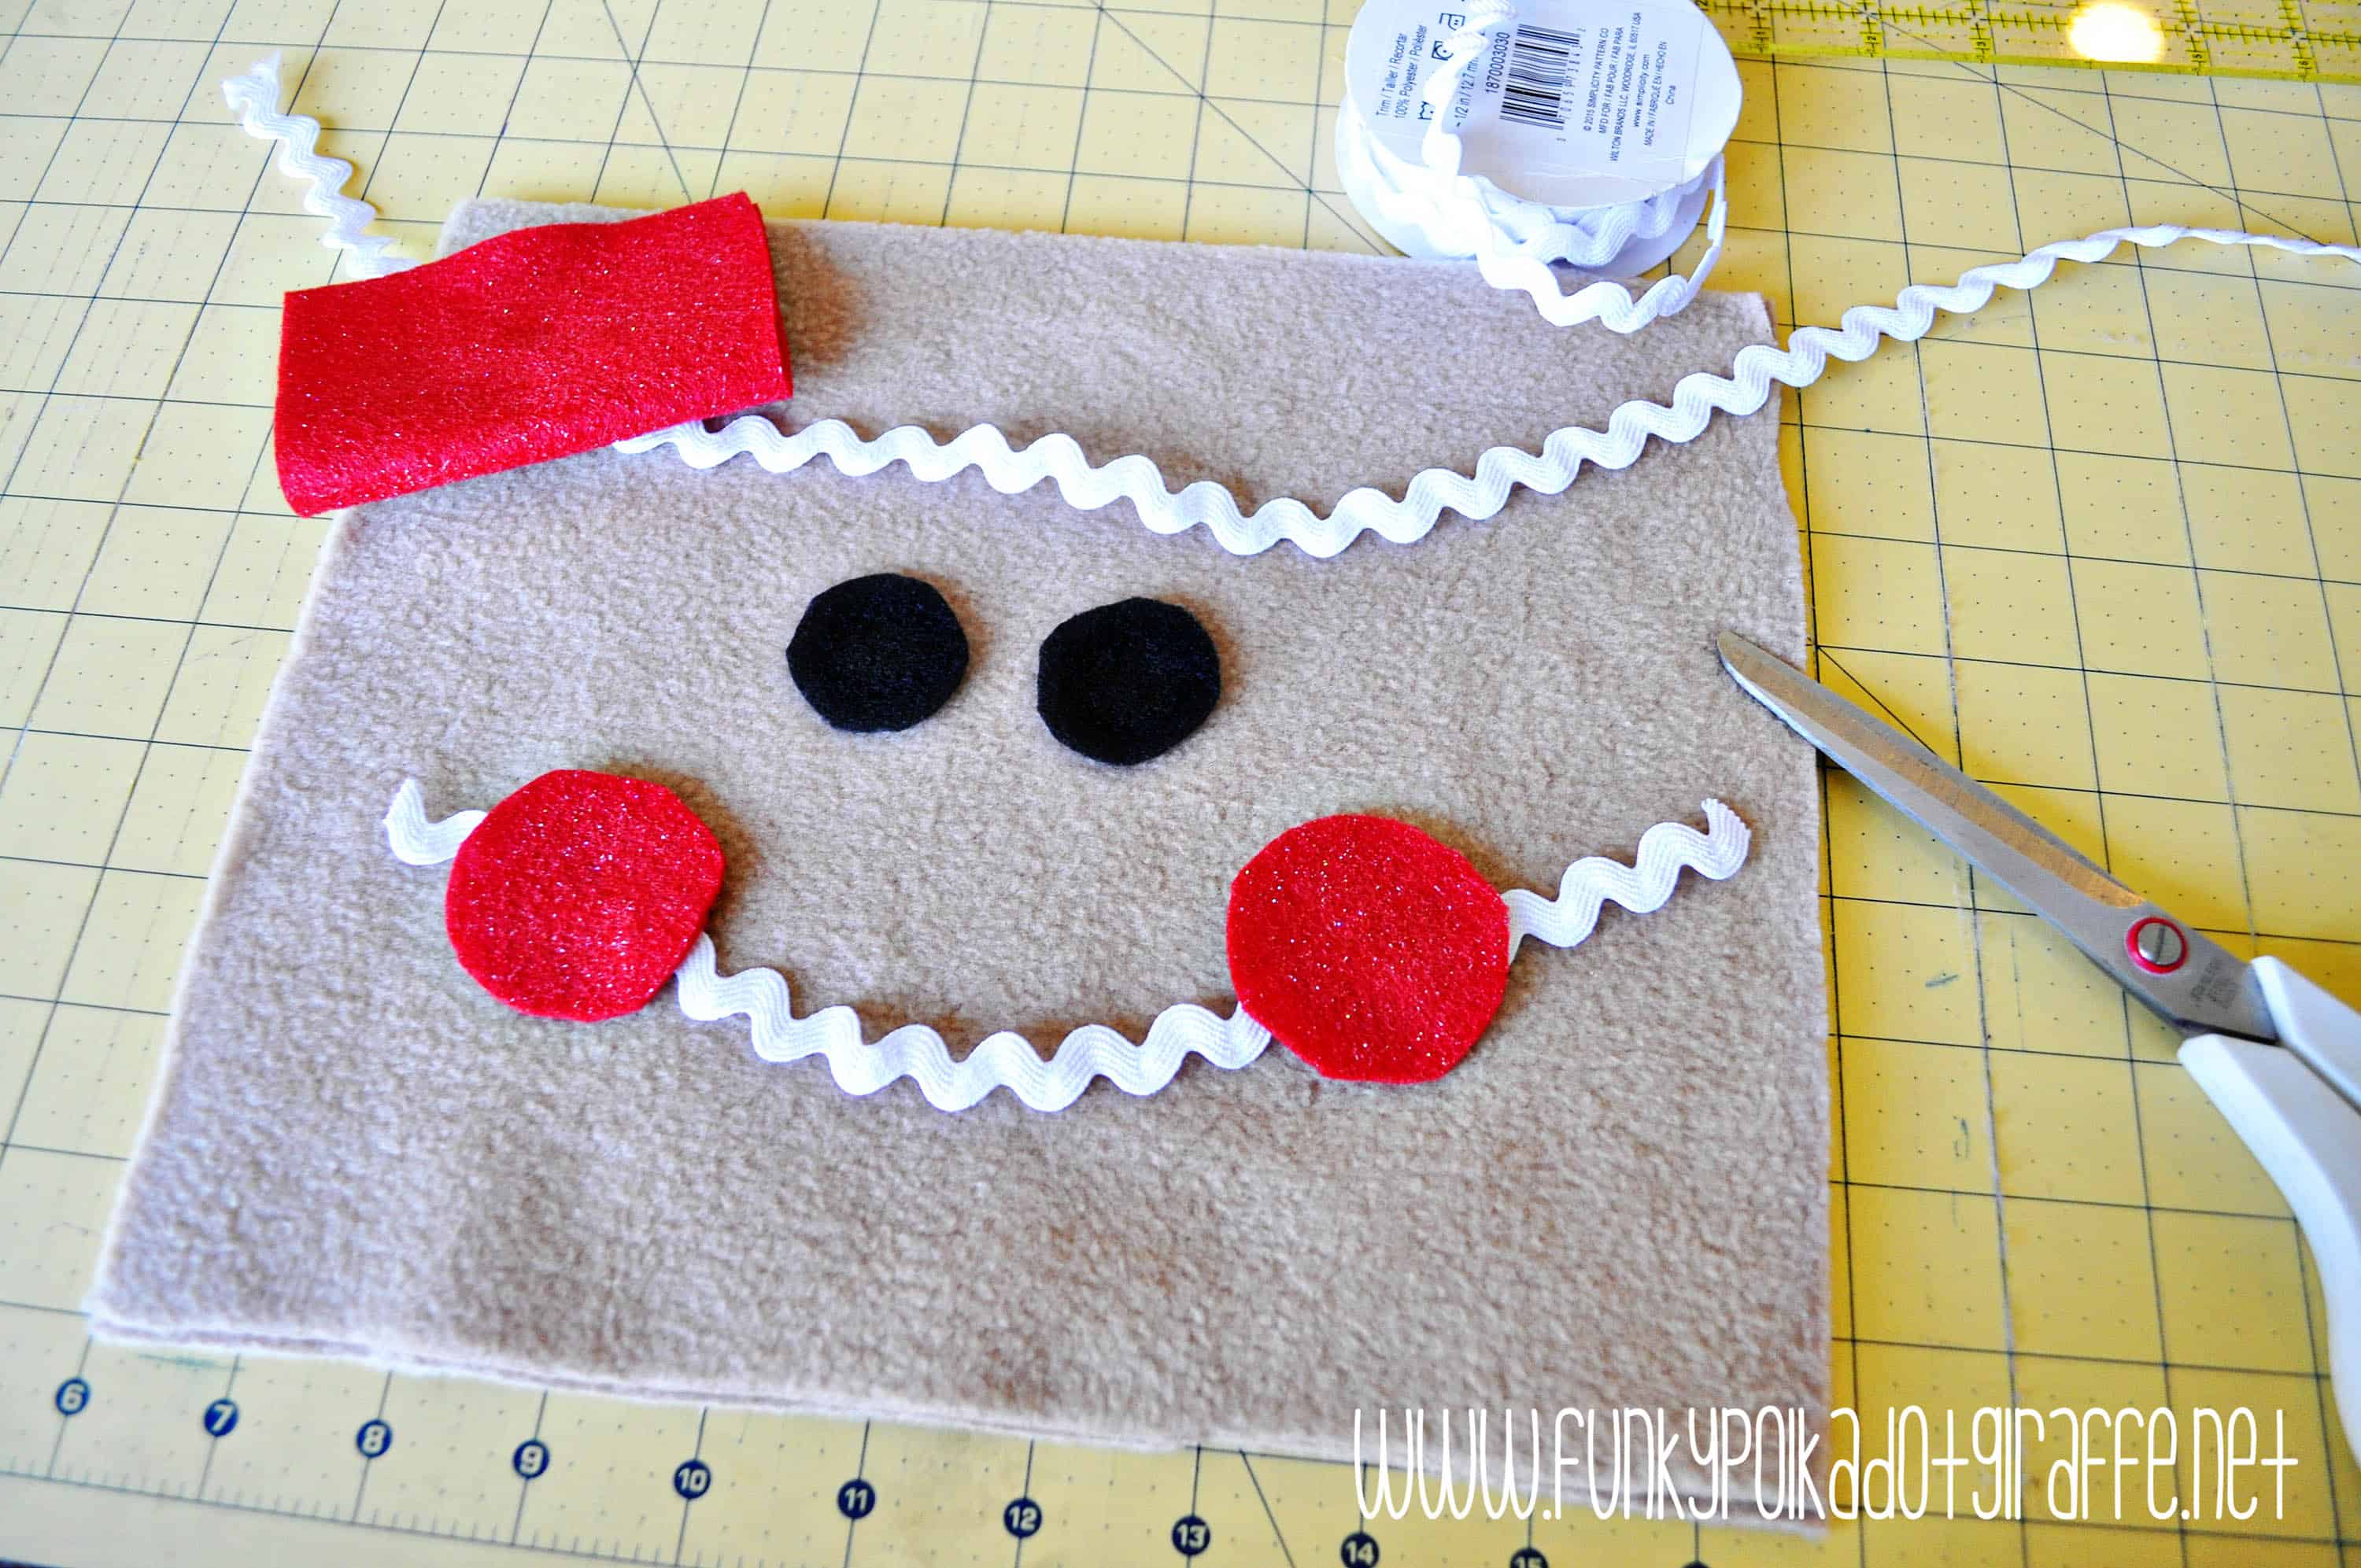
- Cut the pieces for the gingerbread girl’s face from scraps of felt. (I used glitter felt for the cheeks because I like the pop it added.)
- Place the face on the brown fleece, determine how much ric-rac is needed for the frosting stripes and it is time to sew.
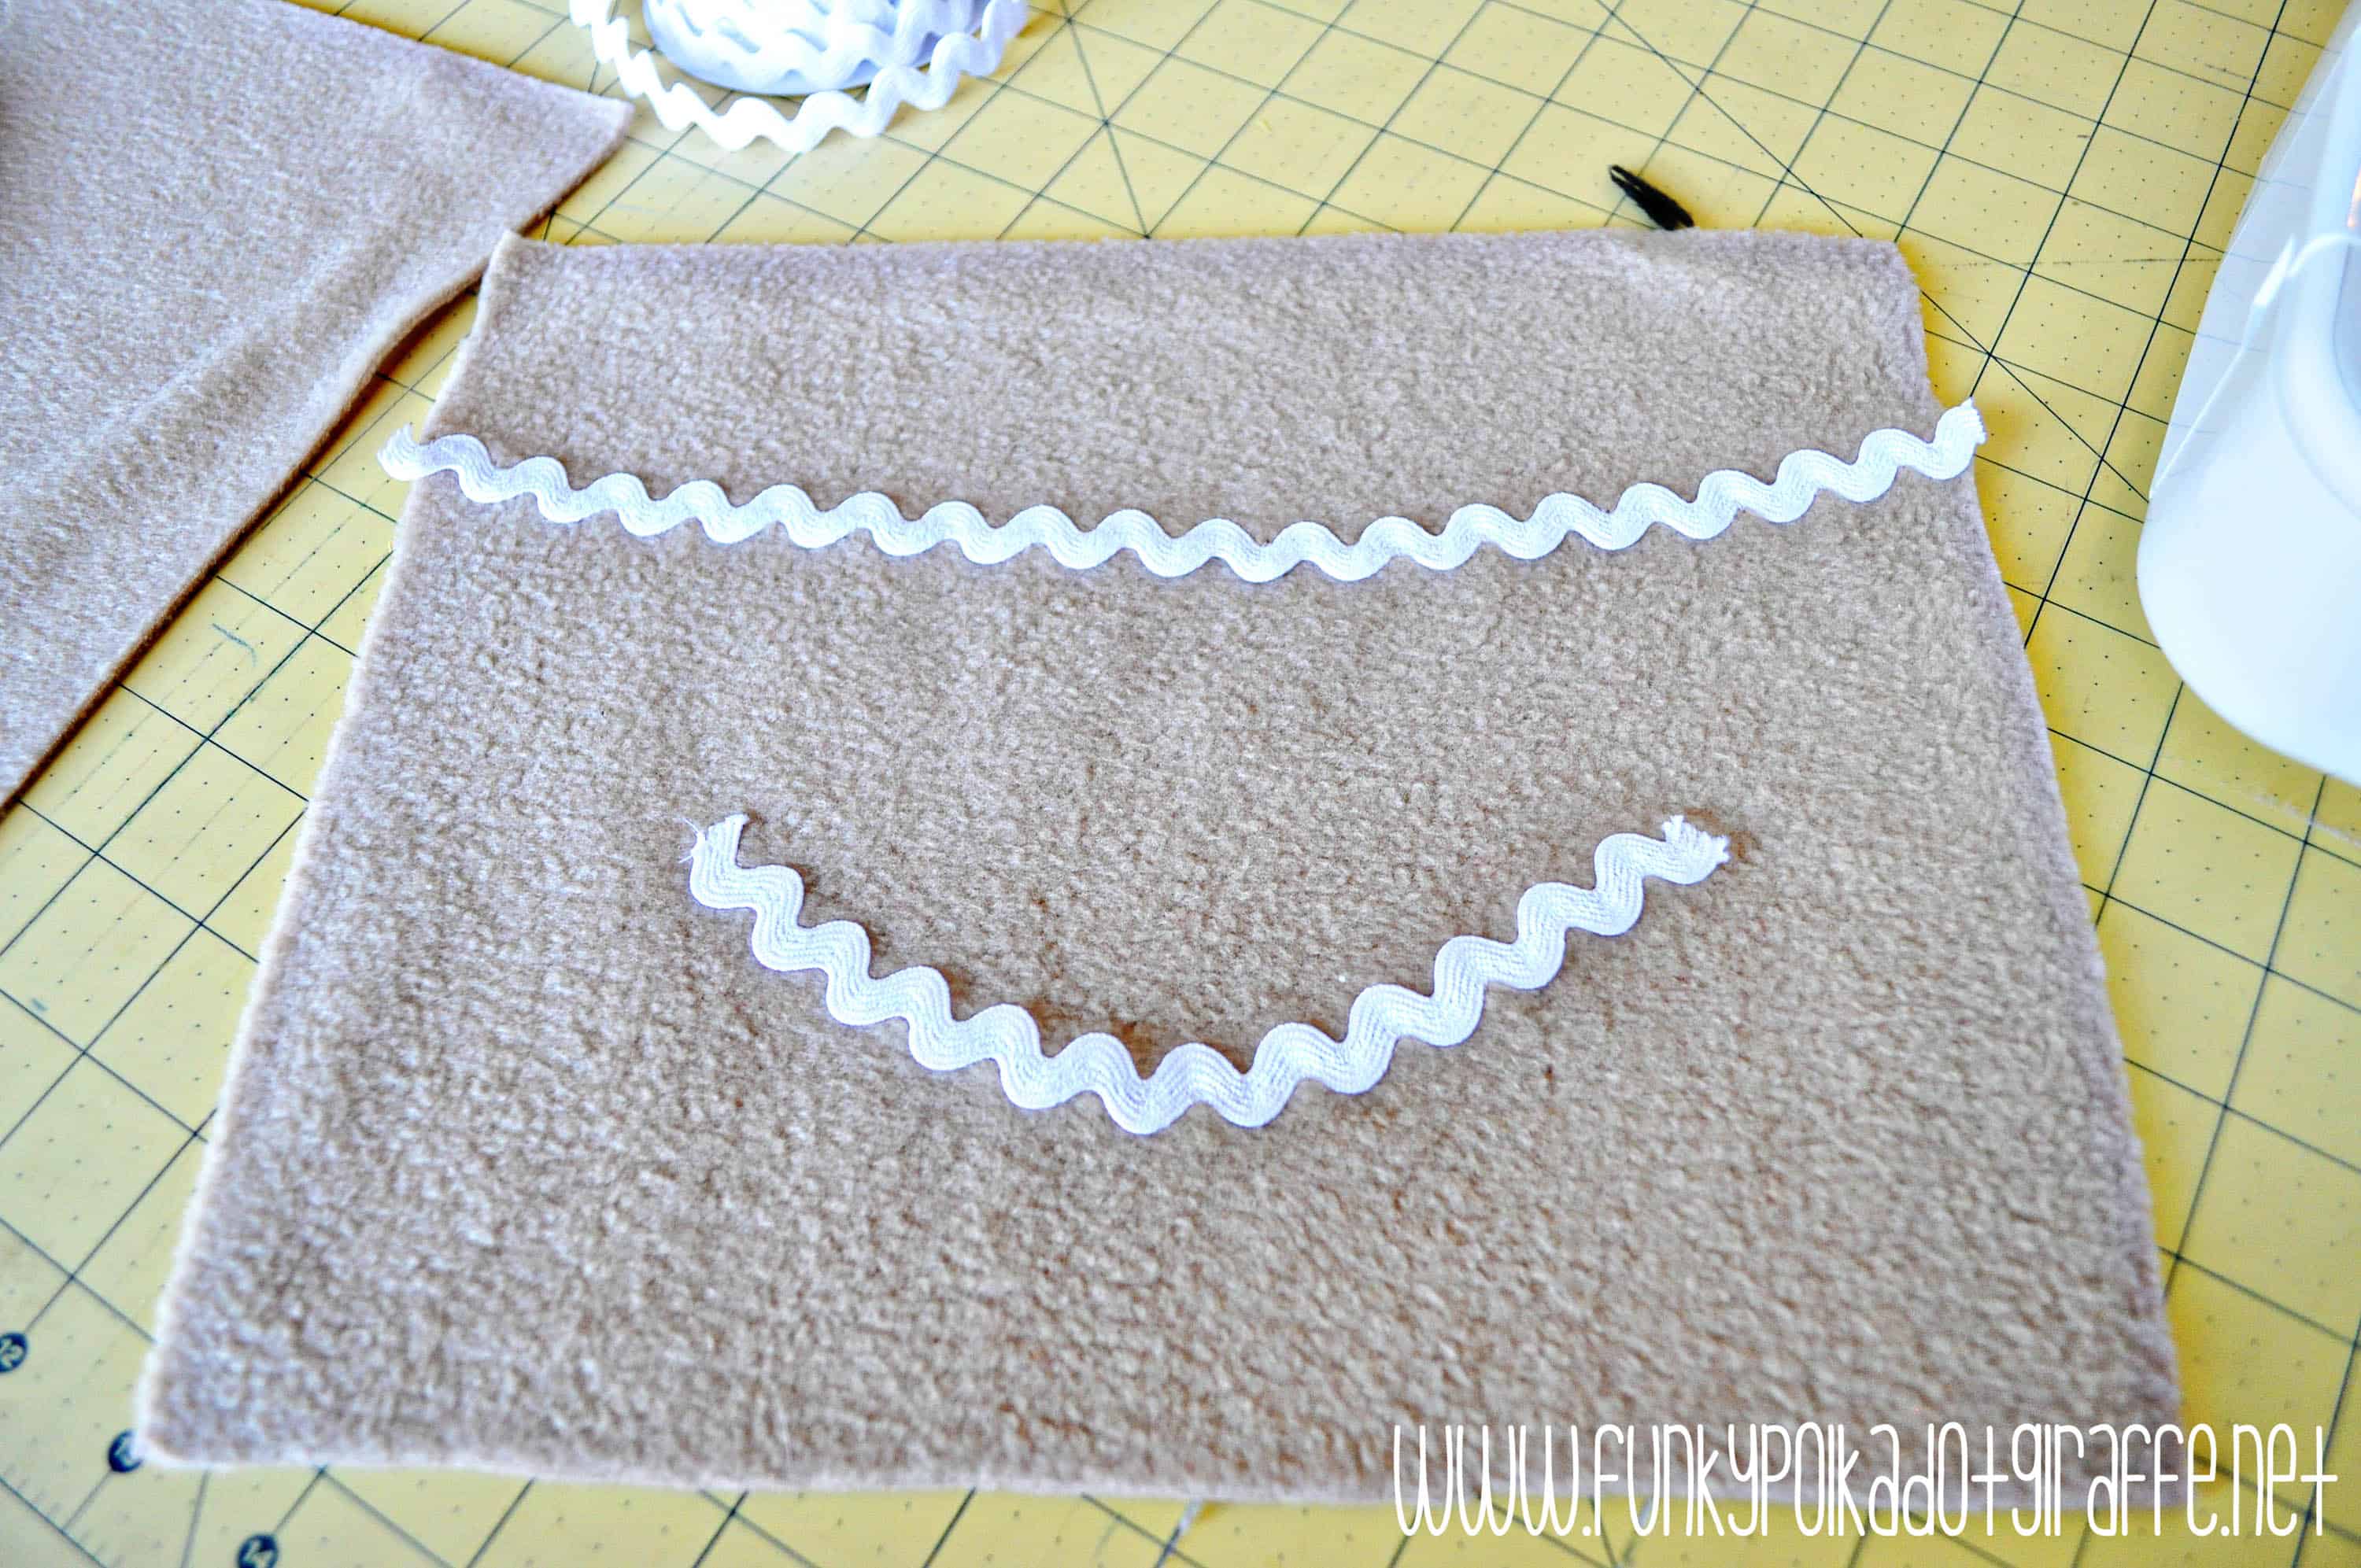
- Sew the frosting stripe and the mouth onto the brown fleece with a zigzag stitch. Just go slow and adjust as needed. I did pin the ric-rac down as best as I could, but it definitely was a bit tricky. I didn’t mind if it wasn’t perfect, but I wanted it pretty close. Also, make sure the ric-rac doesn’t get too close to the top or bottom. This way it doesn’t get swallowed up in the seam allowance when you start putting the bag together.
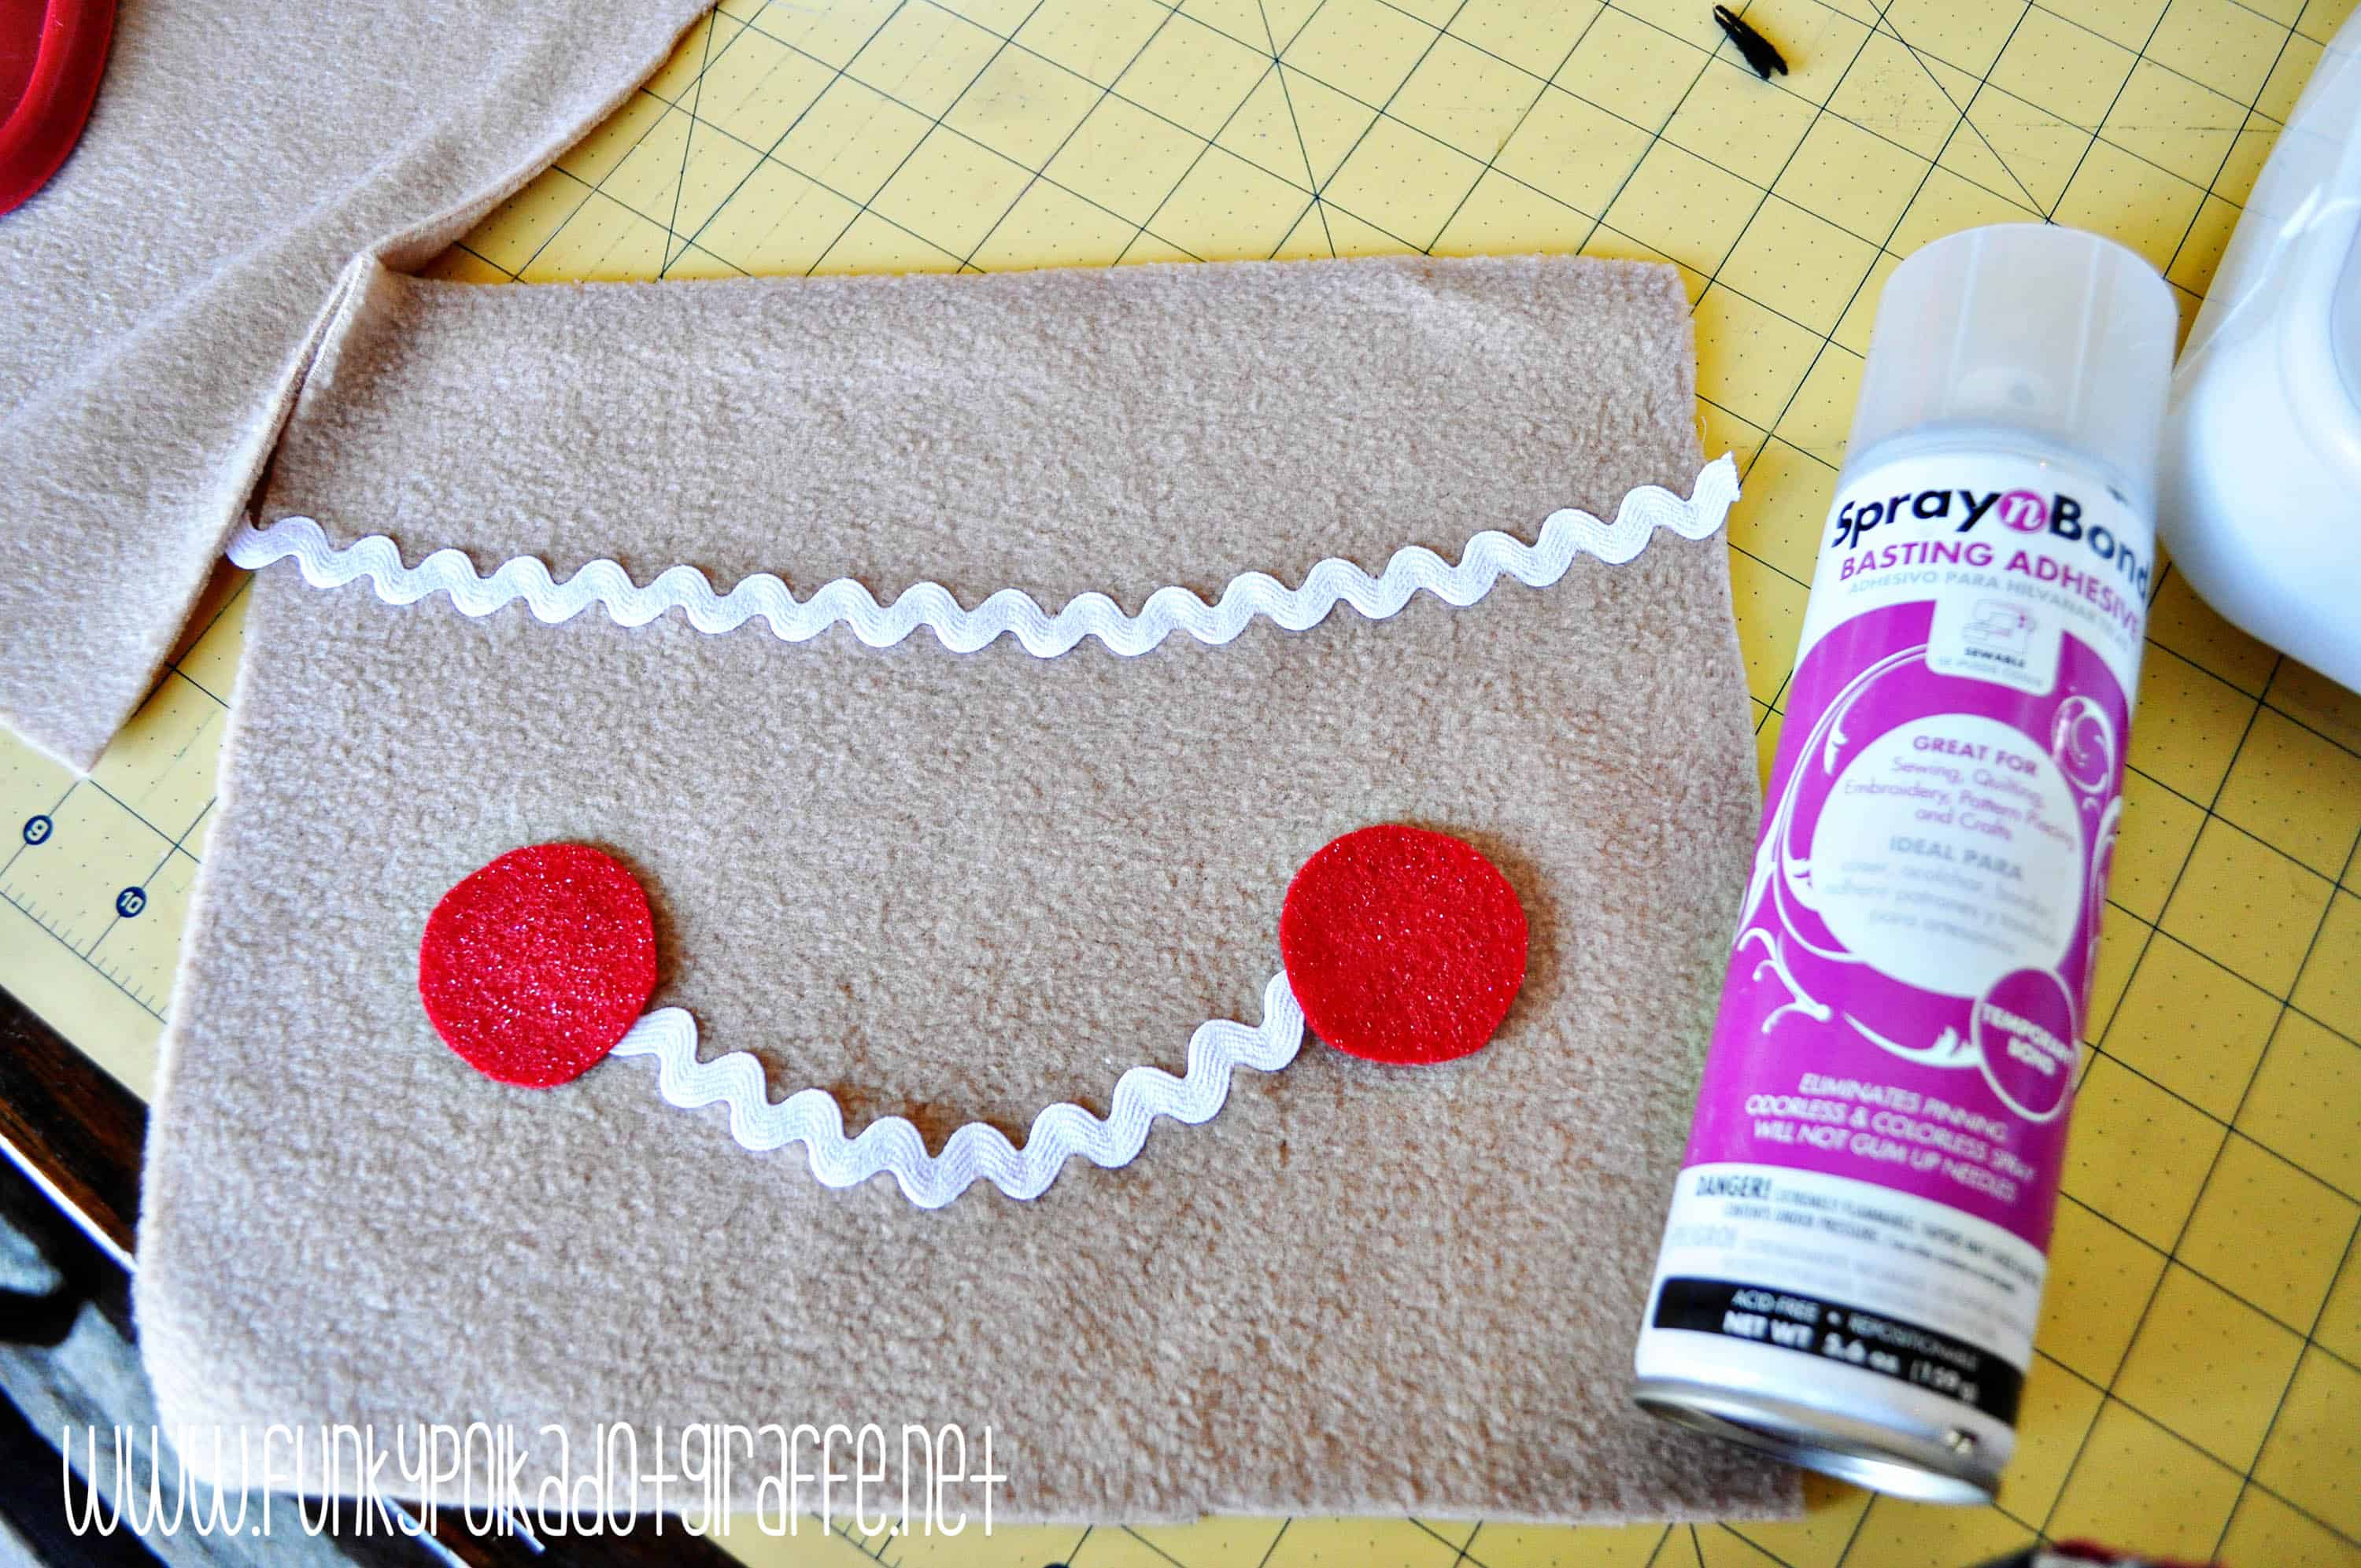
- Put the cheeks on with some basting adhesive.
- Use a zigzag stitch to sew the cheeks on.
- Put the eyes on with some basting adhesive then sew a couple of “X”s to make them look like buttons. If you want to use large black buttons instead – you can. (I did not use real buttons since I am making this for a little girl, and I didn’t want to create a choking hazard.)
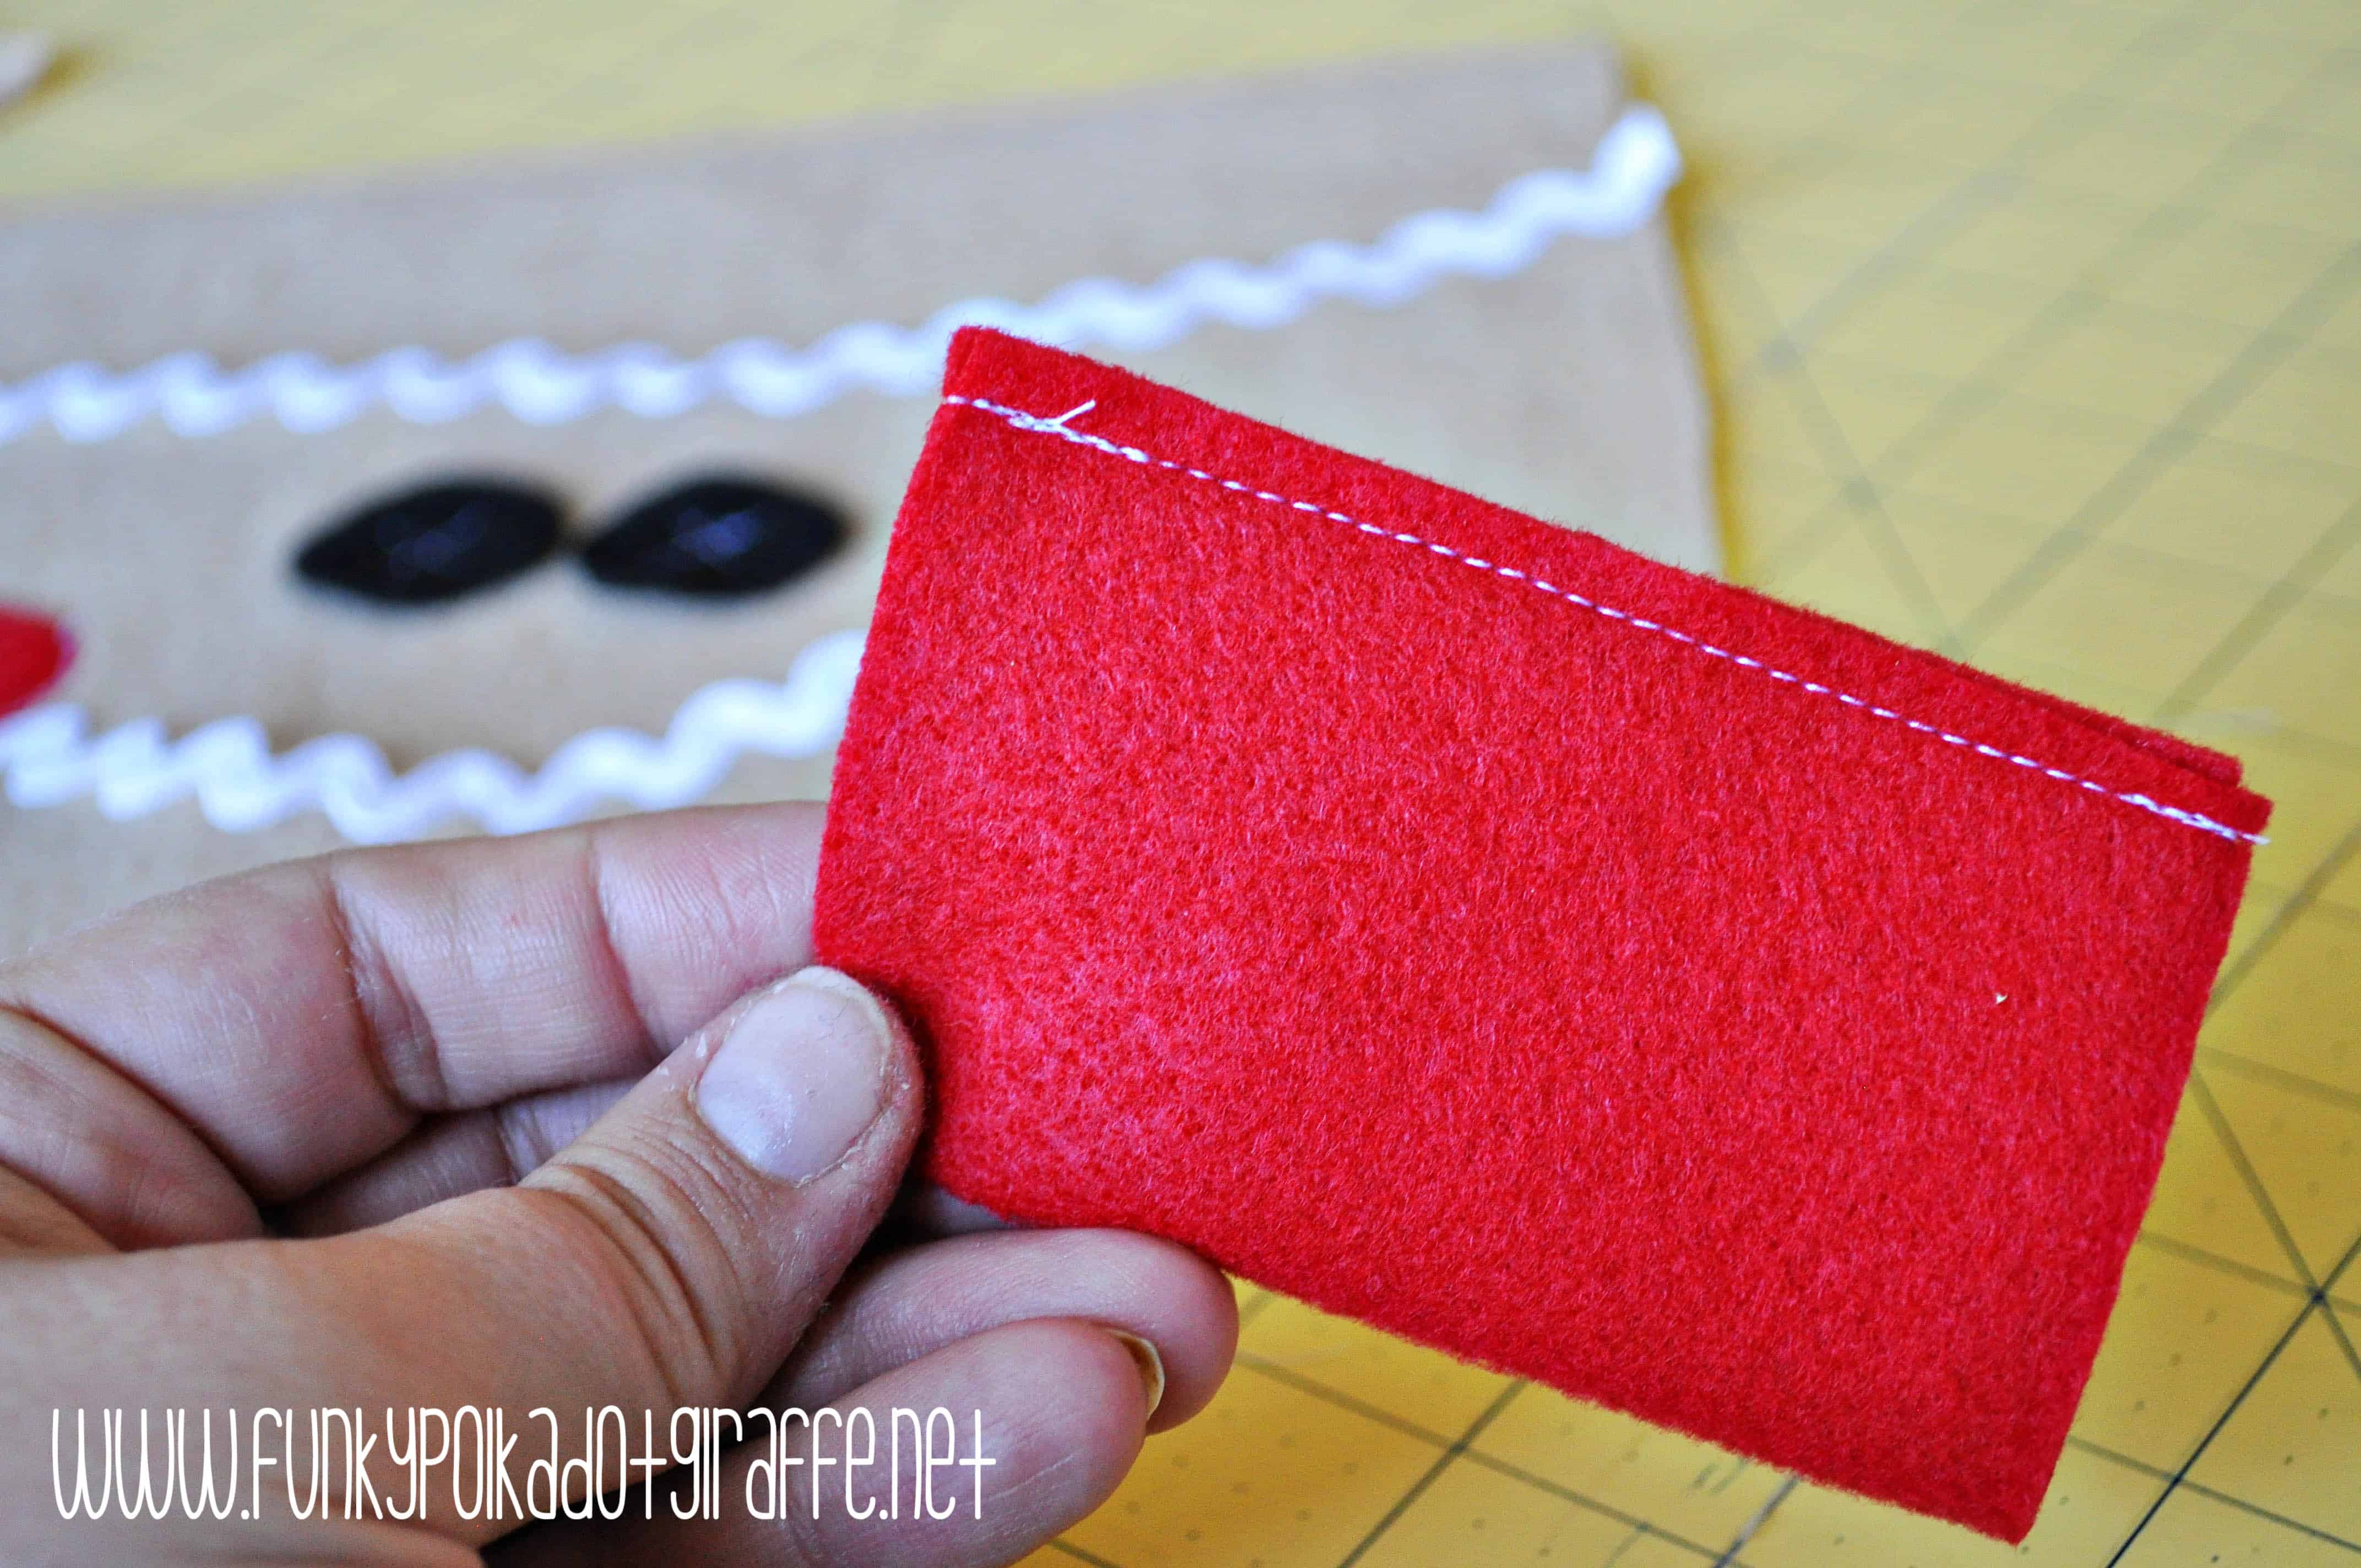
- Make a little felt bow. I took another scrap of felt about 3″x4″, folded it in half, and sewed the open edge. Then, I flipped it right side out and sewed up the open edges. I took another little scrap and made a middle piece, scrunched up the bow in the middle, and hand-sewed the middle piece to secure it and make a cute bow.
- Put your two fleece 9″x11″ pieces with right sides together and sew together with 3/8″ seam allowance on three sides, leaving the top open.
- Repeat this process with the two red pieces of cotton fabric.
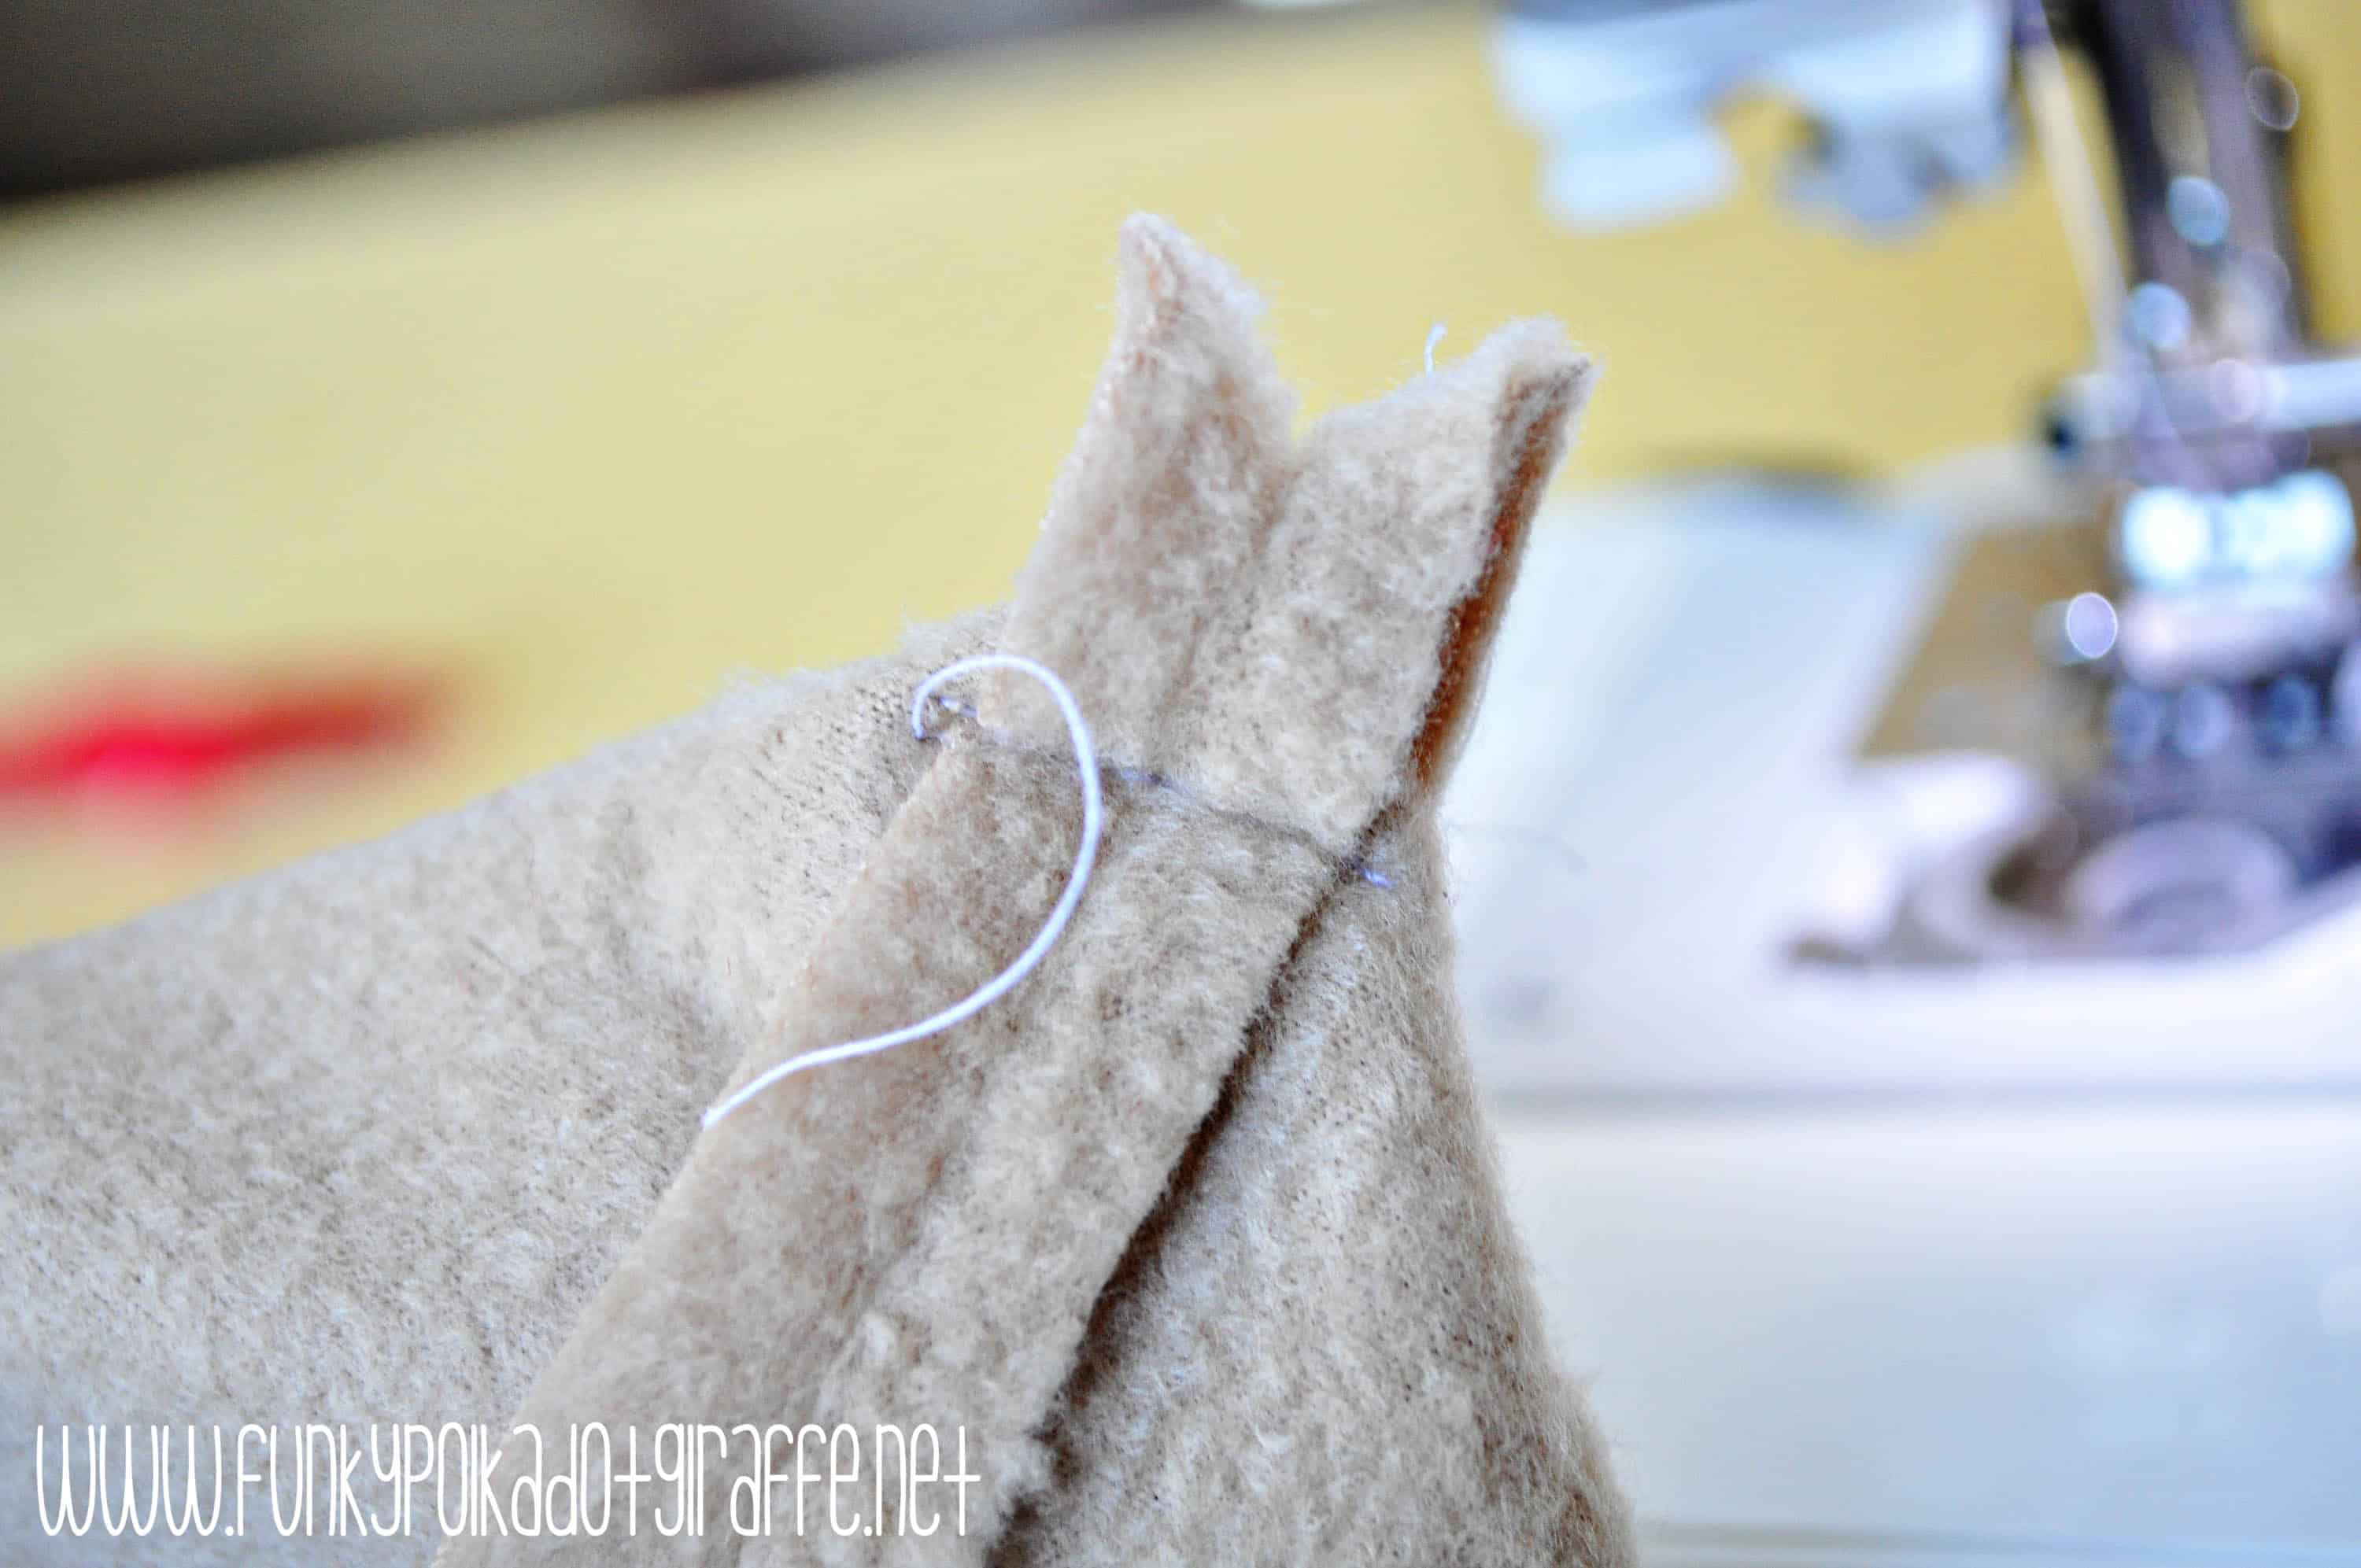
- Pinch and flatten the corners and sew across about 3/8″ from the tip.
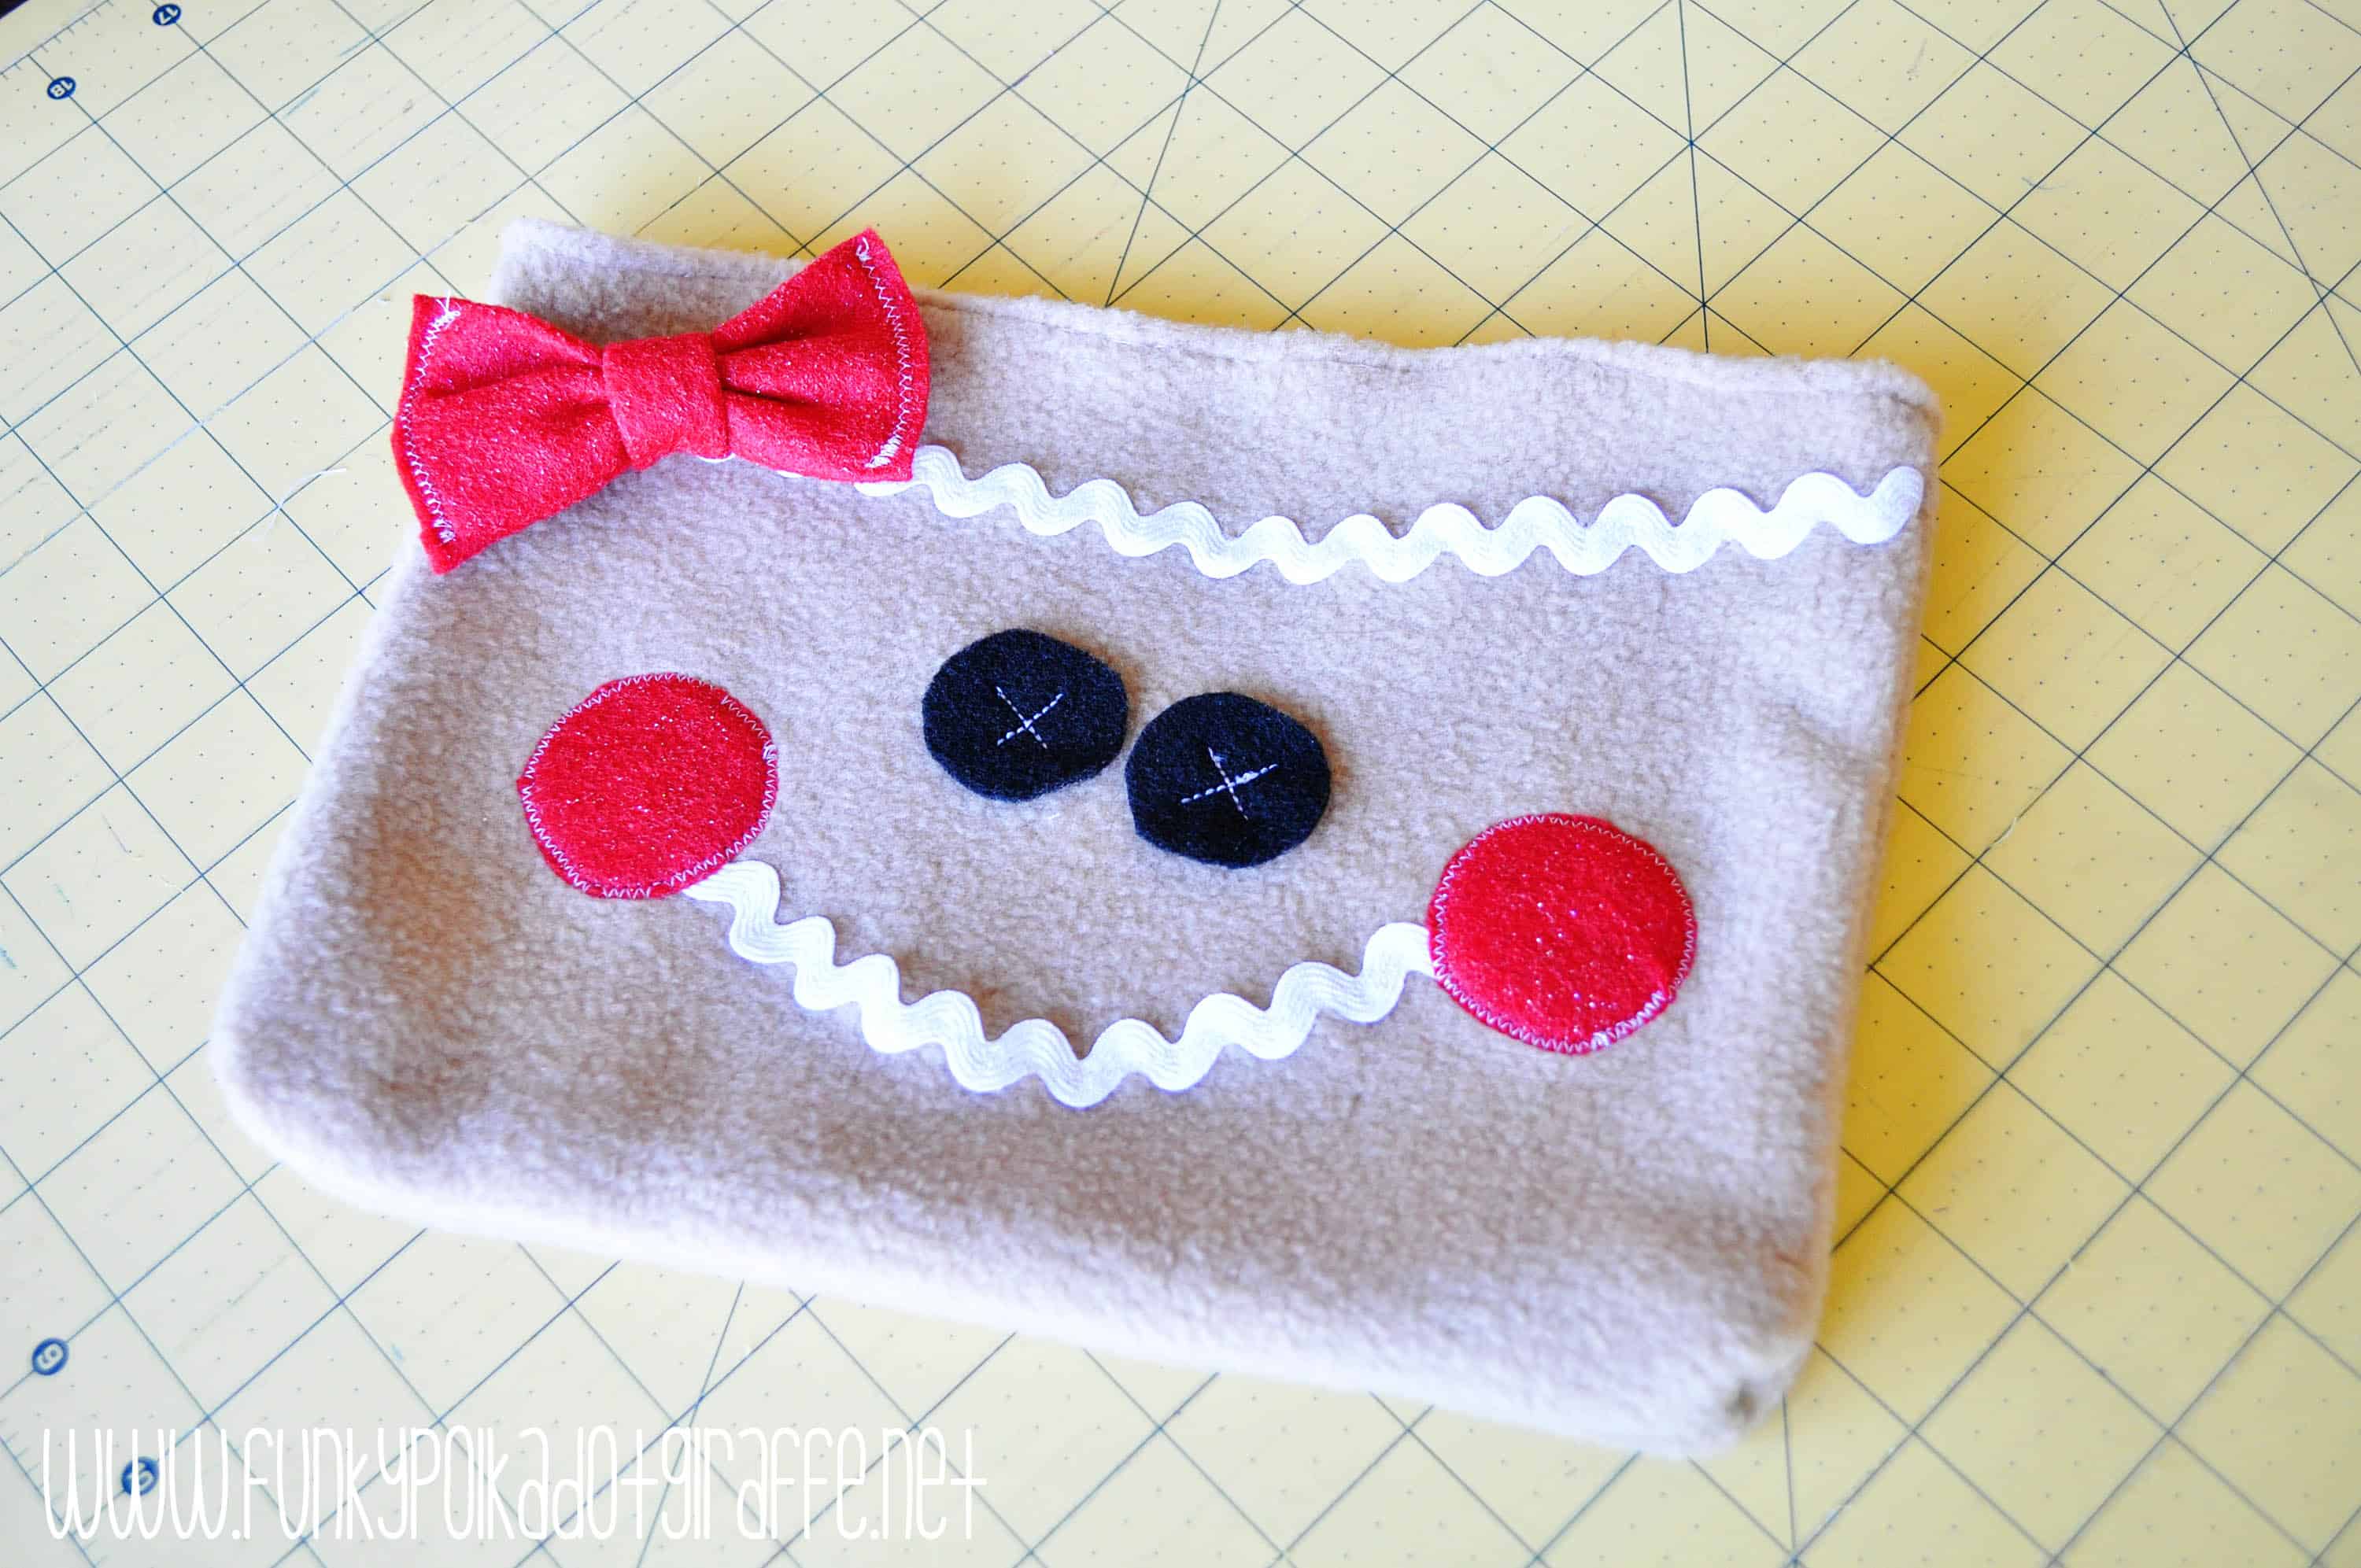
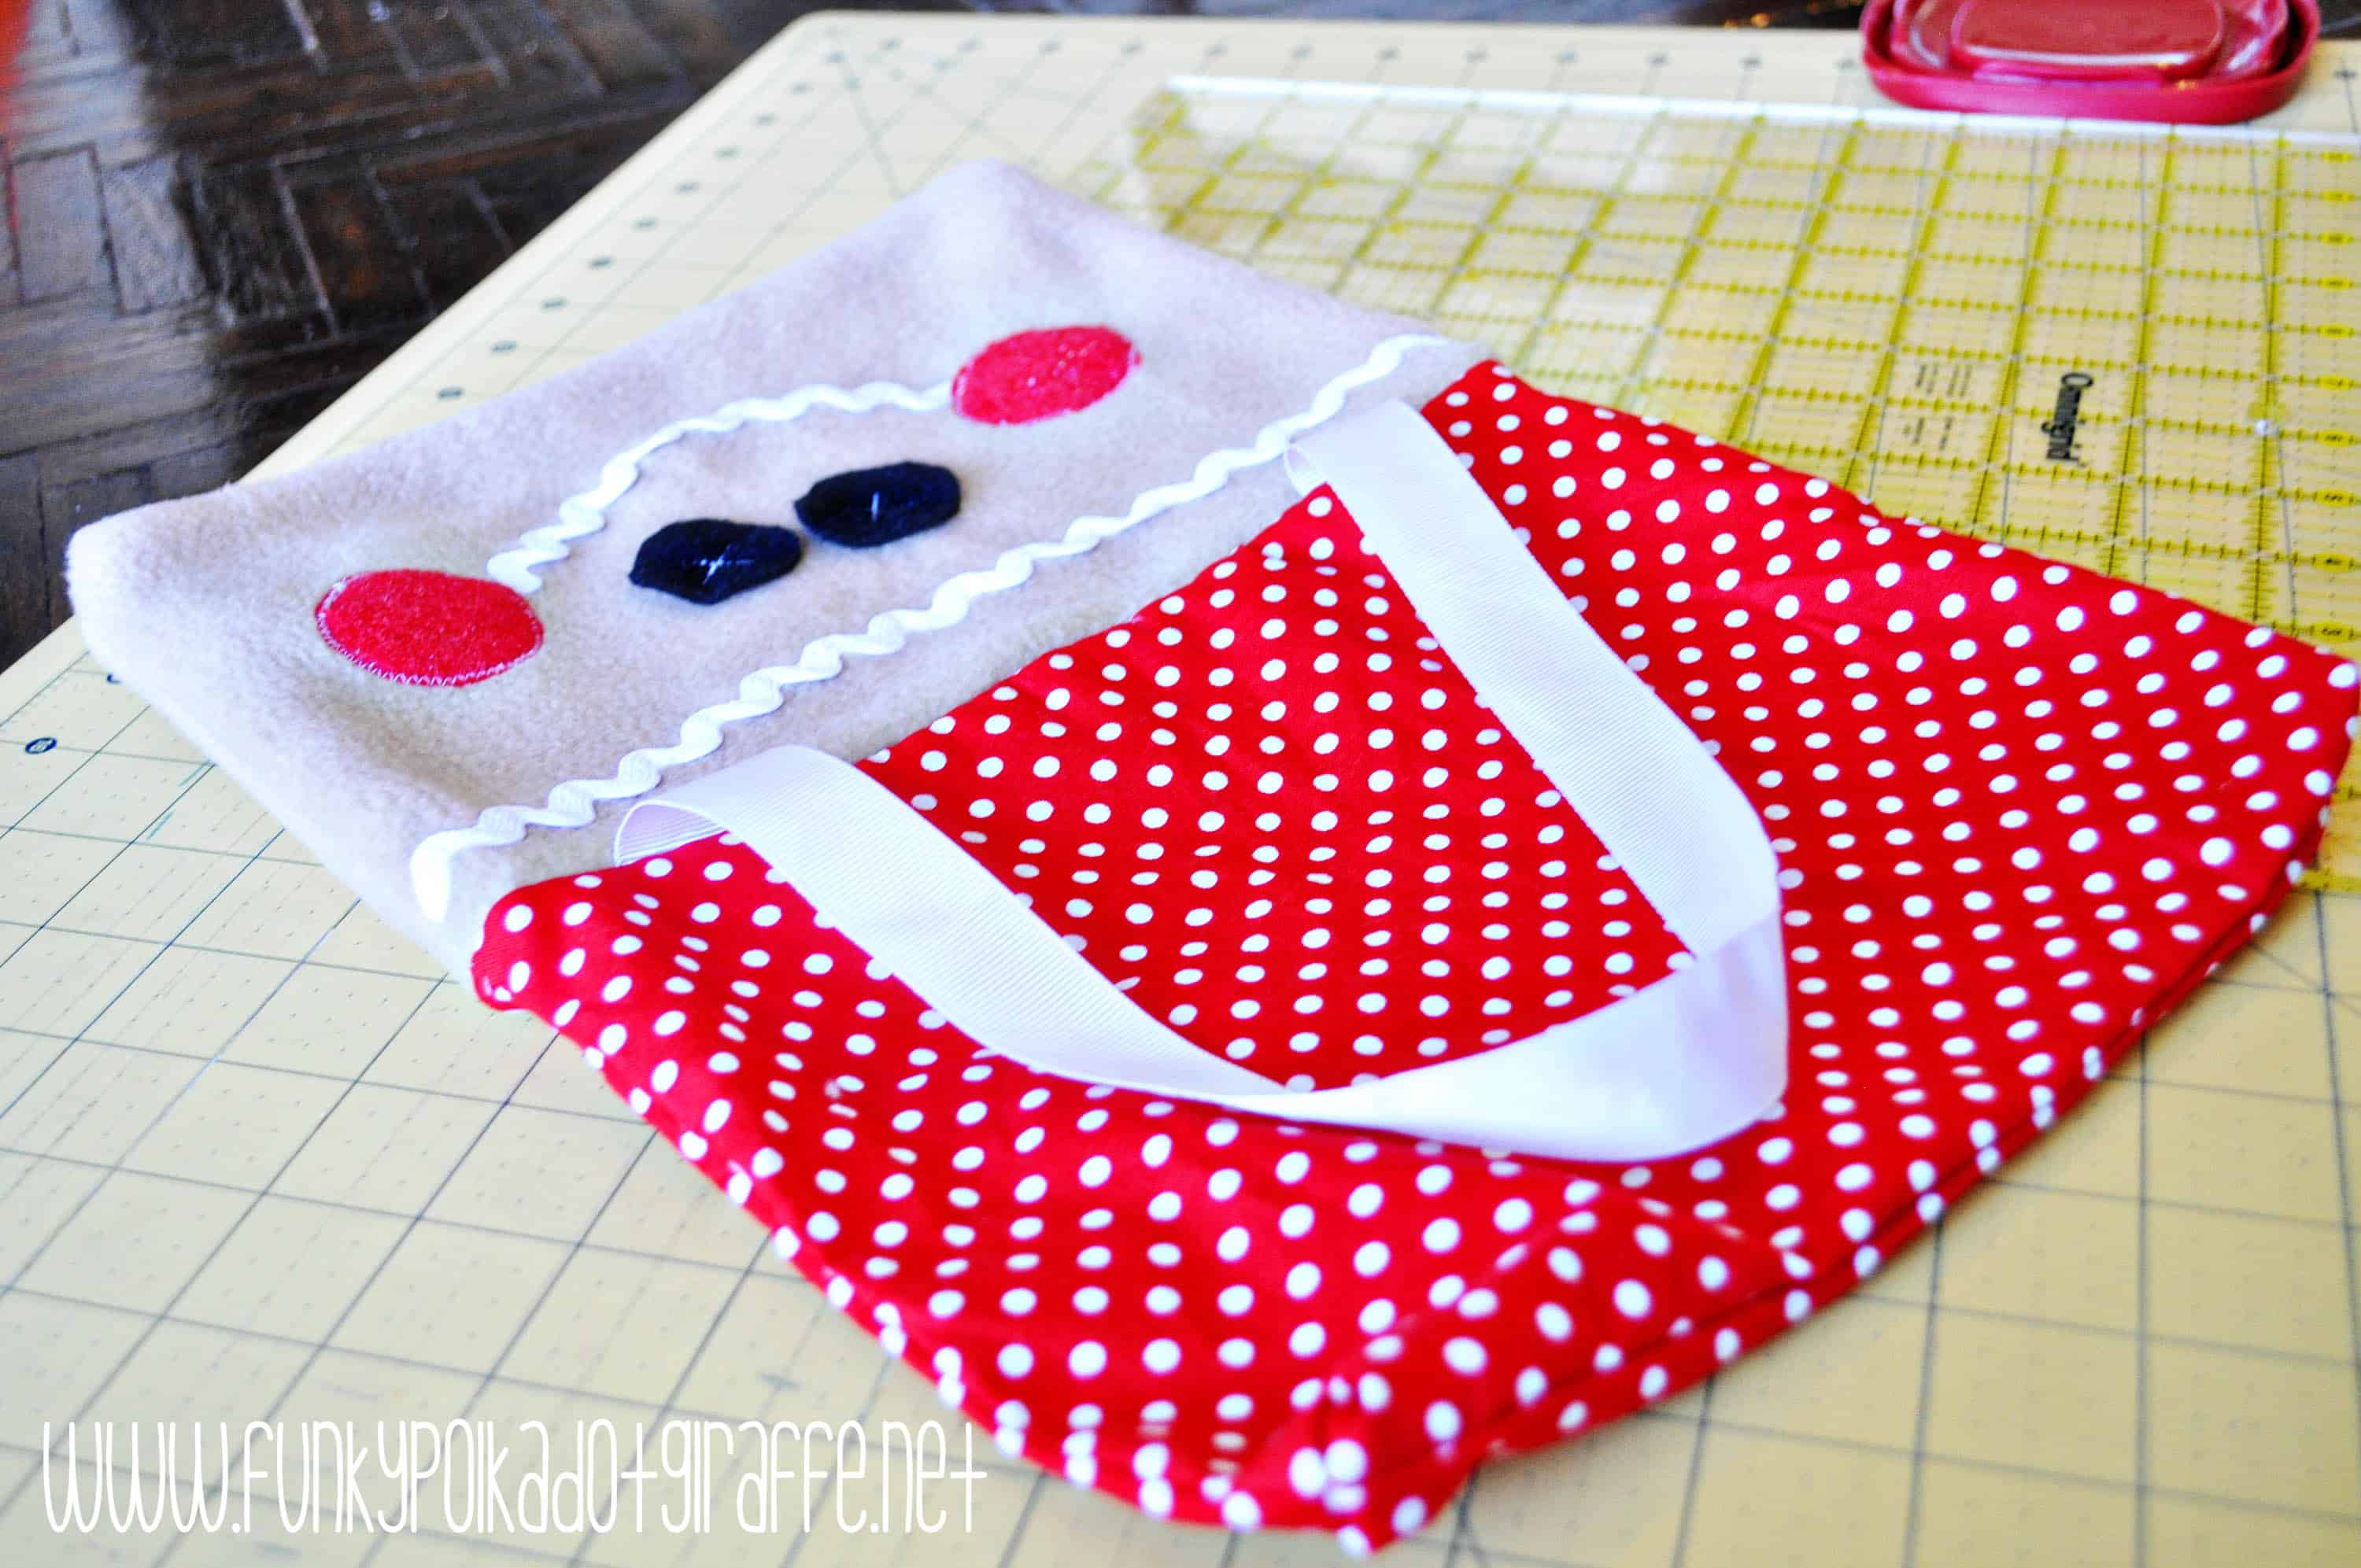
Doesn’t it look so cute?! Now we’re going to put the liner and the outside of the bag together. I didn’t put the bow on until the very end, it’s just on there right now to see how it will look finished. You’ll need your two pieces of 16″ ribbon as we are going to make them into handles for the purse. This part is tricky and you’ll end up with your bag sewn together wrong (believe me I’ve done it!) if you don’t slow down and double-check that you’ve got it put together right.
- Take the outside of your bag (your fleece gingerbread face piece) and turn it WRONG SIDE OUT.
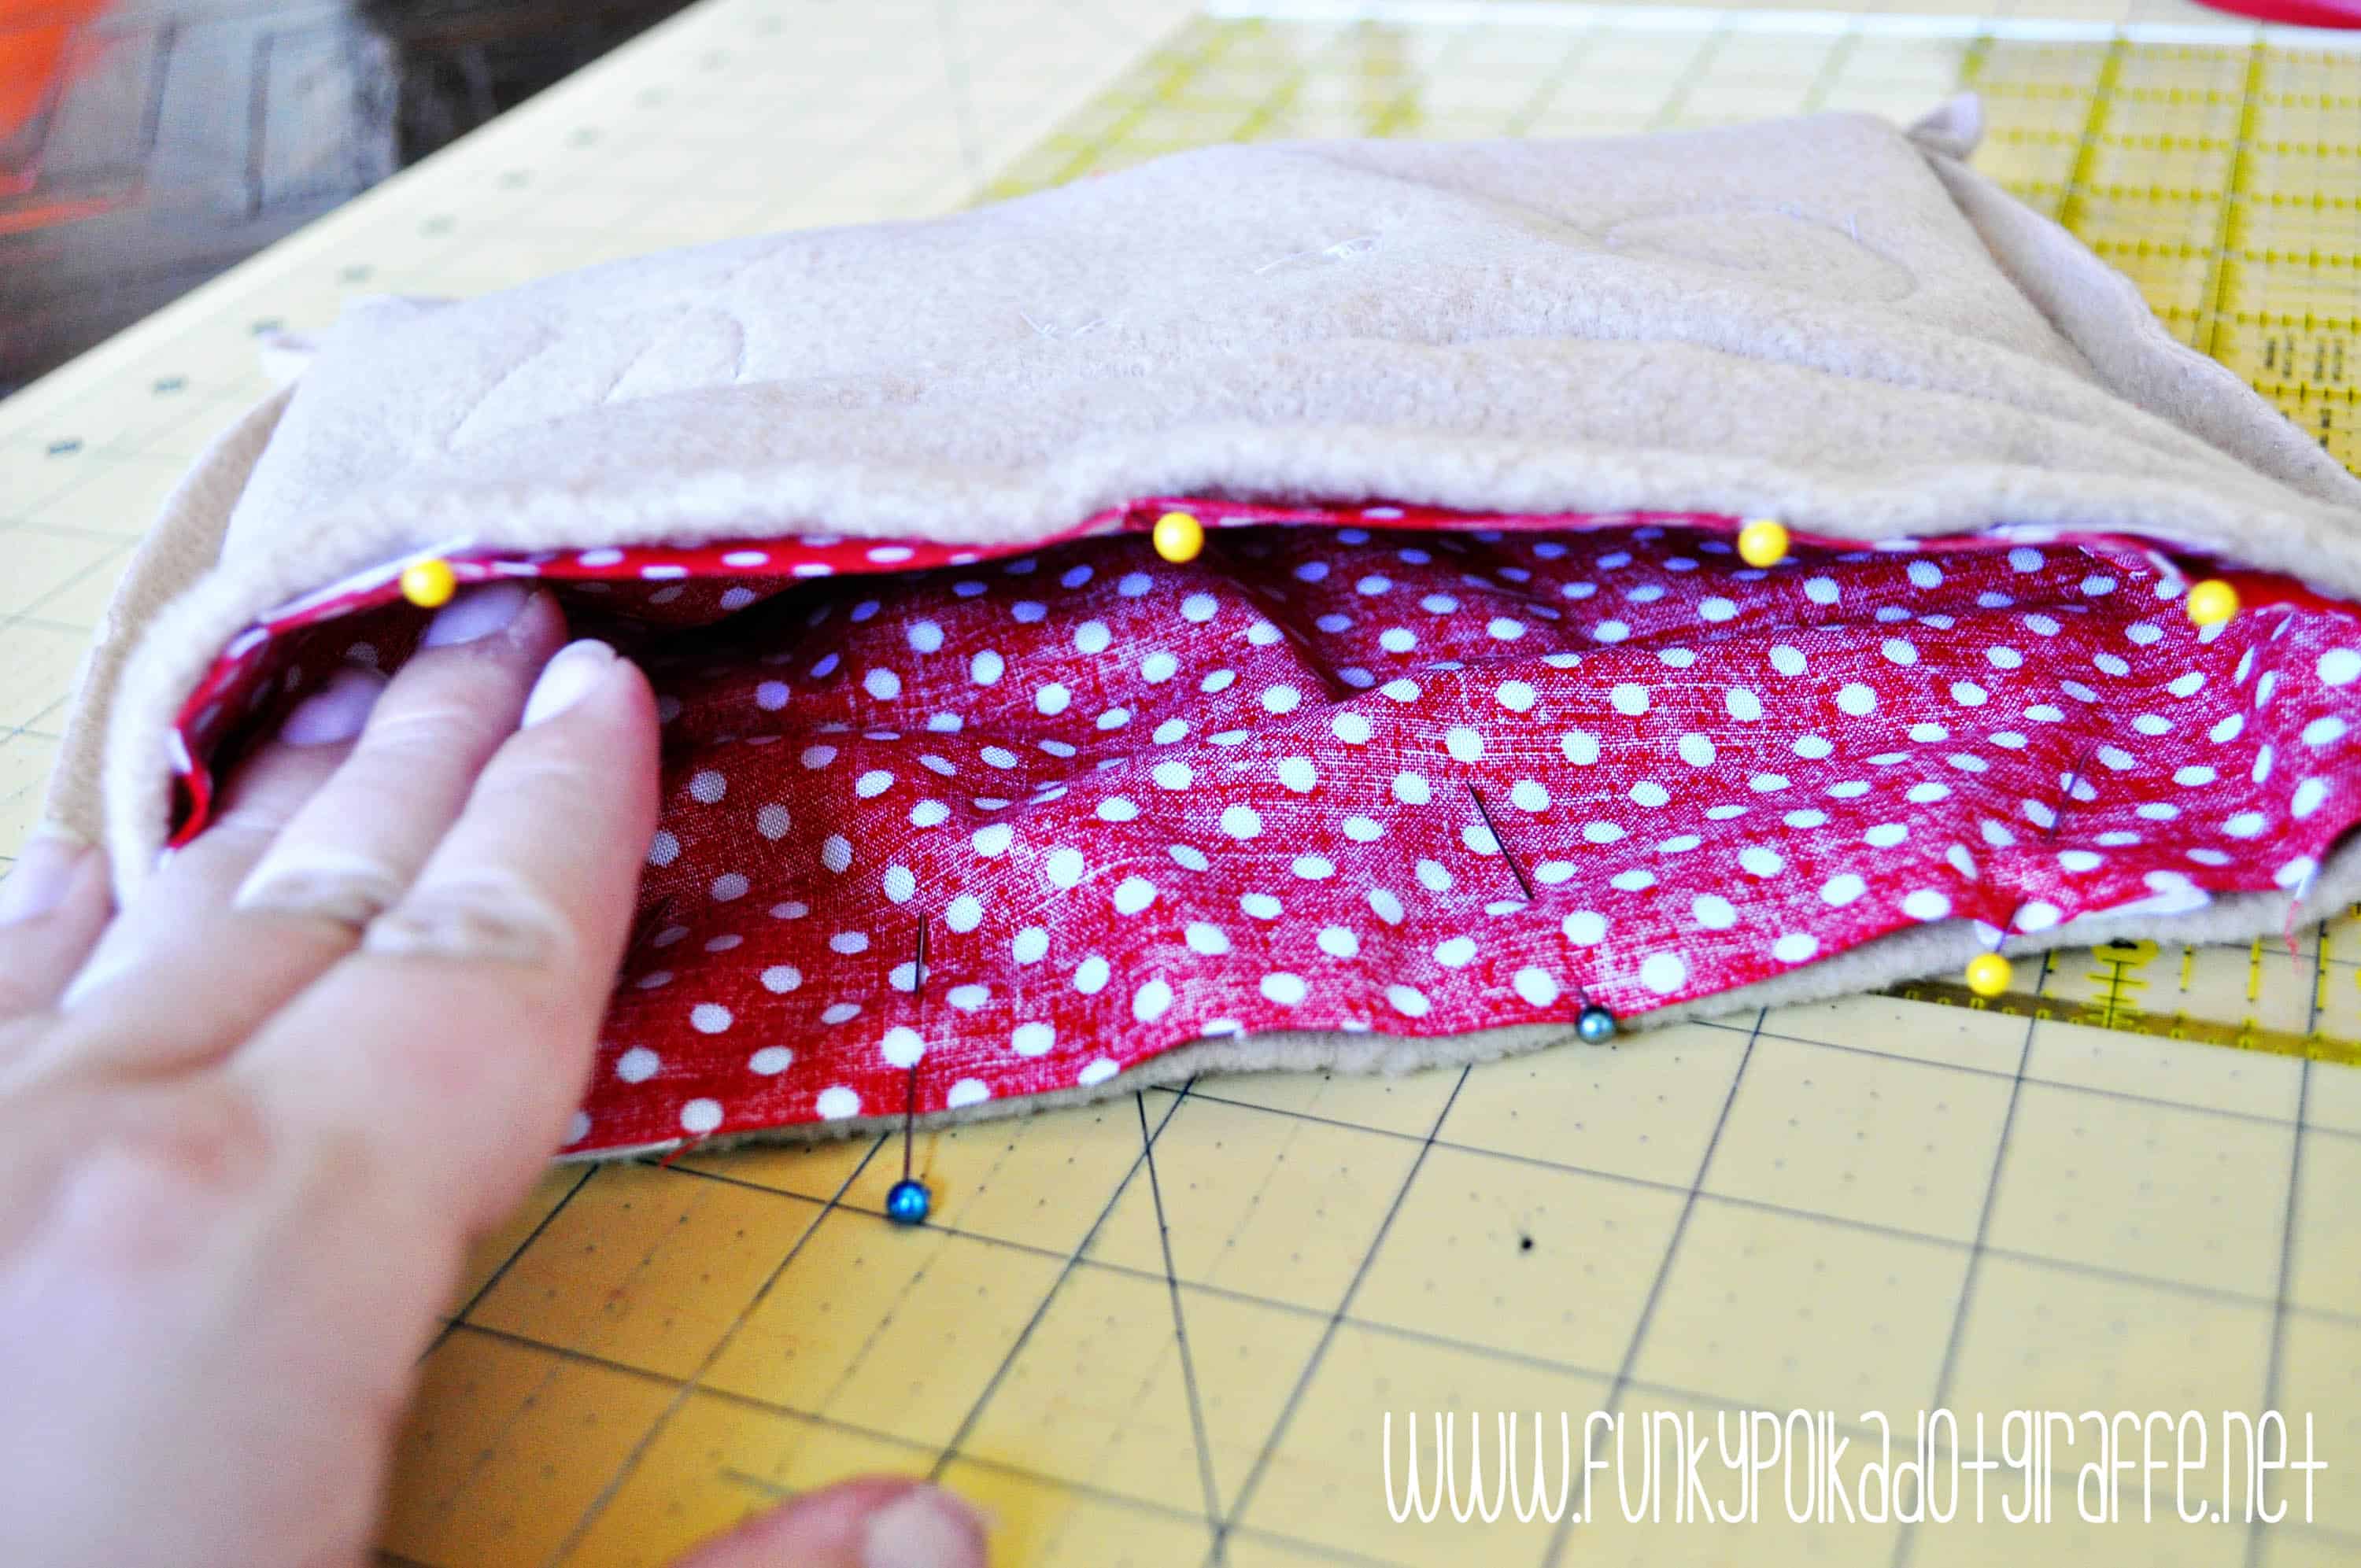
- Take your red lining piece and turn it RIGHT SIDE OUT and slip it inside your fleece gingerbread face piece. Now, the RIGHT SIDES will be together on the INSIDE of your bag and your WRONG SIDES will be visible on the inside and outside of the bag.
- Pin the side seams and then tuck your ribbon handle pieces in between the RIGHT SIDES together and pin about 1″ from the side seams.
- Then pin all the way around – being sure to leave a 3-4″ opening for turning. I mark my start and stop with blue pins so I don’t accidentally sew the bag closed.
- Sew from START to STOP point (being sure to leave the opening!) with a 3/8″ seam allowance.
Now it’s time to flip it!
- Through the opening, you left, pull your RIGHT SIDES out.
- Tuck the lining back into the bag and sew the hole you left for turning closed. You can sew all the way around and make a nice finished-looking topstitch, but I didn’t do that for this bag.
- Sew or glue your felt bow on. You could also use grosgrain ribbon if you want something less bulky. I liked how the felt looked with the fleece. Plus, it’s sparkly!
It really was a lot of fun to put together and now I want to make some more Christmas-themed little purses!

Last, you take your little purse-obsessed girl and her new gingerbread girl bag and do a little photo shoot outside. See more creative ideas at Funky PolkaDot Giraffe.
More Sewing Projects
- American Girl Doll Clothes {Easy Doll Dress To Sew} is easy with this free sewing pattern.
- Easy Pattern for a Tote Bag {Kids Sewing Project} is a great beginner sewing project for kids.
- Learning to sew can be fun and these ideas will help you get started. EASY Sewing Projects for Kids + FREE Practice Sheets!
- Drawstring Backpack {Sewing Tutorial} you will find it is easier than you think to make one of those string backpacks with this backpack pattern.
- DIY Gifts To Sew For Christmas with just a little planning you can give a homemade gift to everyone on your list.
- How to Sew a Reusable Lunch Bag made from oilcloth is a stylish way to take your lunch and also makes a useful gift for a friend.
- DIY Back To School Sewing Projects is a fun way to start of the school year.
Don’t you just love your little girl gingerbread purse?
I would love to keep you fully stocked with creative ideas, yummy recipes, fun crafts, and loads of free printables. Subscribe to Skip to my Lou to get new ideas delivered to your inbox. Follow me on Facebook, Pinterest, Twitter, and Instagram for all my latest updates.