This Stitch On – Embroidered Needle Book is a quick project even beginnings can put together. If you have a teen on your gift list this curved zip pouch is a guaranteed hit or make this diy coin purse in just 30 minutes.
This month we are sharing over 100 handmade gift tutorials. I have teamed up with Thirty Handmade Days, Classy Clutter and Your Homebased Mom to share the best holiday decorating ideas and homemade gift ideas. We have over 100 tutorials so you will have the best homemade holiday ever! Each day be sure to visit the guest poster’s blog for a chance to win BIG! Up for grabs a Baby Lock sewing machine a $100 in Riley Blake Fabric! Grab a new entry every day! Visit Flamingo Toes today to enter win the baby lock sewing machine and fabric bundle!
Hello Skip to my Lou readers! I am so excited to be a part of this amazing series again this year!
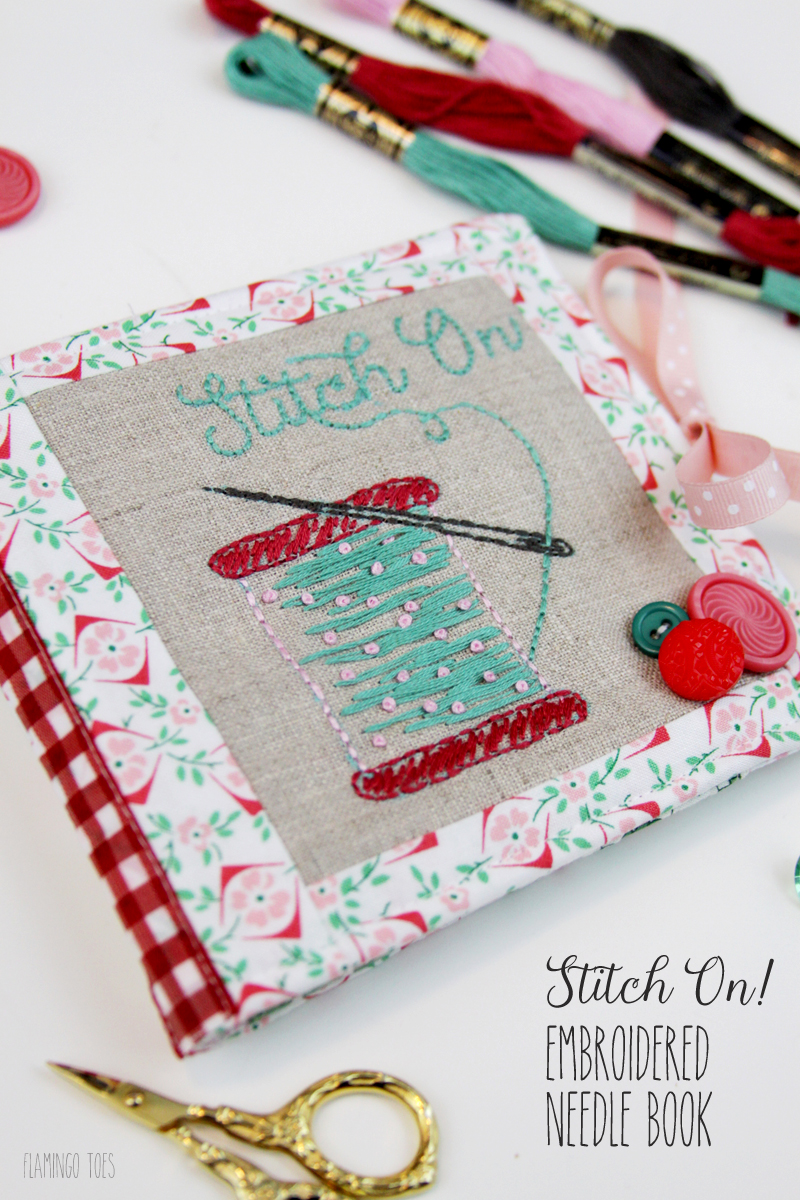
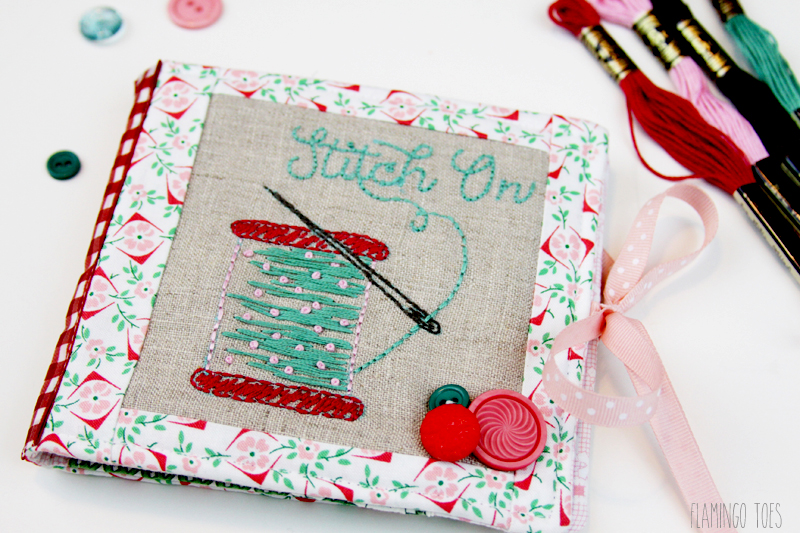
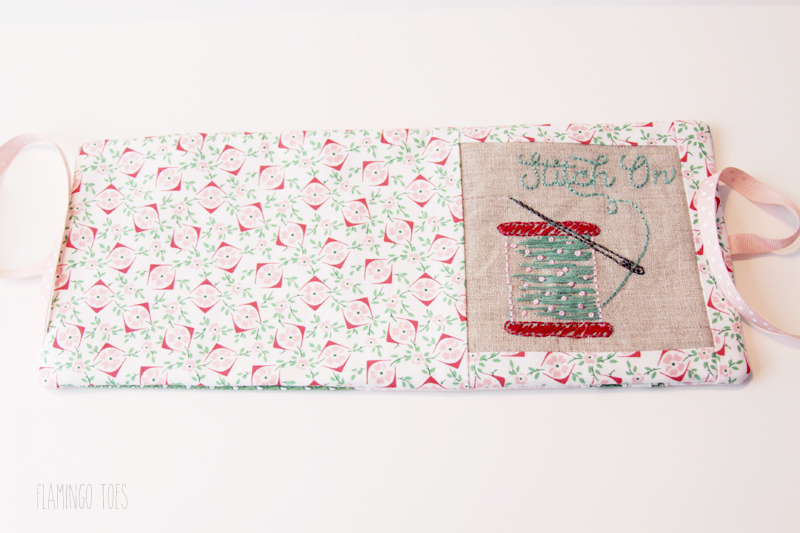
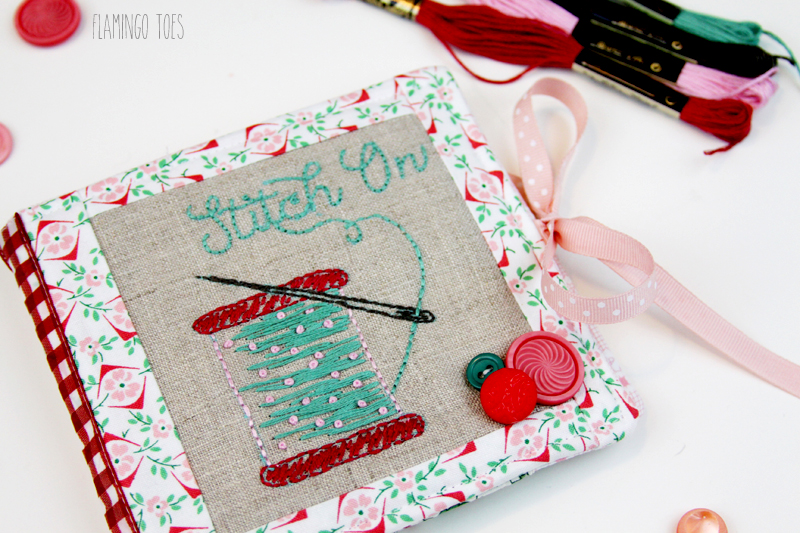
My name is Bev and I blog over at Flamingo Toes. I love sharing sewing and embroidery projects – and today’s tutorial is a mix of both! This little embroidered needle book is perfect for the stitcher in your life – or you could make one up as a little gift for yourself!
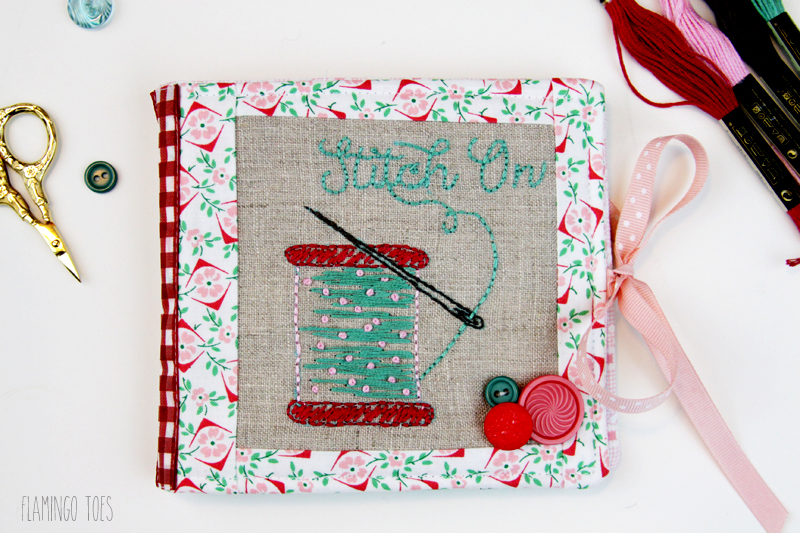
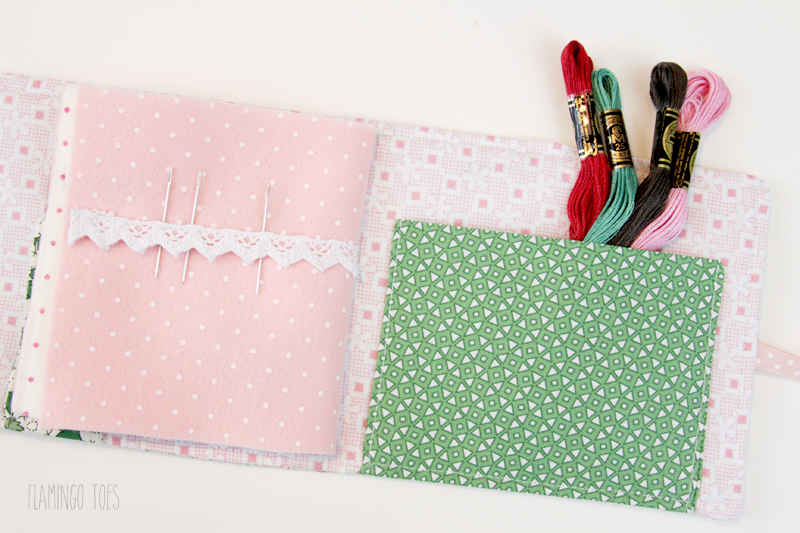
This cute little book is all decorated with an embroidered spool of thread and says “Stitch On!”. Inside there are little pockets and felt pages for holding needles and other supplies. So you can sew or embroider on the go!
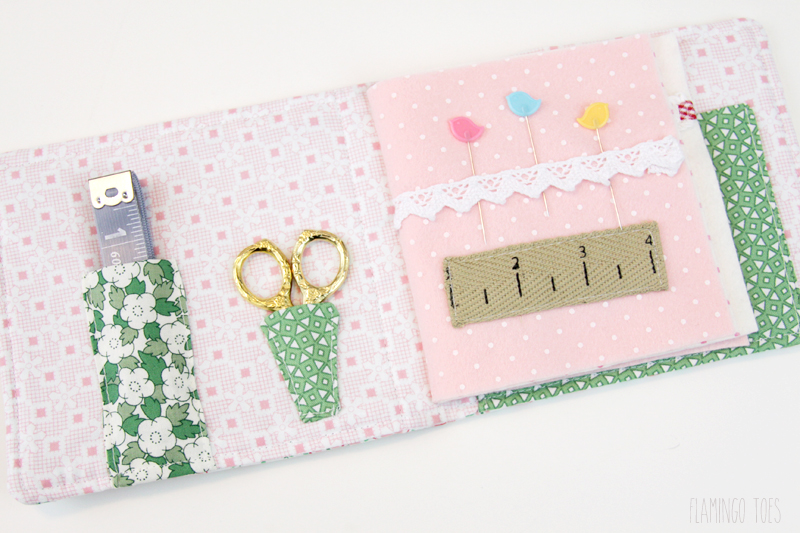
I’ll probably use mine most for embroidery, though it would be great for paper piecing too. There’s a little pocket in the back for threads or paper templates, or whatever you need to stow away.
Here’s what you’ll need to get sewing!
- 3 fat quarters of coordinating fabric for the outside, inside and pockets
- thin batting or fusible fleece -13 x 6 1/2″
- linen – 6″ x 6″
- embroidery floss – green, pink, red, gray
- embroidery hoop
- two sheets of wool felt – 9″ x 4 3/4″
- lace trim and buttons for decoration
- ribbon for tie – 20″
- Stitch On Embroidery Pattern – for personal use only
Begin by tracing the embroidery pattern and stitch the design like the photo below. If you need help with embroidery stitches, check out my Embroidery Tips page. Once your embroidery is done, trim your fabric to a 5″ square.

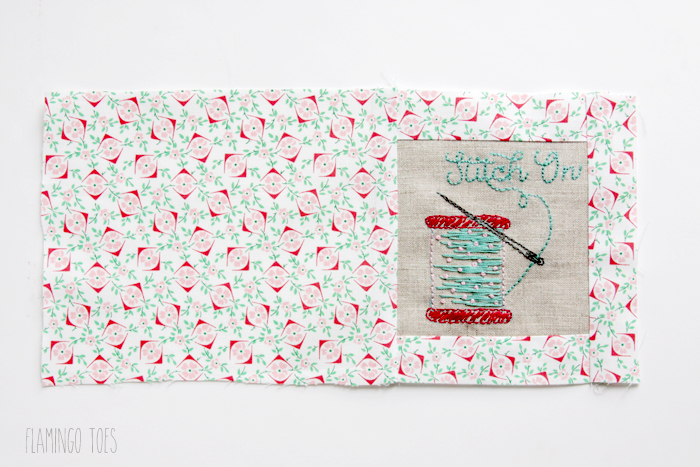
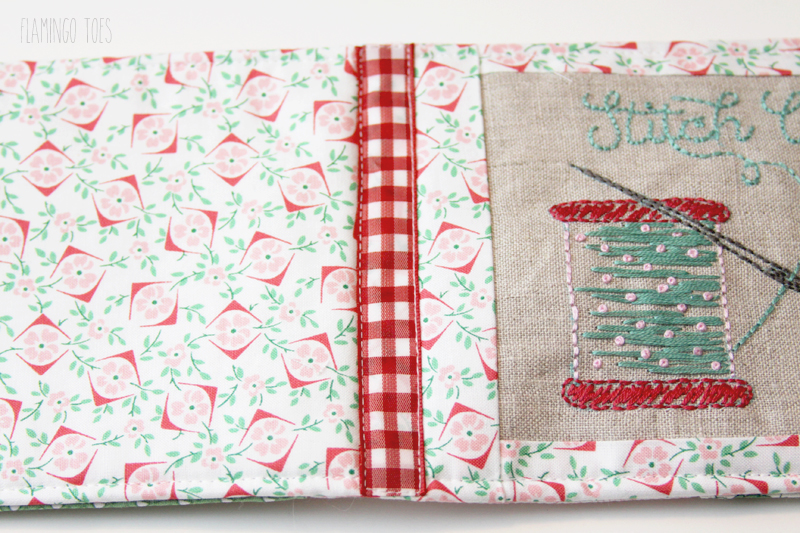
Out of your outside fabric, cut 2 pieces 1 1/2″ x 5″, one piece 1 1/2″ x 6 1/2″ and one piece 8 1/2″ x 6 1/2″.
Use a 1/2″ seam allowance and sew each of the 1 1/2″ x 5″ strips to the top and bottom of the linen piece.
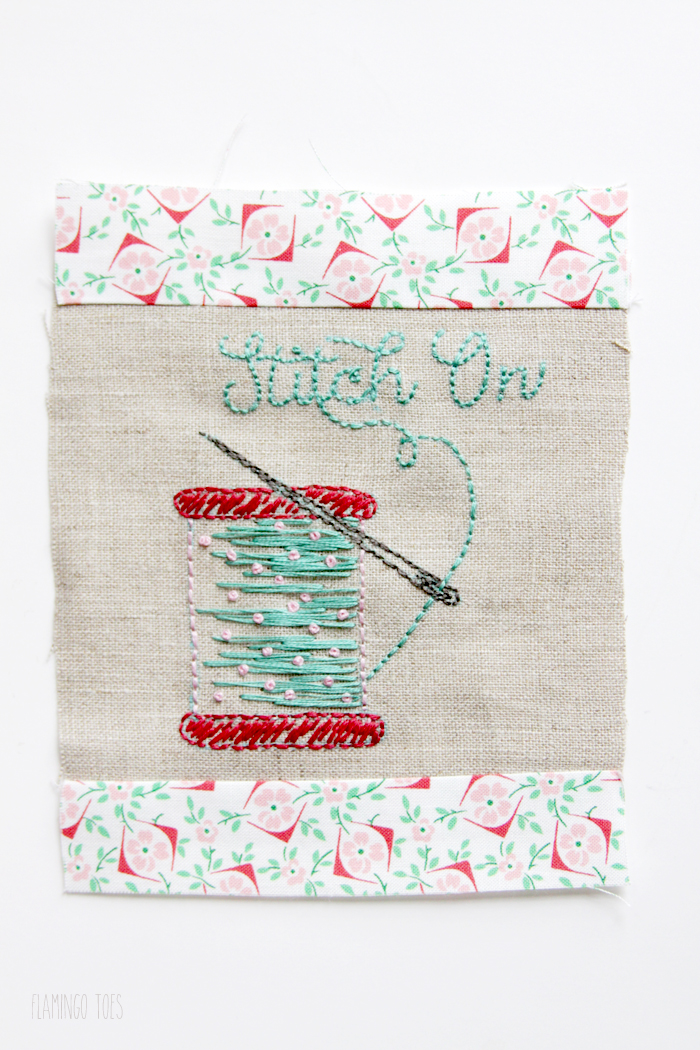
So the small strip to the right side of the square and the long piece to the left side of the square. Press all the seams away from the linen piece.
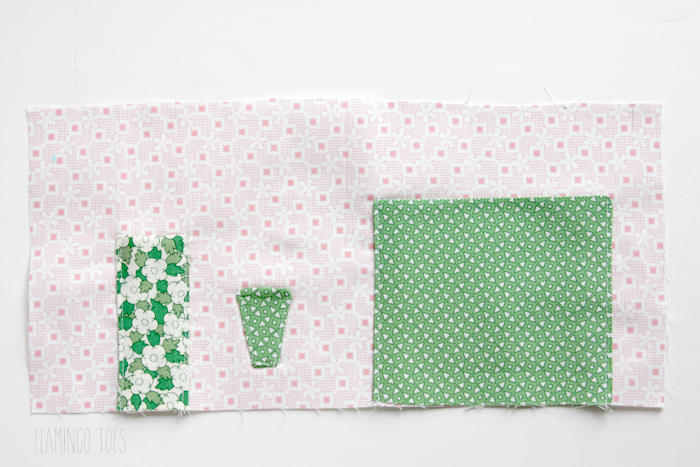
For the lining, cut out a piece 13″ x 6 1/2″.
Decide how you’d like your pockets and cut out pieces from the coordinating fabric. I used a back pocket that was 8 x 5 3/4, folded in half. I traced my embroidery scissors and created a pocket for them, then also cut out a 2 1/2″ x 6″ pocket. For the long narrow pocket and the pocket on the back, I folded them right sides together and sewed the two side seams. Then I lined up the pockets with the bottom edge of the inner fabric and sewed the side seams in place. For the scissors pocket, I cut out two, then sewed them right sides together. I turned it right sides out and sewed the sides and bottom down.
Iron the fusible fleece to the wrong side of the front piece. Cut your ribbon into two lengths and sew each piece to the center of the short sides, 1/4″ from the edge. The ribbon edge should line up with the edge of the fabric.
Place the outside and inside pieces right sides together , with the ribbons in between. Sew around the edges, leaving a 4″ opening for turning. Clip the corners and turn right side out. Press, and turn under the open edges at the same time. Top stitch around all four sides, sewing the opening closed at the same time.
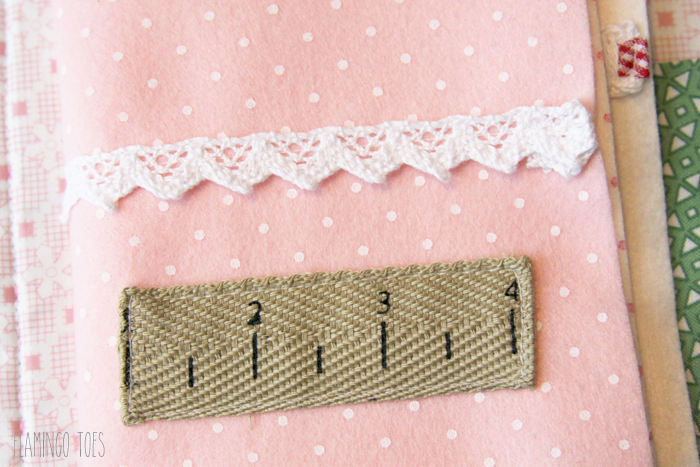
Now we can decorate the felt pieces! Choose some trims and buttons for decoration. Mark the centers of your felt pieces so you know where each “page” will be and sew on lace or other trims. These are great for holding your needles.
Place the felt pieces so the centers line up with the center of the inside cover. Pin in place. If desired, pin a strip of ribbon on the outside of the book, so one side lines up with the center line of the cover. Sew in place, sewing through the ribbon, cover and felt pages. Tuck the felt pages out of the way and sew the other side of the ribbon down as well.
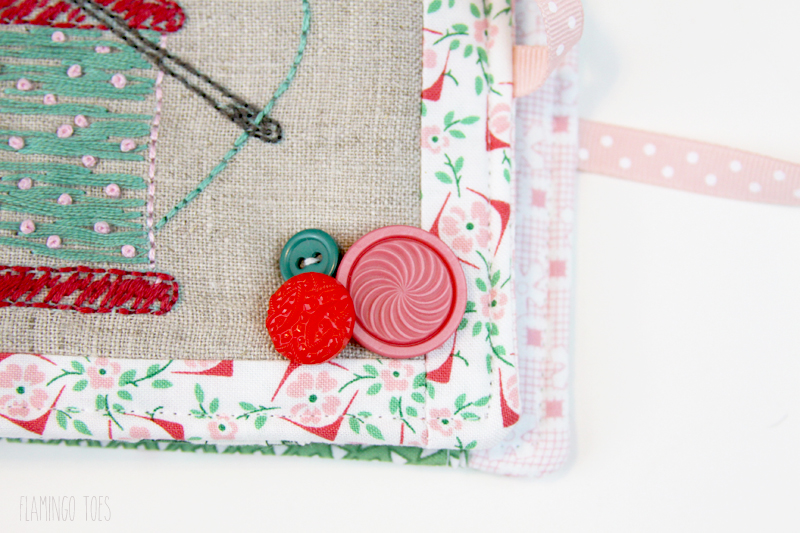
If you haven’t already, decorate the cover and pages with a few buttons.
You are all done! Your cute needle book is all ready to stock up!
I’d love for you to come visit me at Flamingo Toes sometime!

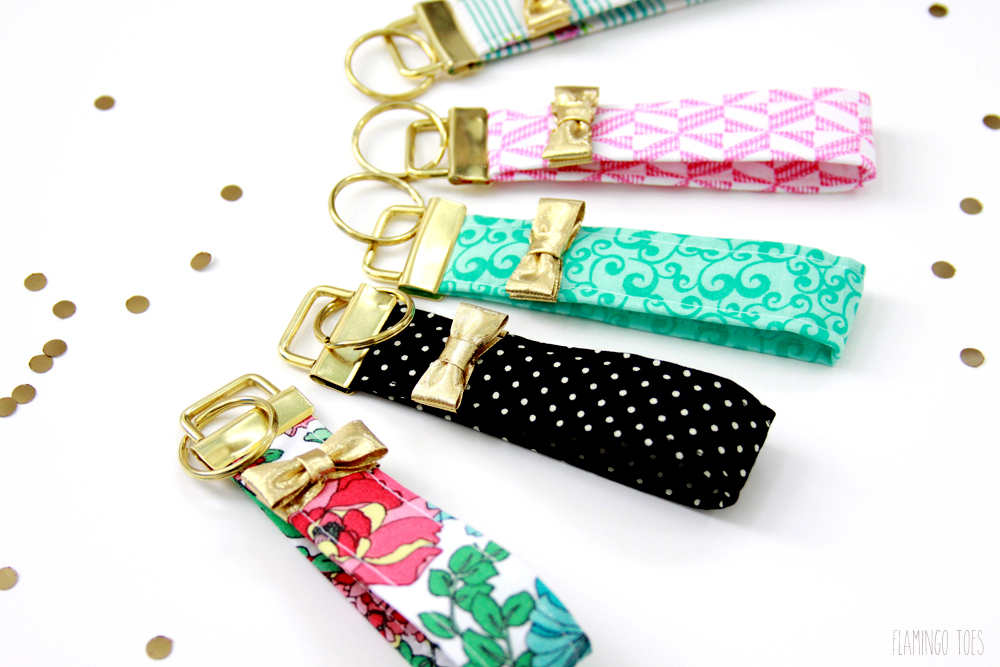
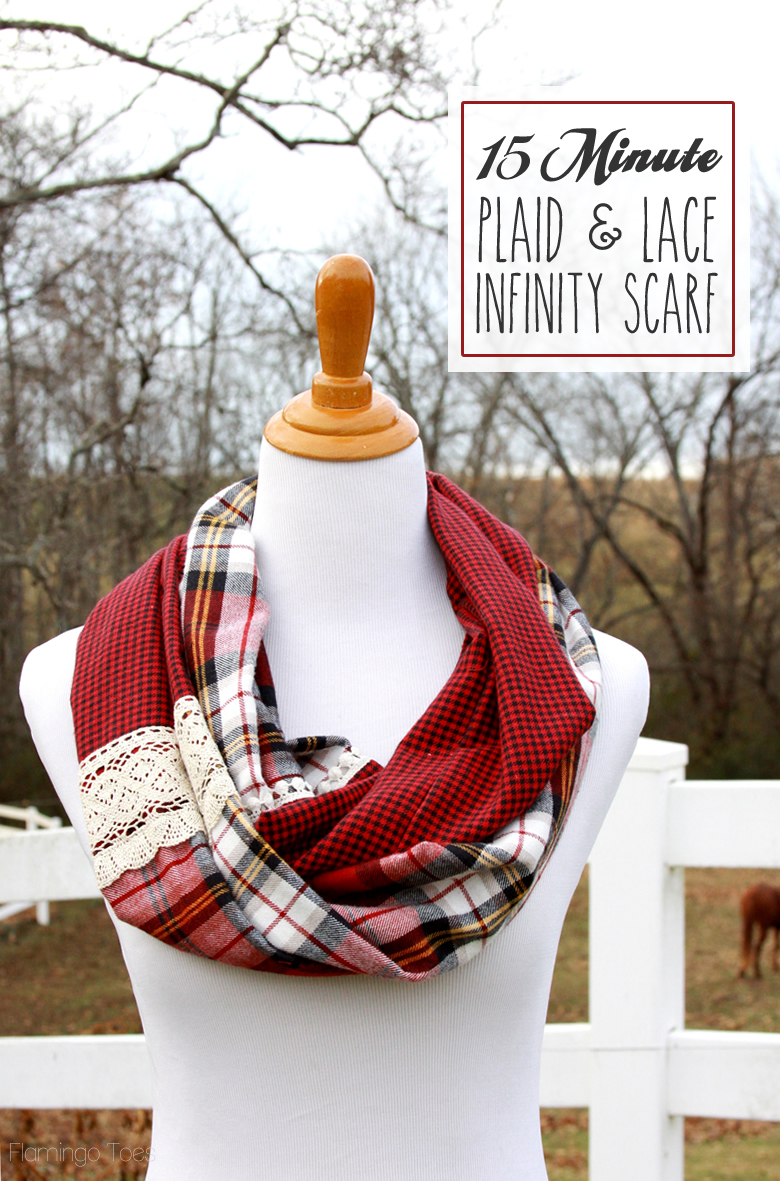
Here are some of my favorite projects that are perfect for gifts!
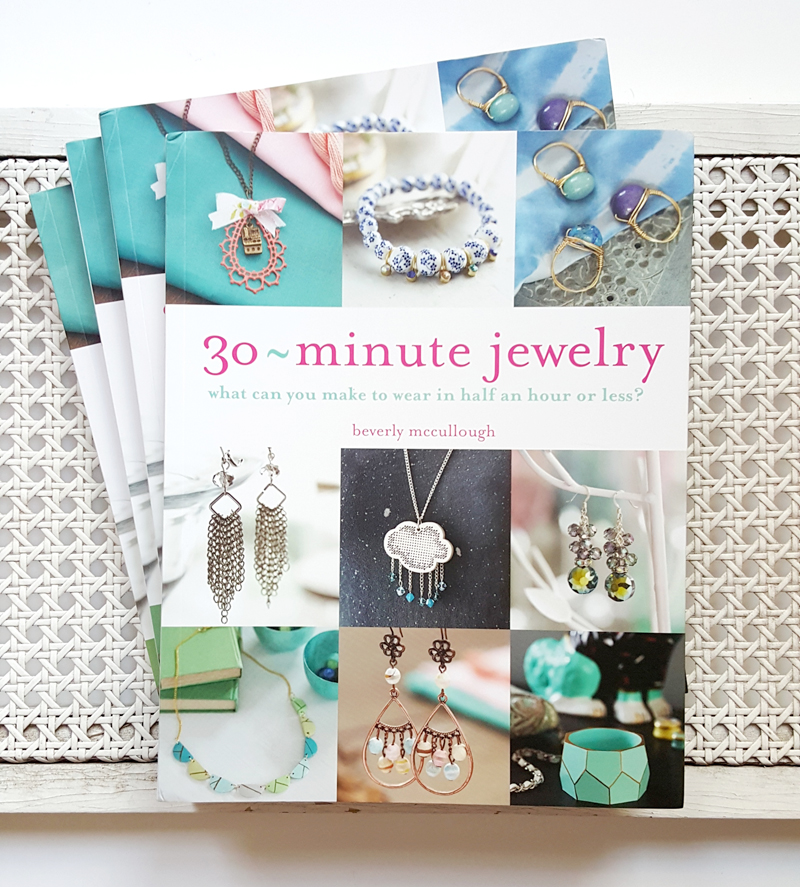
I also just released my first book! It’s called 30 Minute Jewelry and there are regular jewelry projects, plus sewing and embroidery jewelry pieces too! It’s great for beginners or experienced jewelry makers. I’m super excited about it!
Thank you so much for having me Cindy!


That good idea. I like it. I think you will successful.
What a wonderful idea! I LOVE LOVE LOVE the stitched on ruler!!
This is AMAZING! I need to make this the next time one of the kids I know takes up needle crafts. so sweet.
SUPER cute!!!