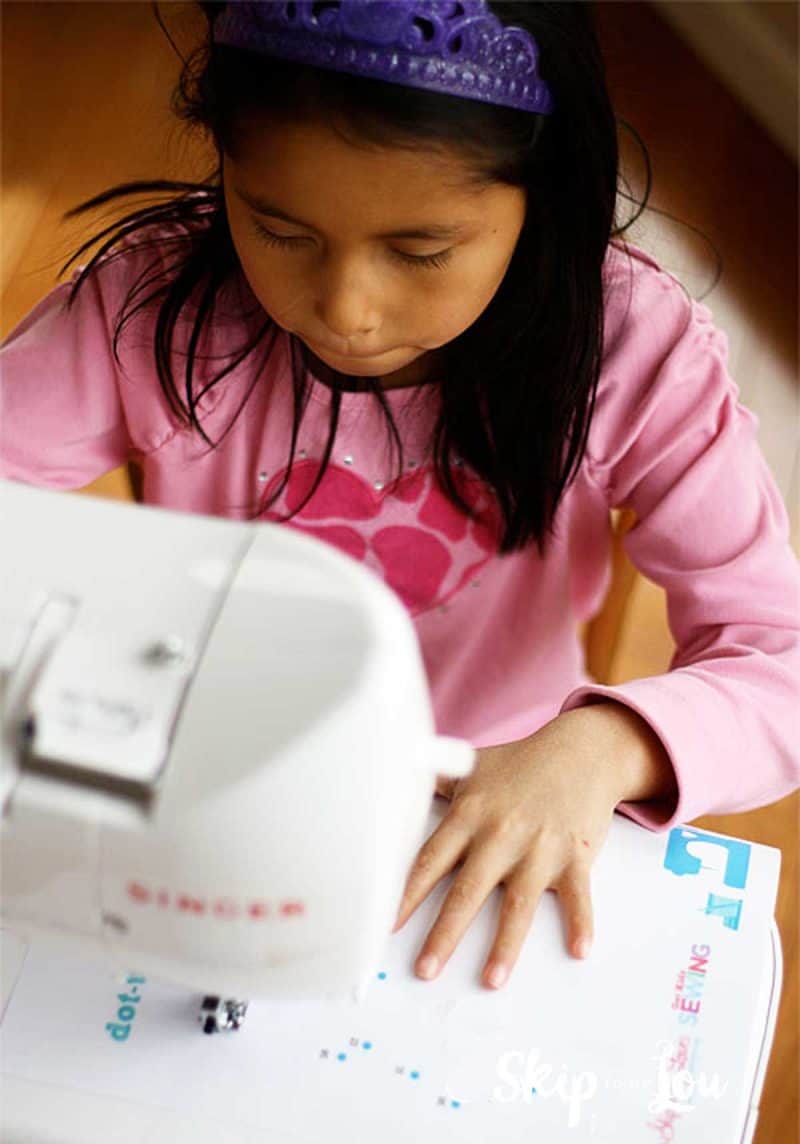
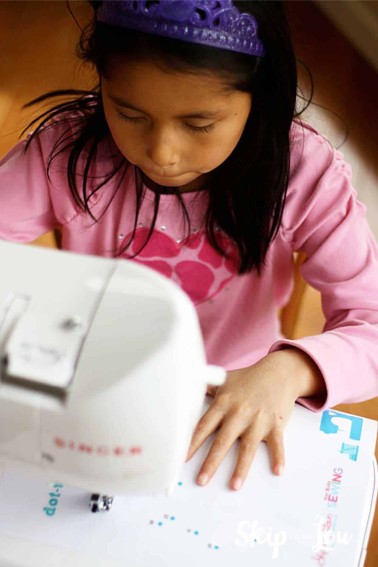
This Teddy bear sewing pattern is a great sewing project for kids! Kids will learn to sew while making their very own teddy bear.

Cute Sewing Project for Kids
Kids will love this easy to sew bear. Print the bear template onto muslin sew and stuff. Kids will practice
- sewing curves and straight lines
- clipping corners
- stuffing
- hand sewing
The best part kids will build confidence and feel so proud when they make their very own stuffed animal teddy bear.
Teddy Bear Sewing Pattern
Follow these instructions and you will know to make your own print and sew bear. This teddy bear sewing pattern is a quick and easy project.
Download bear and print on fabric. You can buy fabric that is specifically made for the printer ![]() (affiliate link)(If you are squeamish or can’t take it when someone says, “you sent what through the printer”– buy the proper paper.) If you like to live on the edge — hang on and I will tell you how to make your own paper backed fabric.
(affiliate link)(If you are squeamish or can’t take it when someone says, “you sent what through the printer”– buy the proper paper.) If you like to live on the edge — hang on and I will tell you how to make your own paper backed fabric.
How to print on fabric
- Cut a piece of lightweight white cotton fabric (muslin) and Freezer Paper
 (affiliate link) slightly larger than 8 1/2 X 11.
 - Iron the shiny side of the freezer paper to the fabric. Use a dry iron and hold for about 5 seconds. start from the middle and work to edges. If you have wrinkles in the fabric press on fabric side until smooth.
- Trim the paper-backed fabric to 8 1/2″ X 11″. Give it another press — it needs to be really flat. In fact, I think it works to give it a press right before you run it through your printer. It is best to use a simple inkjet printer — not a fancy 4 in 1 copier that has an elaborate (and expensive) system on the inside (I speak from).
- Simply send your paper backed fabric through the printer so it prints on the fabric side.
- Use ‘normal’ color print mode and choose ‘fit to page’ on your printer settings.
If you want to conserve ink you can use any cotton (a cute brown print would be fun) fabric for the back of the bear and don’t print the back piece

Peal paper from the back of the fabric. On the wrong side of the bear trace around the outside edge of the bear. A disappearing fabric marking pen would be great, but I only could find a pencil.

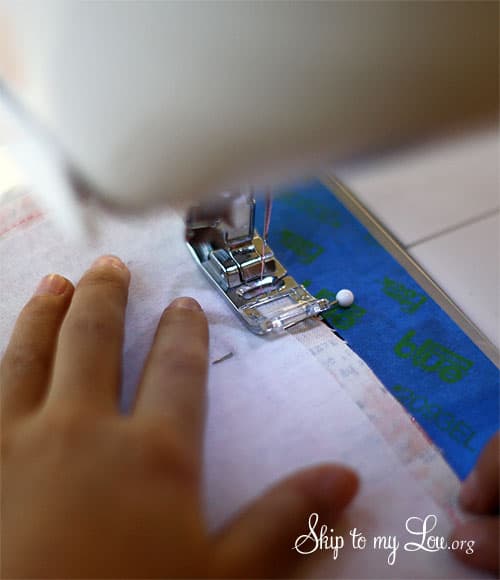
Pin and sew. We left our opening for turning at the top of the head.

Trim and clip all curves and corners.

Turn and stuff! Once stuffed slip stitch opening closed. Look from this simple teddy bear sewing pattern your child made their own stuffed animal.
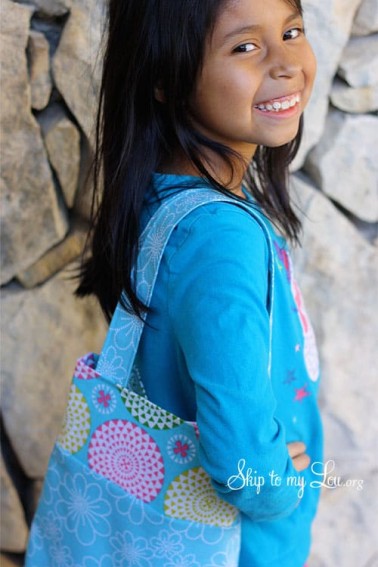
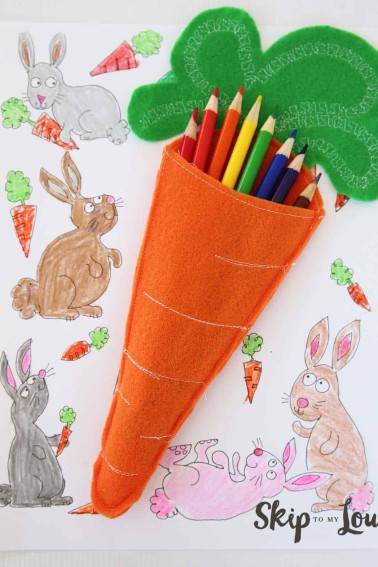
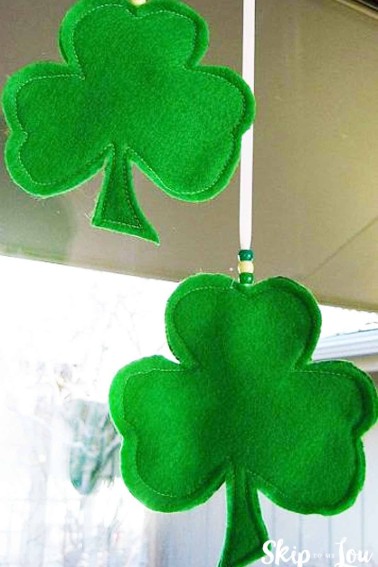
More Sewing Projects for kids
If you are looking for a good sewing project for kids look no further. All these sewing projects are easy enough for kids with simple to understand instructions.


My Favorite Sewing Tools
I would love to keep you fully stocked with creative ideas, yummy recipes, fun crafts, and loads of free printables. Subscribe to Skip to my Lou to get new ideas delivered to your inbox. Follow me on Facebook, Pinterest, Twitter, and Instagram for all my latest updates.
Thank you for these free patterns and EASY instructions. God bless you! And I love the face on that young child; she is adorable!
Very interesting article! Now I know what I will do with the child on the weekend! Thank you for inspiring small masterpieces and great love!
So glad you liked the teddy bear pattern Lynn.
Hi Nina, Sorry if that was confusing but don’t print a back piece. Use a patterned or plain color cotton for the back. If you want a tail how about sewing on a pom pom for a tail on the back.
Thank you so much Caige!
that printable bear was awesome
I have a 7 month old grandchild and he is now becoming aware of toys. This bear is a perfect size for him and you can use all kinds of material to make him a one of a kind. Thank you for sharing.
thank you for sharing your teddy bear pattern i am looking forward to making this for my granddaughter
Go to you printer options and select black & white(mine says grayscale) printing. It will only print the lines.
to get to options hit print or control p , then hit settings and color management.
Thank you for the printable bear pattern! The instructions indicate that we can save ink by printing the back side on printed fabric which I did this morning. I don’t see how that saves ink. I think the light brown background still printed on my brown print fabric. Is there a way to have the background erased(?) so that only the bunny tail prints?
Thanks for your help!
This is such a cute way to teach kids to sew! I hope you don’t mind, but I included this in my weekly round up of Fab Finds Friday on my blog (http://babeecrafts.blogspot.com/2011/03/fabulous-finds-friday-rainy-day-fun.html)
Love these “free” patterns you post! They are really cute and super easy to complete!
Again, Thanks!
this is soo cute!
Learning to SEW!
yeah!
I need these SIMPLE sewing projects for ME! ;o)
And WOW on that Cannon Rebel Giveaway!
Happy Weekend Cindy!
xo
Thanks for sharing! This is a sewing project that I’d love to try with my niece.