This scrappy little stocking tutorial is perfect to hold money or a gift card this Christmas. I love gifting money but it is nice to dress it up a little. Add a little treat to make it extra special. You might also like making this lens cap cozy for the photographer on your list. Follow along all month long for more handmade gift ideas, I have gathered the best bloggers who will be sharing a new idea every day!
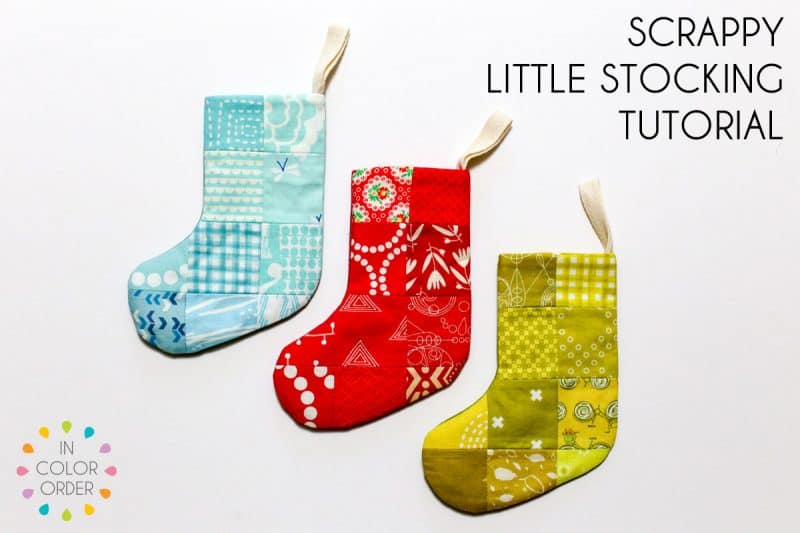
Hello! I’m Jeni Baker and I write the sewing and quilting blog, In Color Order. I’m excited to share this scrappy little stocking tutorial as a part of the Holiday Bake Craft Sew Along here on Skip to my Lou. I love sewing the the holidays and this little project could be made as a gift or to use in your own home decor. It doesn’t take much fabric, and would be a great alternative to gift wrap for a small gift. These stockings are the perfect size to hold some candy or a gift card.
The instructions below are for making one stocking. They get lonely though, so make a few this afternoon!
Supplies for a Scrappy Little Stocking Tutorial


- Ten 2.25” squares
- One 6”x7.5” piece of backing fabric
- One 12”x7.5” pieces of lining fabric
- Two 6” x 7.5” pieces of fusible interfacing
- One 4.5” piece of 1/2” natural twill tape or ribbon
- Marking pen
- Thread
- General sewing supplies
- Stocking Template (download here)
Notes:
Stocking finished size: 5” wide, 6.5” tall
Backstitch at the beginning and end of all seams.
Use a 1/4” seam allowance throughout.
How to make a Scrappy Little Stocking Tutorial
Lay out ten 2.25” squares as shown.

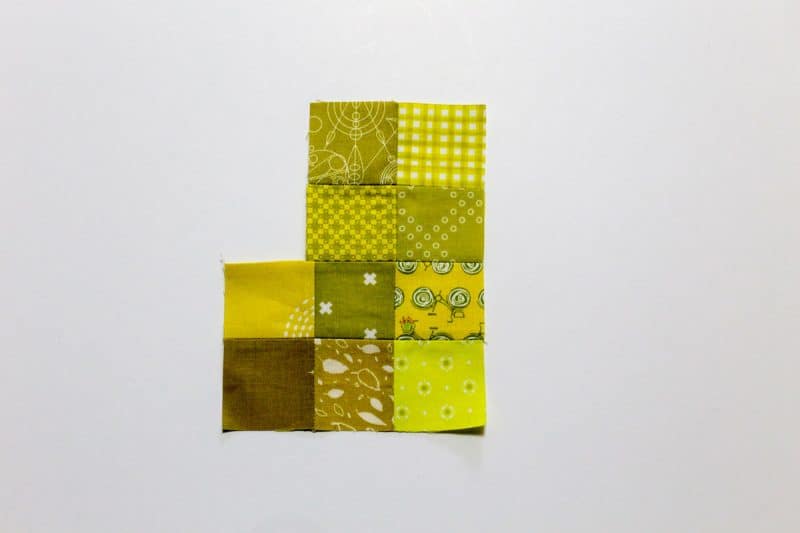
Sew the squares in each row together. Press seams open. Sew the rows together in order, 1+2+3+4. Press seams open.
Place patchwork piece on top of an interfacing piece, cut away any excess interfacing. Apply interfacing using the manufacturer’s directions to the wrong side of the patchwork piece. Apple interfacing using the manufacturer’s directions to the wrong side of the backing fabric piece.
Next step for scrappy little stocking tutorial
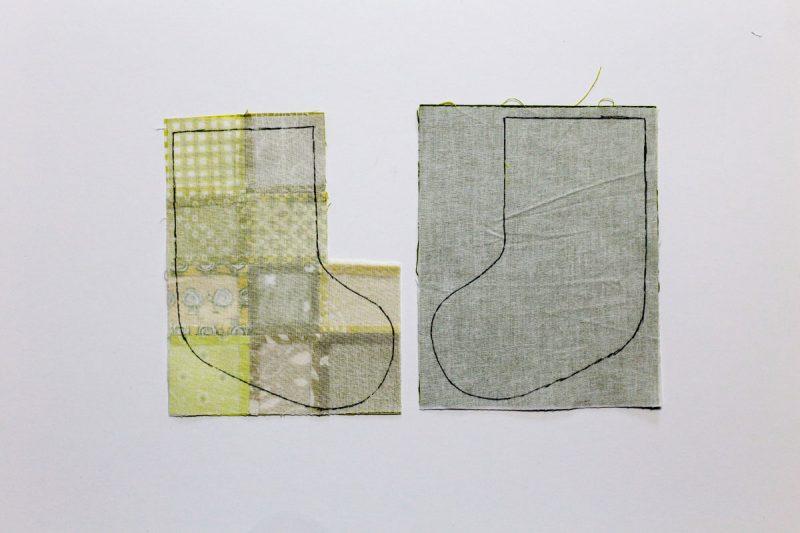
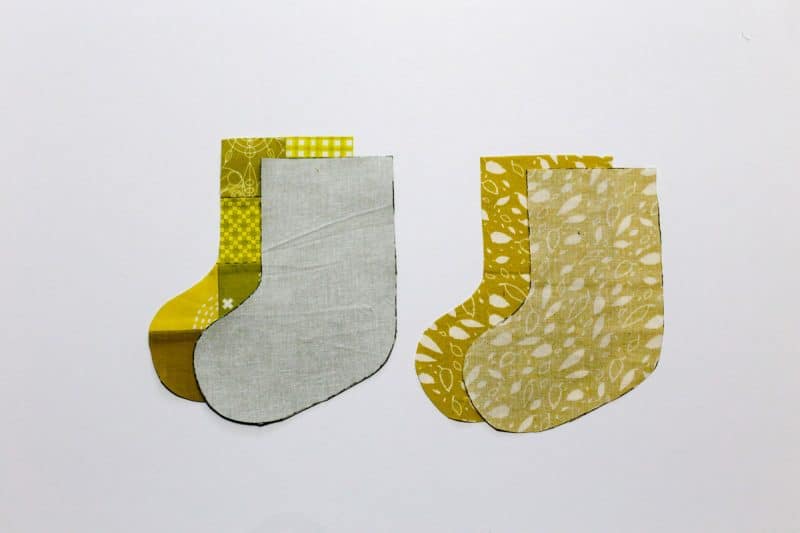
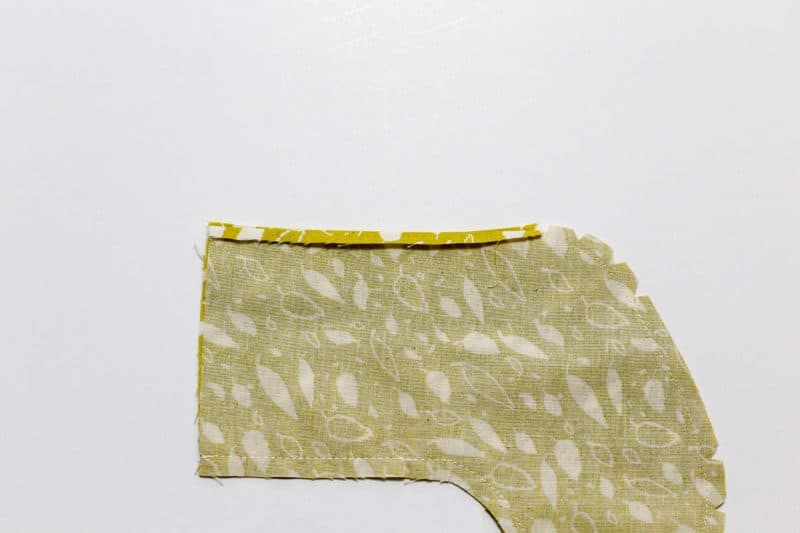
Use the template to trace a stocking onto the right side of the exterior patchwork piece. Cut out the stocking piece. Flip the template and trace onto the right side of the backing piece, so that the two pieces mirror each other.
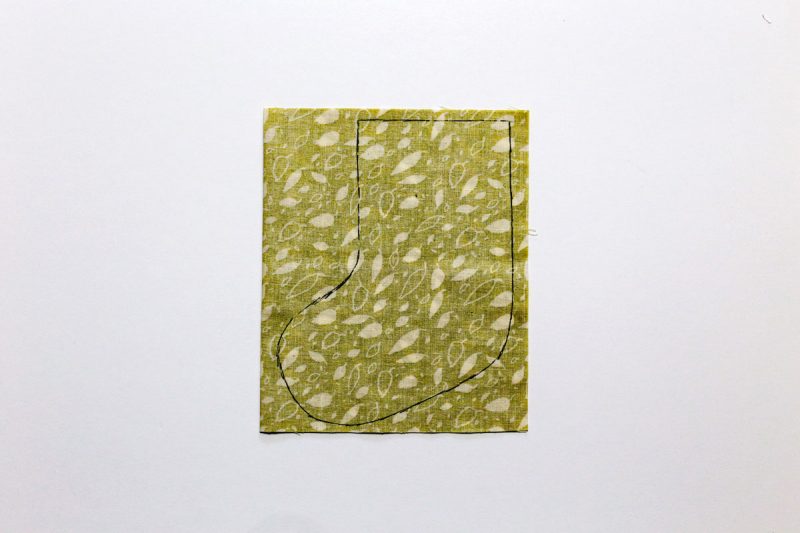
Fold the lining with right sides together and press so that it is 6” wide. Trace around the template onto the wrong side. Cut through both layers to cut out two stocking pieces.
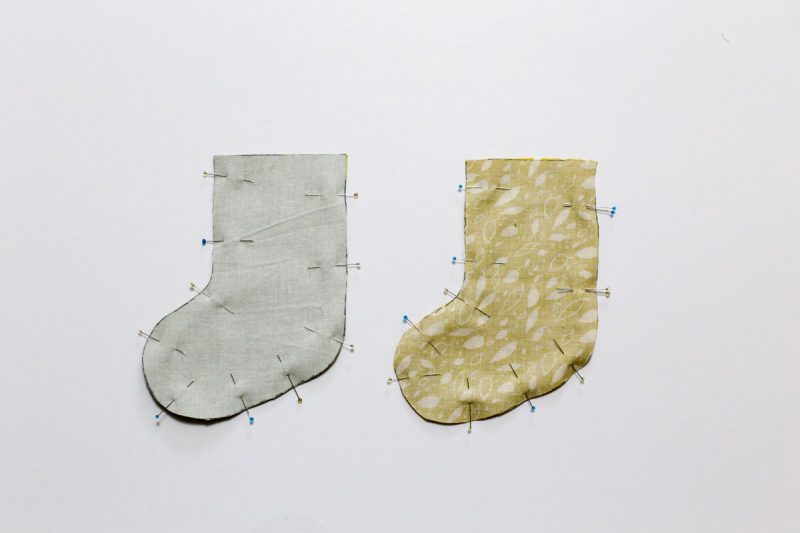
Place exterior patchwork piece and backing piece right sides together. Pin layers together, leaving the top open. Place lining pieces right sides together. Pin layers together leaving to open and marking a 2” opening on the long side with extra pins.
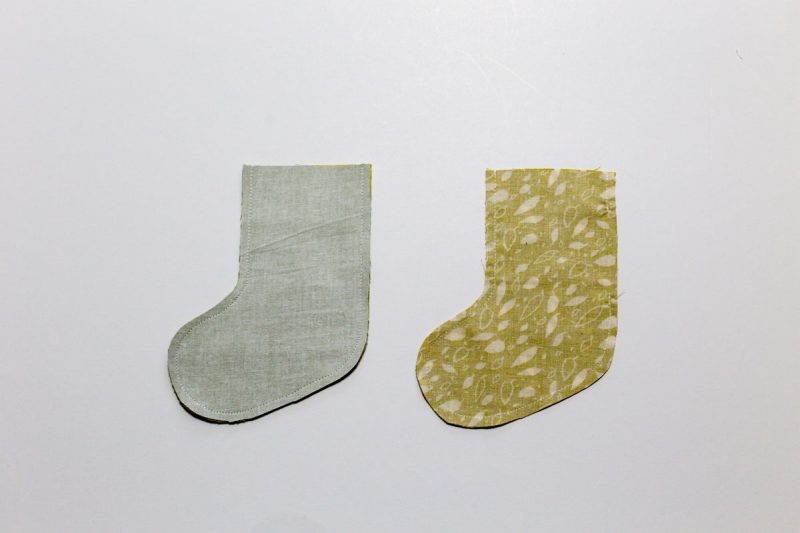
Sew around the sides of the exterior, leaving the top open. Sew around the sides of the lining, leaving the top opening and the 2” side opening unsewn.
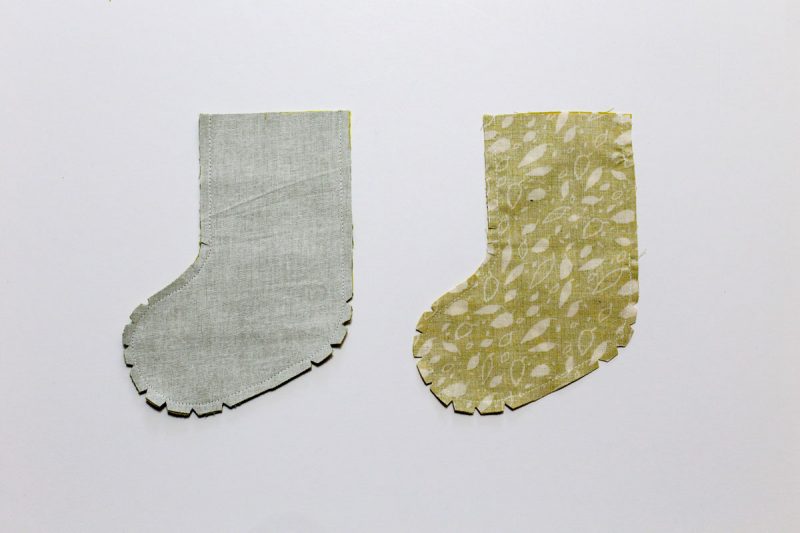
Clip the seam allowance of the inner curve, and notch the seam allowance of the outer curves, for both the exterior and lining. Turn the exterior right sides out, press.
Press the seam of the lining side opening, this will make it easier when turning and closing.
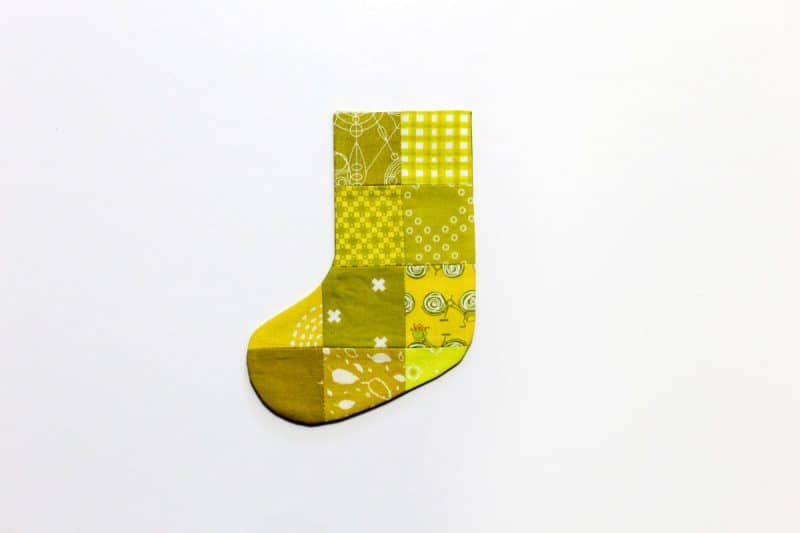
Turn the exterior right sides out, press.
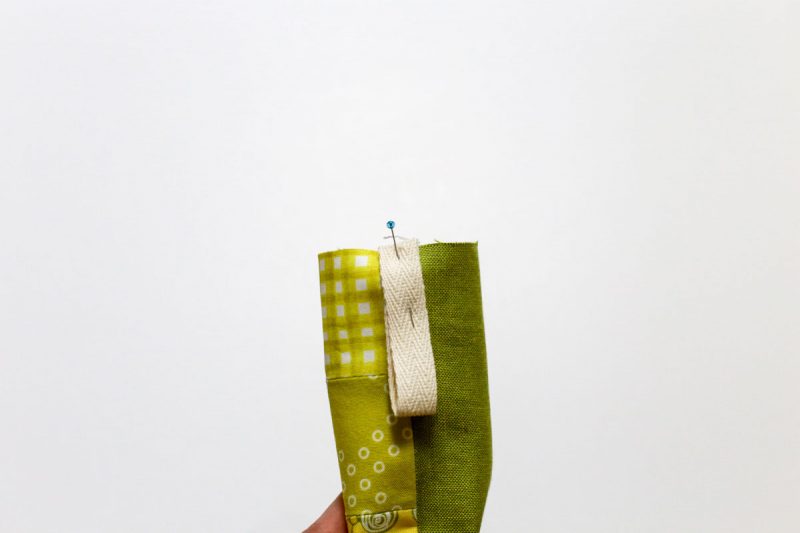
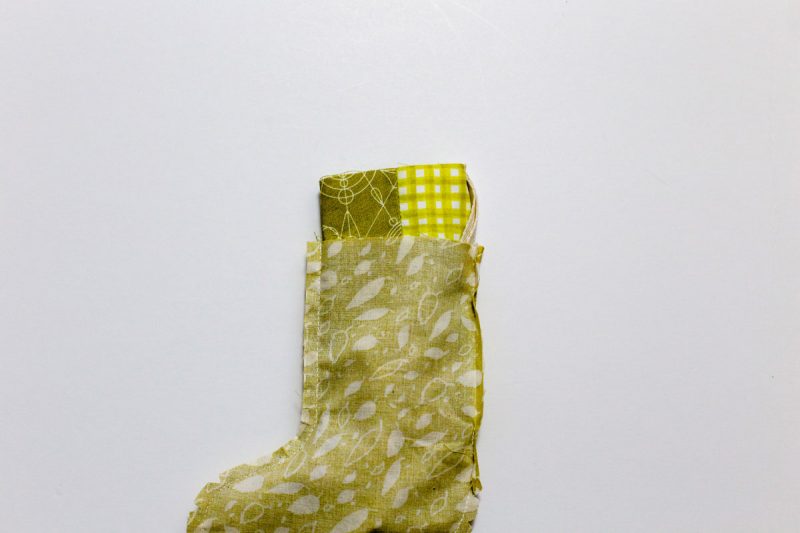
Fold the twill tape in half, with the two cut ends matching. Place the twill tape along the outer seam of the exterior stocking, lining up the cut ends with the top edge of the stocking.
Baste twill tape in place.
Place exterior into the lining, with right sides together.
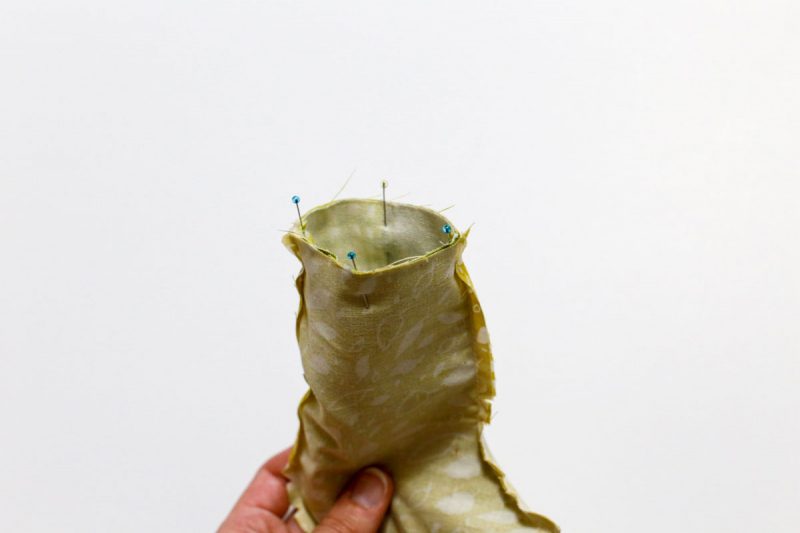
Match up the side seams and top edges. Secure with pins.
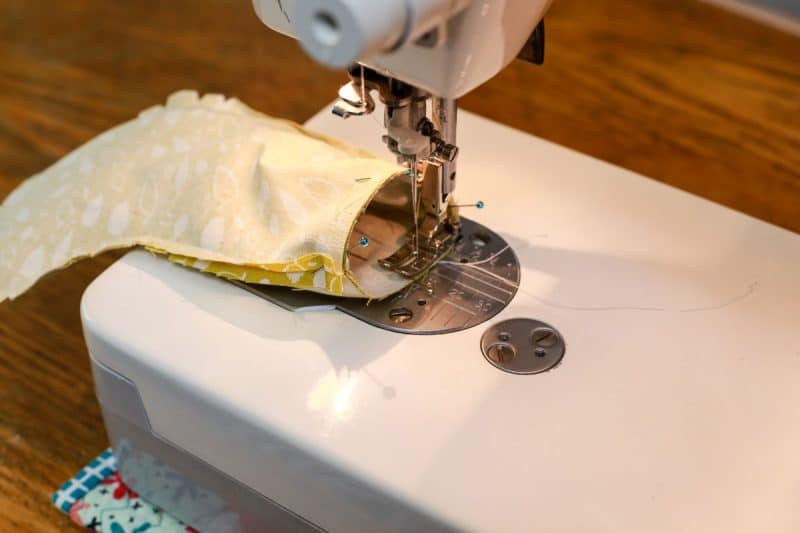
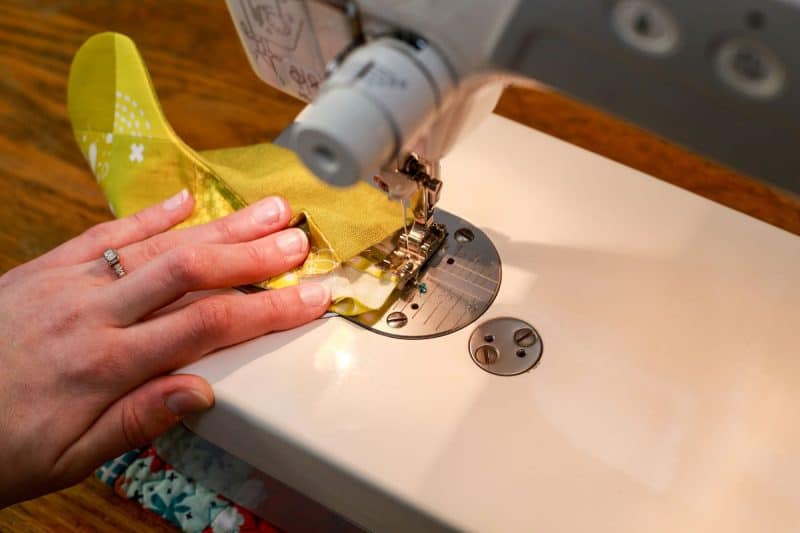
Sew around the top edge.

Turn piece right sides out. Hand sew or topstitch the opening in the lining closed.
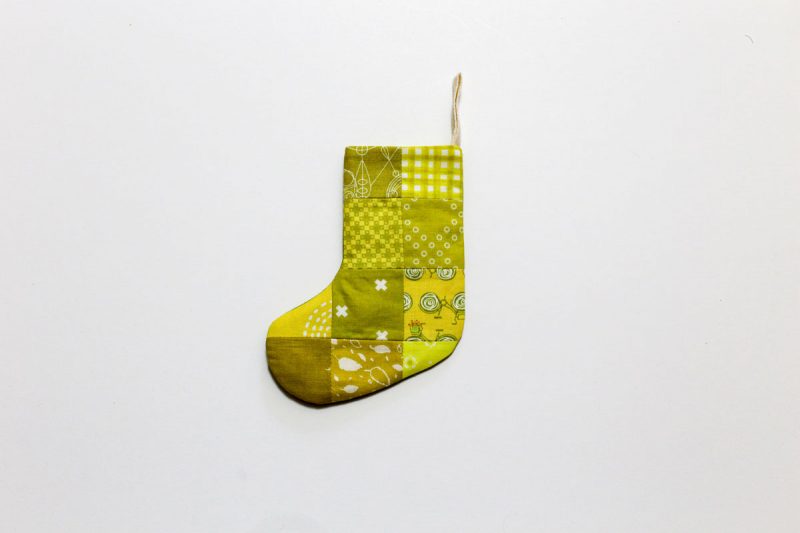
Stuff the lining into the exterior, press well.

Happy stocking making!
Ready to make a few more holiday gifts? You might enjoy making these:
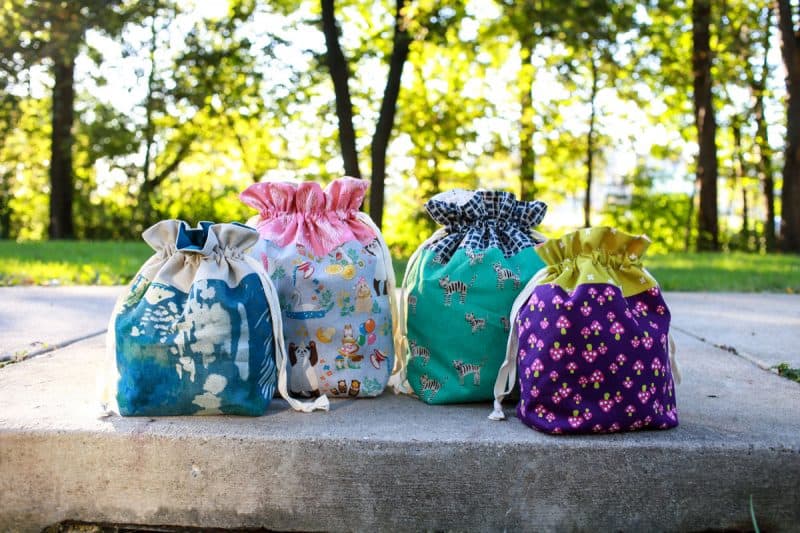
Lined Drawstring Bag Tutorial
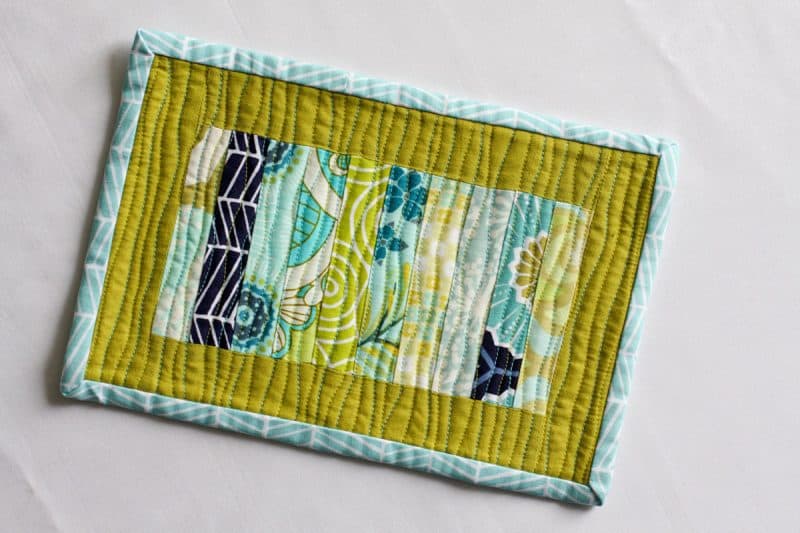
Scrappy Stack Mug Rug Tutorial
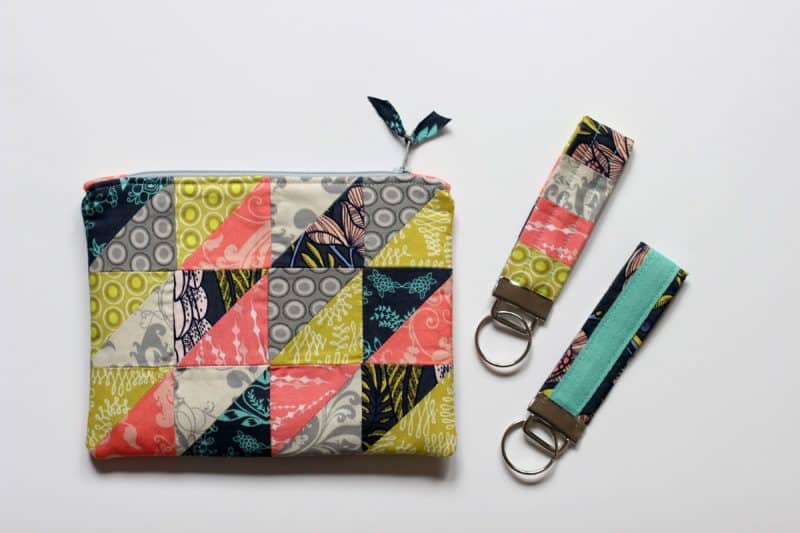
Half-Square Triangle Zipper Pouch and Key FOB Tutorial
 Jeni Baker has been sewing since she was 11 years old, and loves nothing more than to be surrounded by fabric. She self-publishes sewing and quilting patterns for the everyday maker. Her first book, Patchwork Essentials: The Half-Square Triangle, was published by Lucky Spool in Fall 2015. She is always looking for ways to be creative everyday, and simply enjoys living a handmade life. For Jeni’s work, visit her website Incolororder.com or her Instagram @jenib320.
Save
Save


