Do you want an easy project that will result in a super adorable charm bracelet? Then look no further! Learn how to make a DIY charm bracelet using simple and inexpensive materials. So gather your supplies and get ready to create something beautiful!
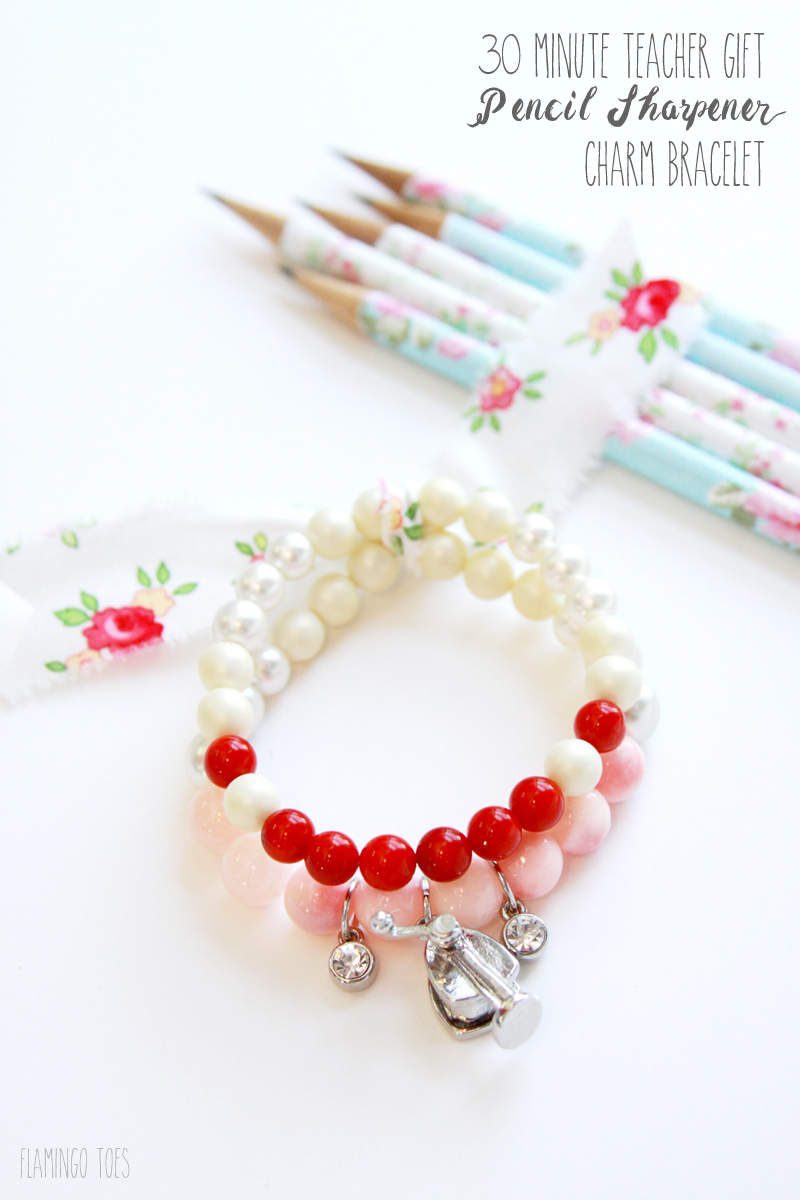
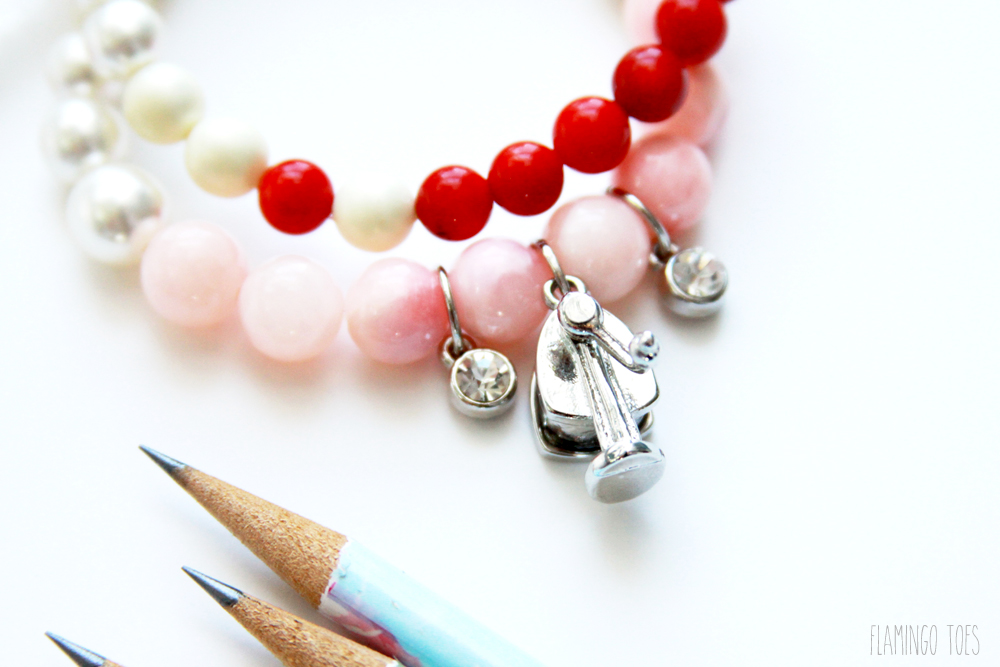
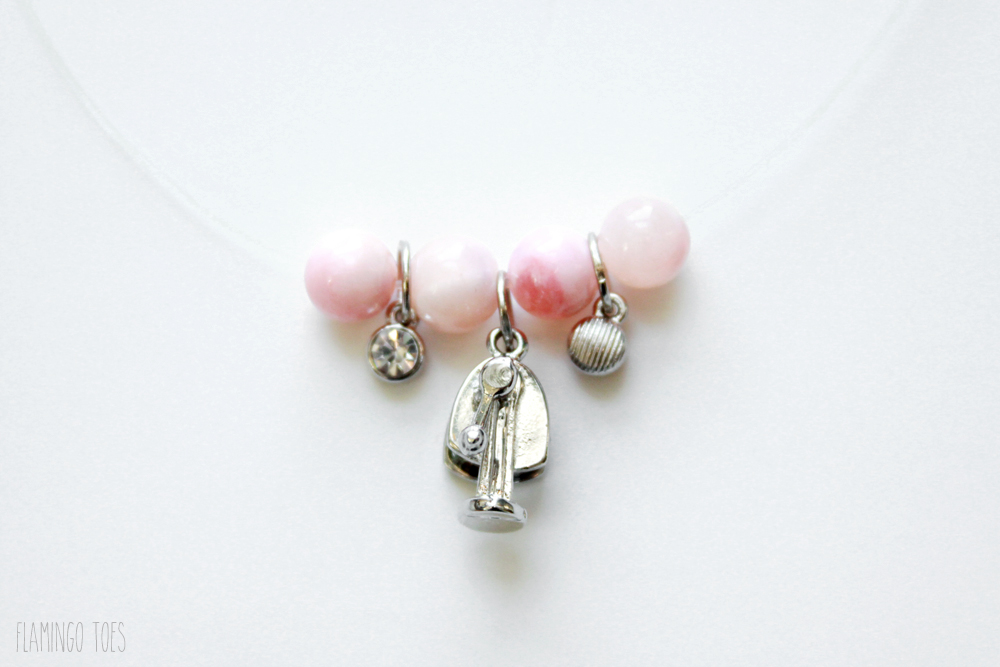
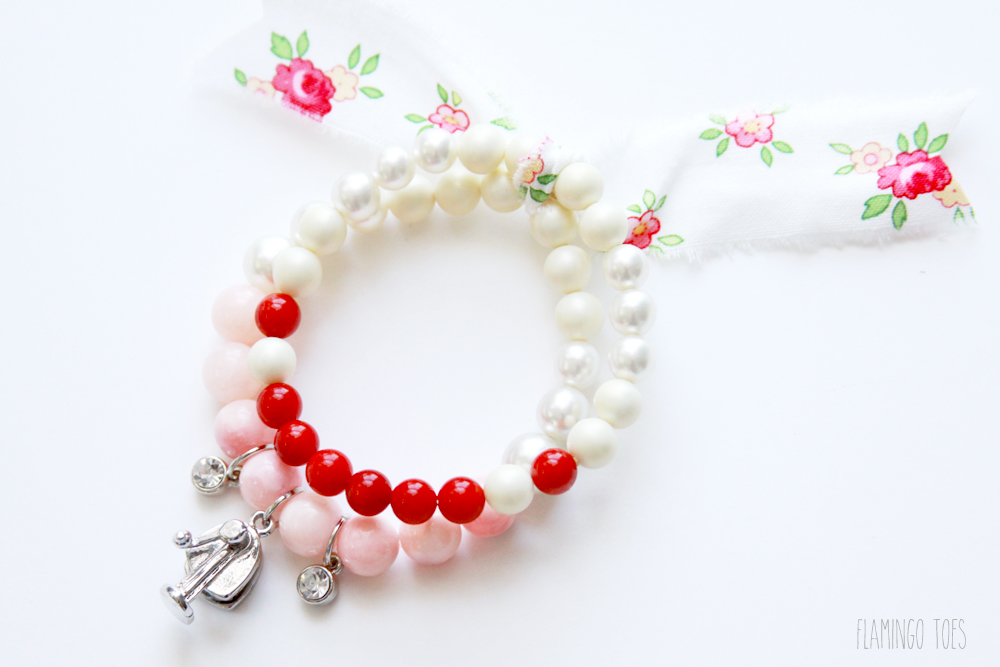
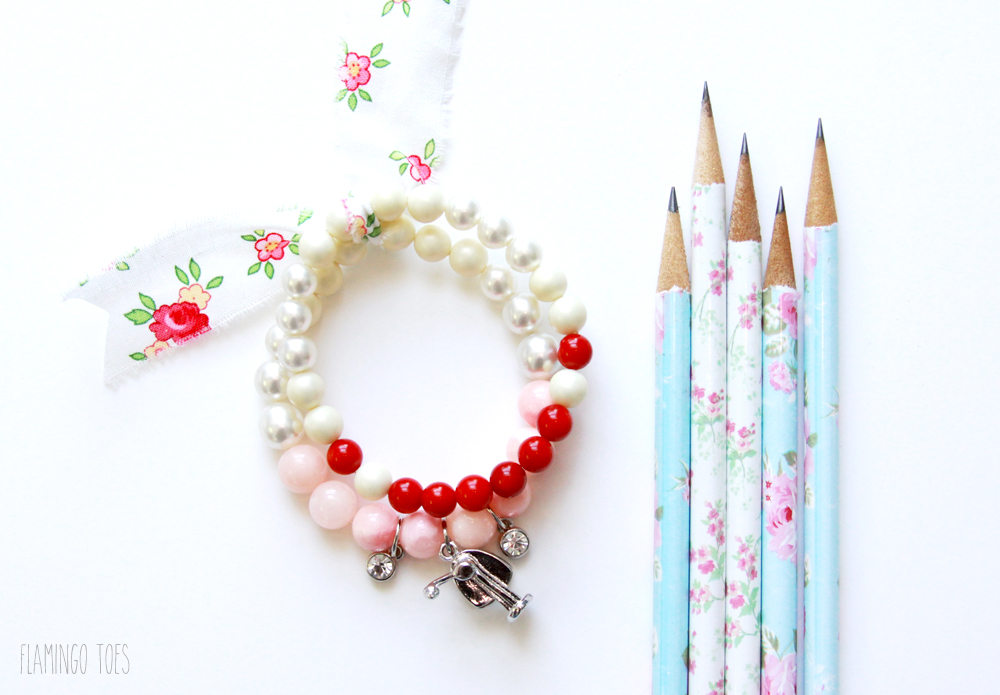
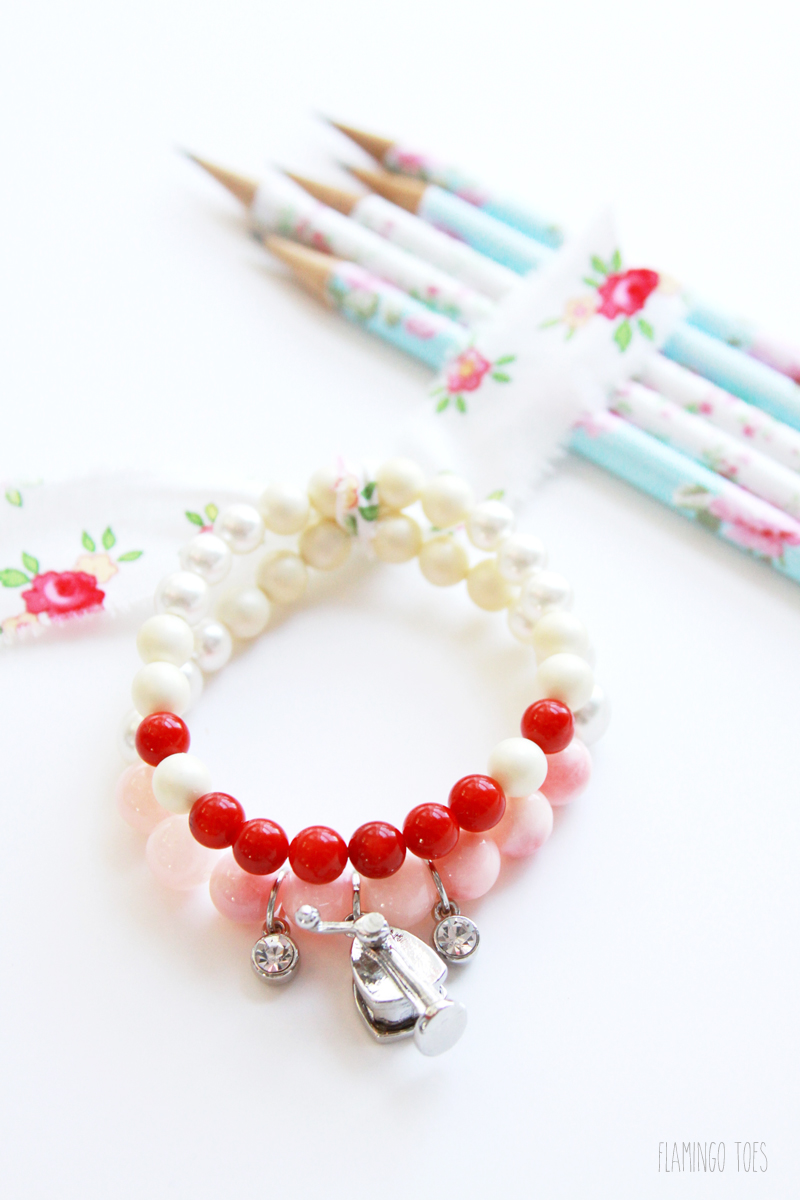
This pretty Pencil Sharpener Charm Bracelet is a cute gift with a hint of fun! I love the little retro pencil sharpener charm – it’s perfect as a teacher gift without being too over the top. This handmade gift idea can be made perfect for anyone on your list by just changing up the charms.
It’s a super easy bracelet to make too – these stretch bracelets take just a few minutes to make and you can easily switch up colors, beads, and charms!
What you need to make the Charm Bracelet
- 15″ of beads – mix or match your colors or sizes
- 3 Jump rings – these should be just a little smaller than your largest beads
- 3 charms – you can mix up these too!
- Stretch Cording (be sure to get the width that will fit inside your beads)
- Fabric Scrap
- Jewelry Glue (optional)
- Scissors
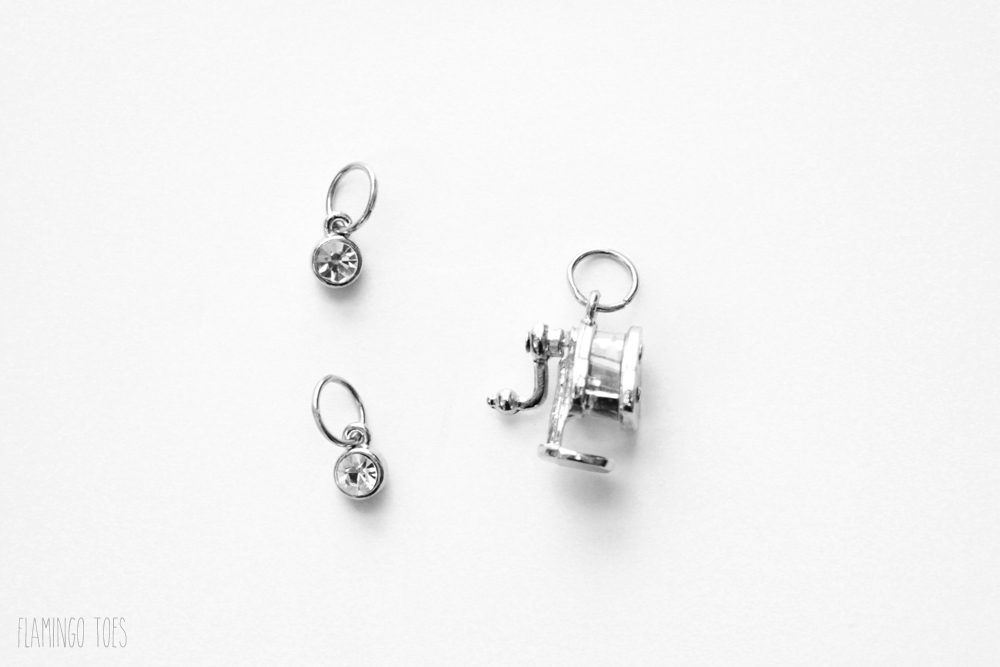
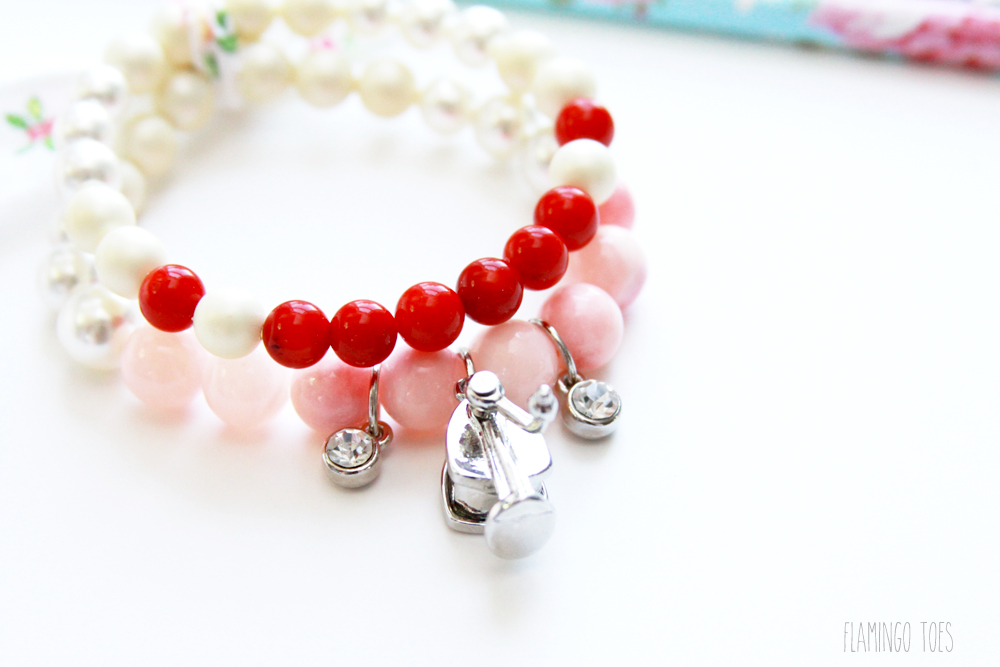
Usually, charms come with a little ring at the top. Add each of these rings to a large jump ring.
Putting the DIY Bracelet Charm Together
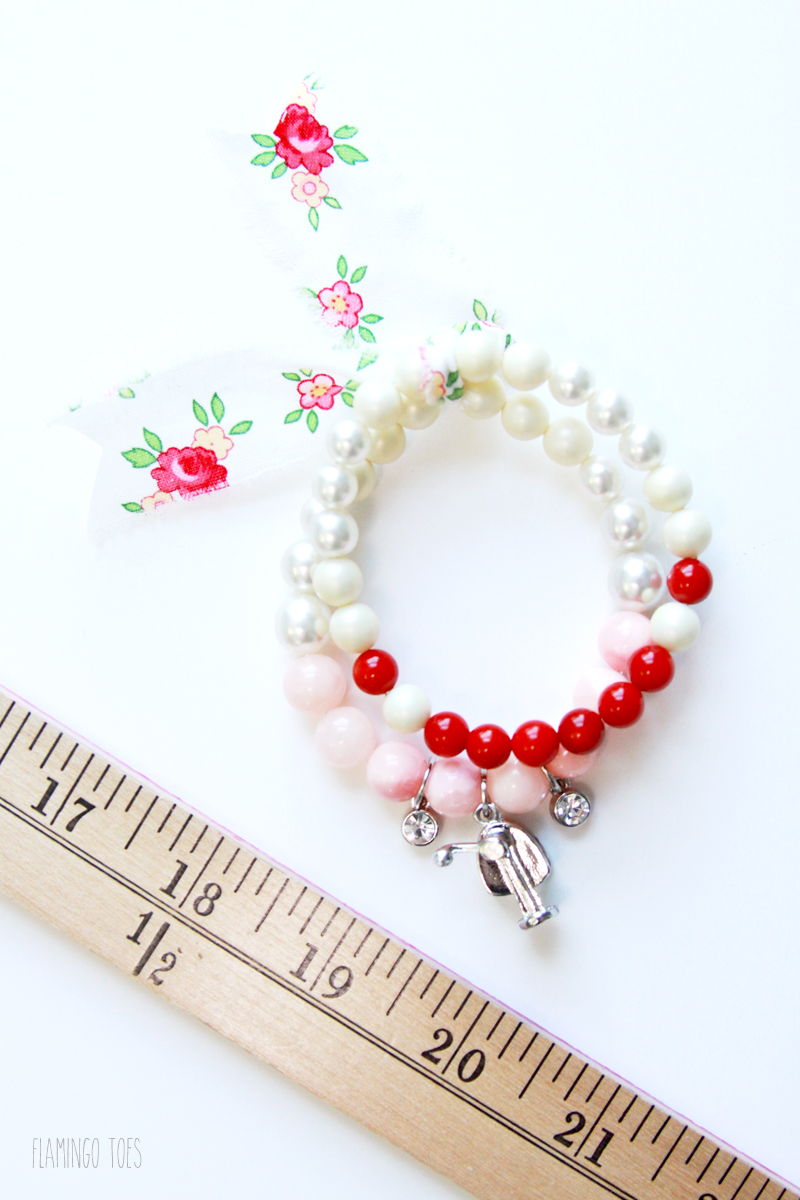
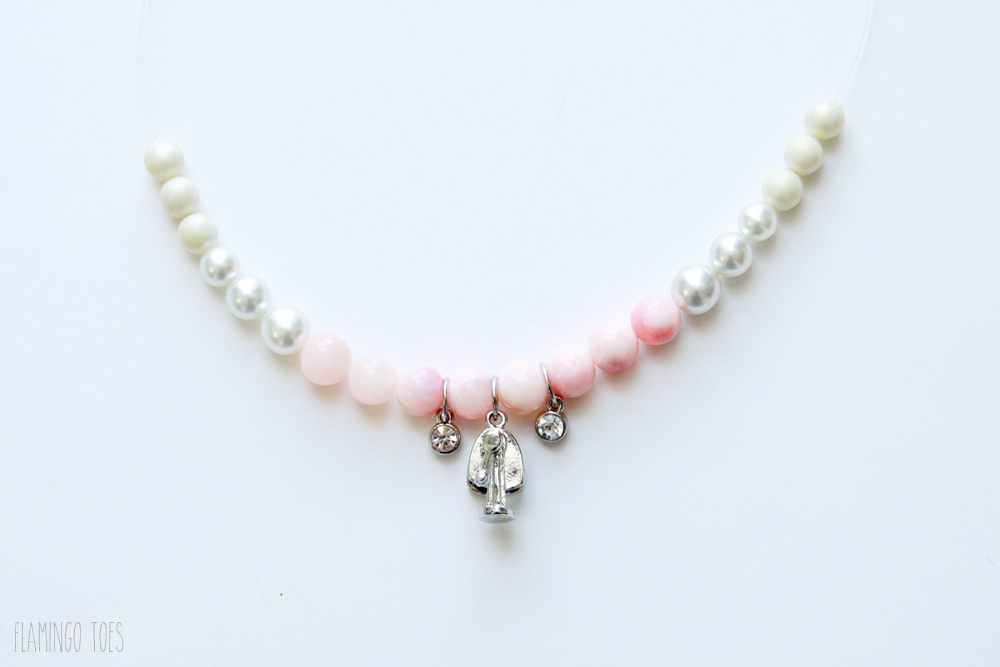
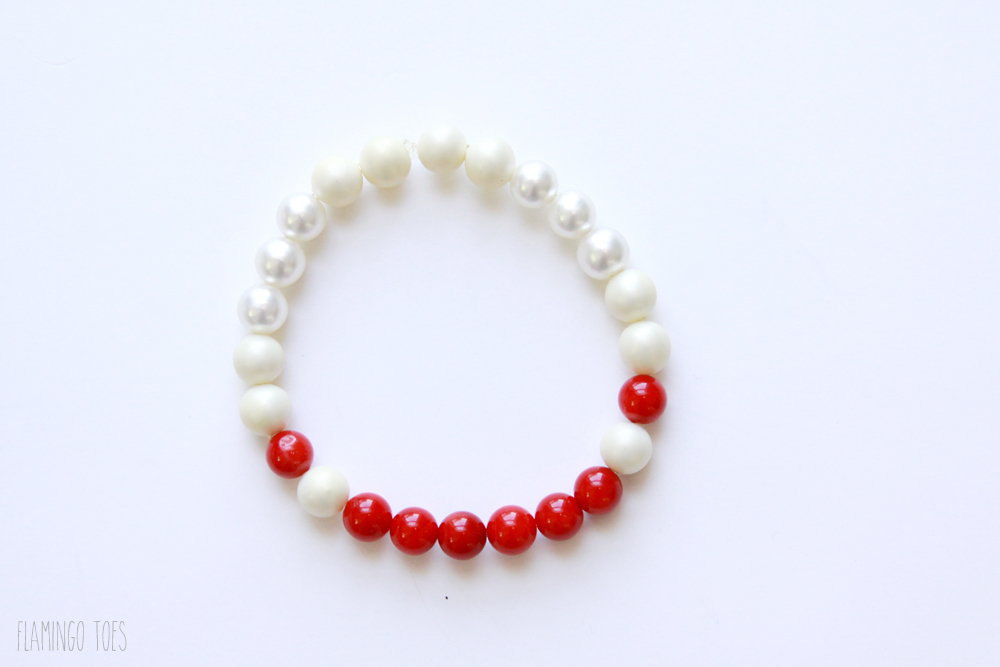
Lay out your beads and decide what order you’d like them in for each bracelet. Try to keep your larger beads in the center of your bracelet and the smaller beads out towards the sides.
Cut a 10″ length of stretch cording. Feed your largest bead onto the cording and the jump ring for your largest charm. Add another large bead to the cording. Add a smaller charm on each side of the beads, and a bead on each side of those smaller charms.
Continue adding beads to the bracelet until it is just over 7″ long. (Adjust if you need to make your bracelet larger or smaller).
Bring the ends of the cording together and tie a knot in it. Pull the cording up so that the beads all touch, but the cording isn’t stretched. You can add a little dot of jewelry glue to secure the knot if you want.
Repeat for a second bracelet, using similar color beads.
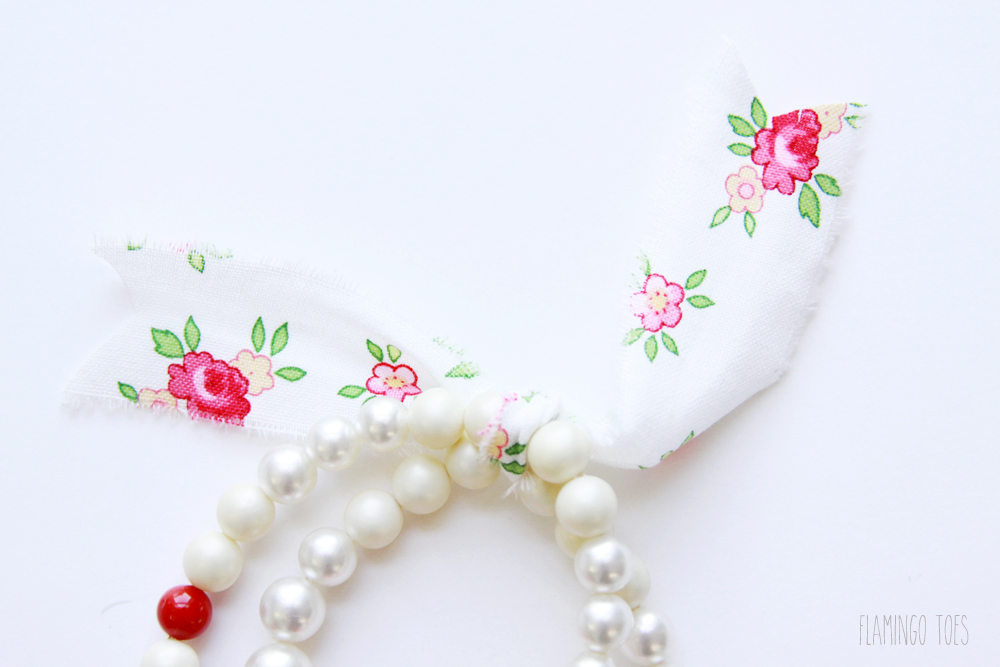
Line up the knots in the bracelets and tie a small scrap of fabric around the back of the bracelet. Knot the fabric and cut the ends in a cute triangle.
Now you have a cute bracelet set that makes a perfect gift!
Stop by Bev’s Flamingo Toes today for more crafty inspiration.
I’d love to see a photo if you make one up!
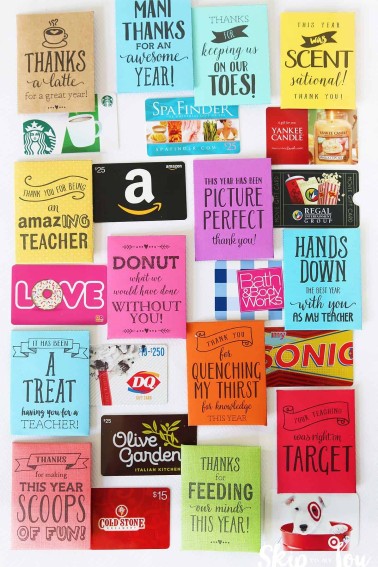
More Gifts and Ideas
I would love to keep you fully stocked with creative ideas, yummy recipes, fun crafts, and loads of free printables. Subscribe to Skip to my Lou to get new ideas delivered to your inbox. Follow me on Facebook, Pinterest, Twitter, and Instagram for all my latest updates.


Love your ideas
whoah this blog is fantastic i really like reading your
posts. Keep up the great work! You realize, a lot of persons are searching round for this info, you could
aid them greatly.
That is just the cutest thing, Bev! I know some teachers who would love this. 🙂
i would love to make the pencil sharpener bracelet–where do you get the charm?