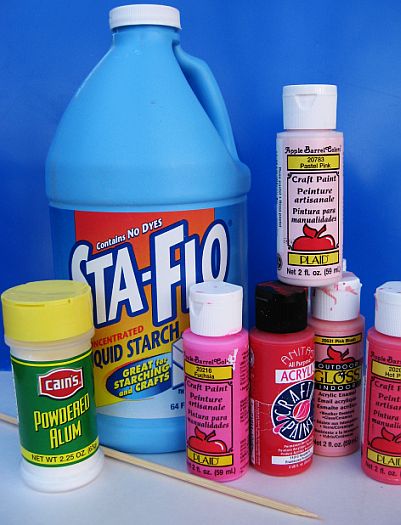
To make this fun and easy marbleized paper you will need: 1/2 tsp alum (helps paint adhere to the paper), 2 cups liquid starch, liquid acrylic paints, a long wooden skewer , a 9 X 13 pan and white copy paper cut to fit the inside your pan. You can change up the size of the pan, just keep the proportions of starch and alum the same. The starch should be 1 to 2 inches deep in your pan.
How to make marbleized paper
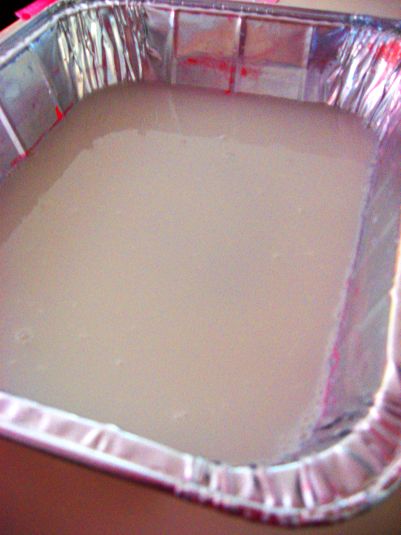
Pour 2 cups of liquid starch in the pan then add 1/2 tsp alum stirring until mixed.
Gently drop acrylic paint on the surface of the starch. Some paint will sink to the bottom- do not worry. Try not to use too much paint. For best results choose light and dark colors that go together. It will take some experimenting to know how much paint works best for you. Brands of acrylic paint differ in consistency. If after several tries you have trouble with the paint not staying on the surface, try adding a drop of water to your paint.

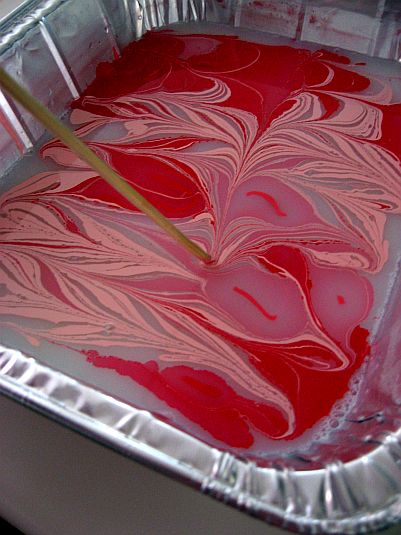
Take the wooden skewer and drag the paint through the starch. Continue dragging the skewer through the paint until you get a design you like. You might try other tools like a fork, feather or comb besides the skewer. Really the fun of this activity is watching the paint swirl around making different designs. There is no right and wrong. Enjoy the experimenting. We were mesmerized —- we hope you will be also!
Lay your piece of paper on top of the starch. Allow it to sit for a couple of seconds.

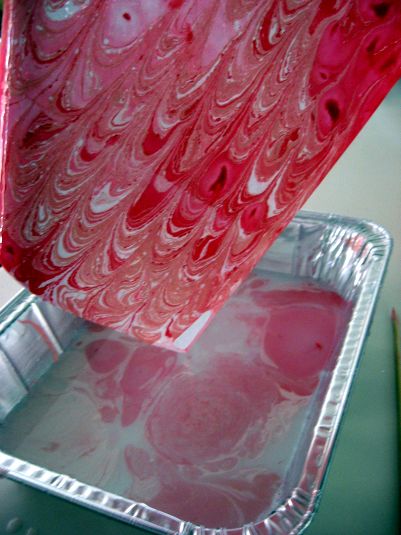
Lift the paper out of the pan and allow the starch to drip off the paper
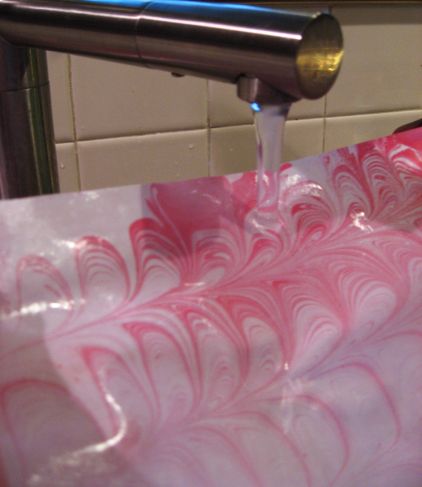
Rinse the paper under running water removing any extra starch. This does not change the intensity of the colors (the below photo is a different piece of paper paper from the above photo)
After the paper has been rinsed, lay it out to dry. It will take about two hours for the paper to dry. When the paper is completely dry, iron on medium setting until the sheets of paper are flat.
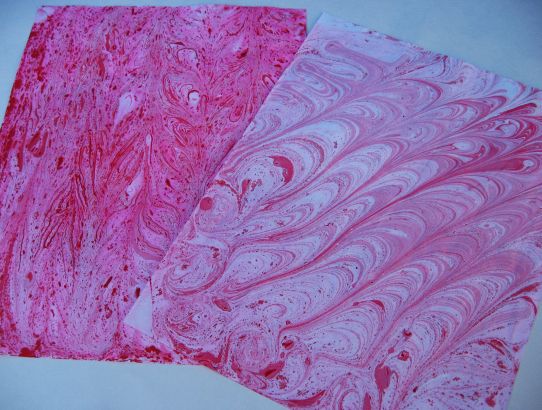
You may find that you can print two sheets of paper before adding more paint to the starch. In the photo below, the bottom piece of paper was made first. We then used our skewer again making a different design and put on another sheet of paper.

In the photo below we had too much paint on our starch so we went ahead and made a print then changed up the design and then made another. If you feel that you have made a lot of prints and your starch is too full of paint, just pour it out and start again.
The possibilities of what to do with your paper are endless—- cover pencils, a book or a box, make note-cards, bookmarks or a picture frame etc.
For another fun activity try painting rocks.
Have fun!


I am so happy I could kiss you! I did this once at high school in a workshop. The teacher made it seem so easy to do. Well now I am the art teacher and had tried three different ways to do this and eventually used shaving cream to do the marbleizing. I was still unhappy with the results and DETERMINED to make my paint float in order to give the kids the full experience. So I went and bought the alum (after searching 3 stores) and the craft paint instead of tempera and already had the liq starch. I was skeptical at first…. But I just got done experimenting again and could not stop. I can’t wait to do it with the kids now! I’m excited!!!! THANK YOU! THANK YOU! THANK YOU! –PS this turned out even better than the workshop that I did!
Oh, thanks for this. I haven’t marbled in years. I think my children will love it. Now that the weather is warmer, we could do this outside (less mess).
Oh so cool! I have always wanted to know how to do this! I have a 9 year old who I know will want to try this with me sometime!
Ok this is super mega radical COOL. Way much simpler than the traditional method.
That looks great! I might try my hand at it.
Thank you for sharing this process. You got wonderful results and make it look easy! I bet it’s hard to stop once you start making papers!!!
Denise Fleming has an alternative process with food coloring and shaving cream. 🙂 (Here’s the link: http://www.denisefleming.com/pages/activitiesb/marbleizedpaper1.htm)
..you’re so stinking cool!
p.s. I used your end of the year “scoops of fun” teacher gift idea! 🙂 thanks!
I remember doing this as a kid, have to try again. i wonder how handmade paper would go? Have you tried that?
that was fun!!! Thank you for sharing
Very cool! I’ve always wondered how to do this! I just finished making your hooded towel. When I get my other two done I’ll post pics. Thanks for the tutorials!
OH How Fantastic!!!!! I literally shrieked with delight when I first saw this! I can’t wait to try it. Thanks 🙂
Thanks for sharing this great tutorial. I always wondered how to do it and this is another one on my growing list of things I want to try …
Such a great project! Thank you for sharing it.
Oh Thank you for posting this!! This sounds like another craft I might enjoy and it’s something the kids will likely enjoy too. Oh boy.. adding more crafts to my belt. Heee..