It’s the Bake, Craft & Sew Along —the sewing edition! Don’t forget to skip on over to According to Kelly to see some fun crafty non-sewing gifts and to A Southern Fairytale for edible goodies that will be perfect this holiday season.

I know this is a handmade gift series but Char from Crap I’ve Made shows how to make a simple and cool laptop sleeve that I must make for myself! It would make a great gift too! Don’t miss all the lovely things (crap) she makes on her blog!
Char writes…
I’m Char from Crap I’ve Made. I don’t like pudding or hugging. I love Diet Coke and naps. I readily admit to fake crying in an attempt to get out of sewing class in the 9th grade. My teacher didn’t buy it, and the rest is history. And, I’m thrilled to be here participating in the Holiday Bake, Craft, & Sew Along.
Here’s my tutorial for a zippered laptop sleeve. Since it’s measurement based, you could adapt it to fit an iPad or other electronic gadget, too.
How to Make a Zippered Laptop Sleeve
Supplies:
Outer fabric
Lining fabric
Fusible fleece
Zipper (approximately 4” longer than your laptop)
Embellishments
Measure your laptop, wrapping your tape measure all the way around.
Mine measures 18.5” X 24.5”. (Yes, it’s tiny.)
Split both of those measurements in half. In my example, that would be 9.25” X 12.25”. Add 1.25” to both of those measurements. In my example that’s 10.5” X 13.5”. We’re finished with the math. Cut 2 pieces from your outer fabric this size. Cut 2 pieces from your lining fabric this size. Cut 2 pieces of fusible fleece this size. I then trimmed 1/2” off all around my fusible fleece because I didn’t want the bulk in my seams.
Embellish one of your exterior pieces as desired now. I’m including directions for exactly how I made mine, but feel free to change that up to personalize your laptop sleeve.
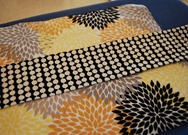
Cut a strip of fabric 3.5” wide and then press under 1/4” on the top and bottom edges.
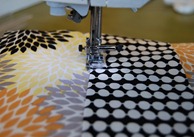
Position on the front of your laptop sleeve and stitch in place along both edges.
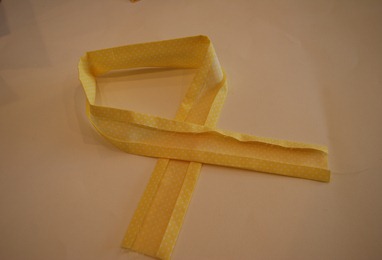
Cut a strip of fabric 3” high by at least twice the width of your laptop case. Fold under 1/2” on both long edges and press.
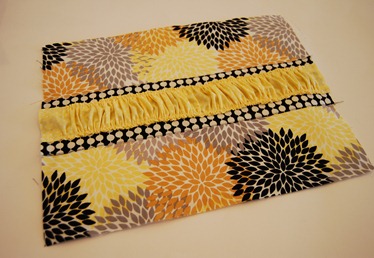
Run a long gathering stitch (do not backstitch) about 1/4” in along both long edges. Pull your bobbin threads to gather evenly. Position in the middle of the larger strip and stitch in place.
(I made the decorative flower using these directions on WiseCraft. It’s attached to a pin and is removable so you won’t see it until the final pictures.)
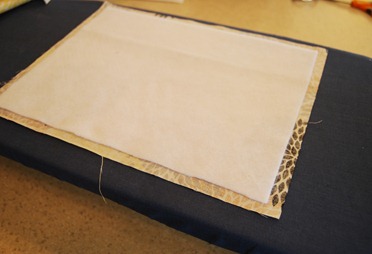
Iron your fusible fleece to the wrong sides of both pieces of outer fabric, following the manufacturer’s instructions.
Take your zipper and place it face down and centered along the top edge of your front piece. You should have excess zipper on both ends.
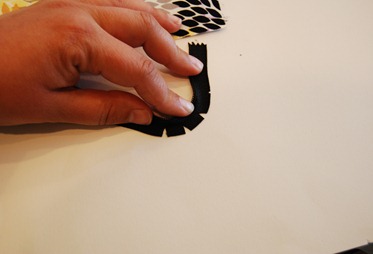
Pin the zipper in place in the center. In order to get the zipper to go around the corners nicely, you’re going to make a few shallow snips along the part you need to bend.
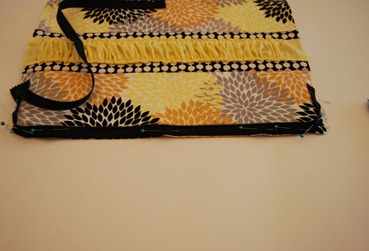
Keep on pinning around both corners. I like to use A LOT of pins.
Baste the zipper in place. I used white thread so it would show up better for photographic purposes.
Position your lining fabric directly on top of your front piece, right sides facing.
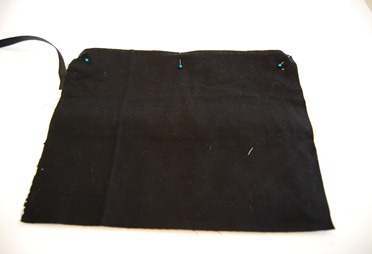
Close the zipper. Position your other exterior piece on top, so the sides are even. Slide it up until it’s even with the zipper and pin. Unzip and repeat the zipper installation steps for the back half of the case.
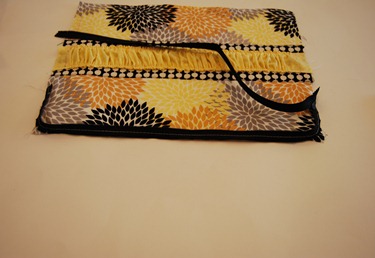
Here’s what you’ve got now…nice neat zipper and ugly unfinished seams everywhere else.
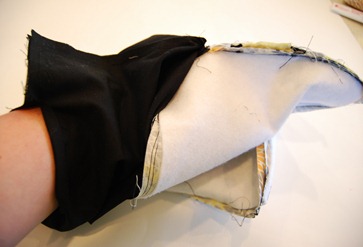
Pull your exterior fabrics over so the right sides are facing, like this:
Keep turning until you’ve got both exterior pieces facing and both lining pieces facing.
Don’t be alarmed by the hot mess it appears to be right now. You’re *almost* there!
Reach up between the exterior layers and undo the zipper a few inches (big enough to fit your hand through and reach to undo the zipper the rest of the way later).
You’re going to sew ONLY on the exterior pieces. Fold, pull, and otherwise maneuver the lining pieces out of the way. You’ll be sewing from one end of the zipper to the other.
In the above picture, you’d sew from one pin, down around the bottom edge and then up to the other pin.
Repeat with the lining pieces, BUT leave a 4-5” hole in the bottom (again, big enough to fit your hand through).
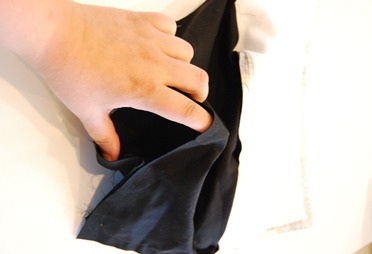
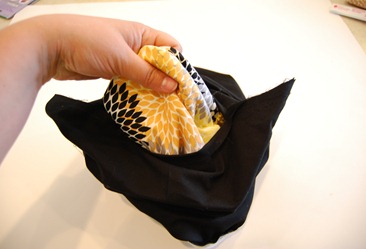
Stick your hand way up in there and grab the bottom seam on the exterior fabrics.
And pull it out through the hole.
Close up the hole in the lining. I usually pull it all the way out and machine stitch close to the edge, but you could hand stitch if you prefer.
Aaaaaaaaaaaand you’re done!
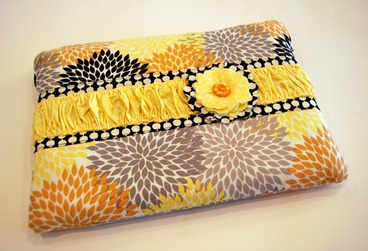


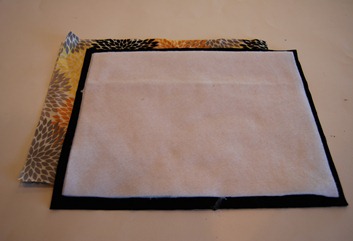
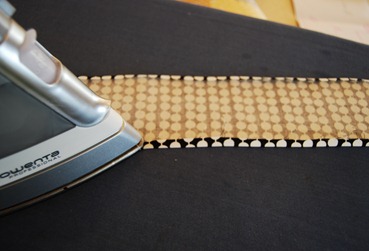

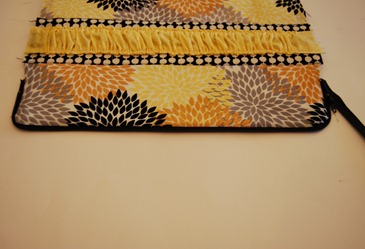
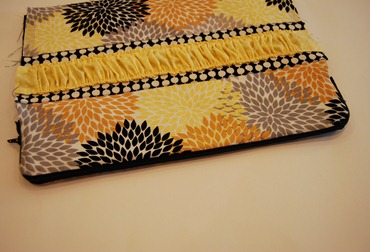
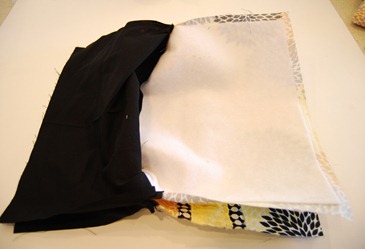
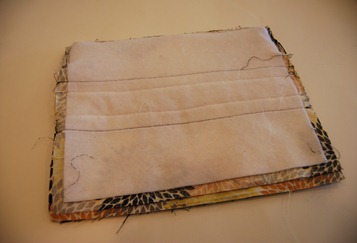



I had made a tote as a gift and my husband said there should’ve been a pocket for a laptop in it. It was too late to add a pocket, so I searched for laptop sleeve patterns and found yours. I wanted the zipper to go around the corners a little like yours did. The zipper went in fine, but I didn’t realize the zipper ends wouldn’t get concealed with the way your pattern was written. I un-sewed a great deal, folded the zipper ends into the seam and then re-sewed everything from that point on (I guess I should have known to tuck the ends in in the first place). I could’ve used some close up photos of the zipper ends during installation. Once I did that, it turned out well and I was pleased with the finished sleeve. Thanks for the instructions.
I really like how the zip wraps around corners. I have started mine and was doing alright until I got to the step where I am supposed to attach the back to the zip. Totally confusing for me. Should I have already attached the other interior piece when I attached the front interior? How is the back piece facing the zip and the front piece? Very frustrating for me. I wish you had more pics of placement. Also what type of zip did you use? I would not recommend this to a newer sewer. I had to toss my zip after the rip out and my front interior piece is looking as frazzled as I was feeling. Yours is just lovely! I am really disappointed but I won’t be finishing mine.
Anyone find out what this fabric is? I absolutely love this dahlia color combo!
I love it! Can’t wait to make it. I have a notebook that I carry in my purse, and it will be great protection for it. Why not more than one!
I like Diane Vautier’S idea to use a shirt.
I didn’t see how the yellow flower was made. Those type floweres are what I am tying to make.
Can anyone help???
Thanks in advance
I couldn’t access the flower directions =( help!
Really like the laptop case. If Santa brings me a Kindle Fire HD it will definitely get one of these in which to reside.
Made this…so easy to follow!
How could I switch it up so the zipper goes the entire way around for say my ipad, more of a case than a sleeve? (Kind of like a zippered binder cover?)
Hey I love your tutorial! I am using it as a guide to make my own sleeve! Each side is actually divided into panels to represent the french flag! On one side I feature a black silhouette of the eiffel tower, and a silhouette of the Paris opera house on the other side! 😀
We’re a group of volunteers and starting a new scheme in our community. Your web site provided us with valuable info to work on. You have done a formidable job and our whole community will be grateful to you.