Learn how to make candy melt suckers in just a few minutes!
You might also like to make hard candy suckers in less than 5 mins!
Candy Melt Suckers Supplies
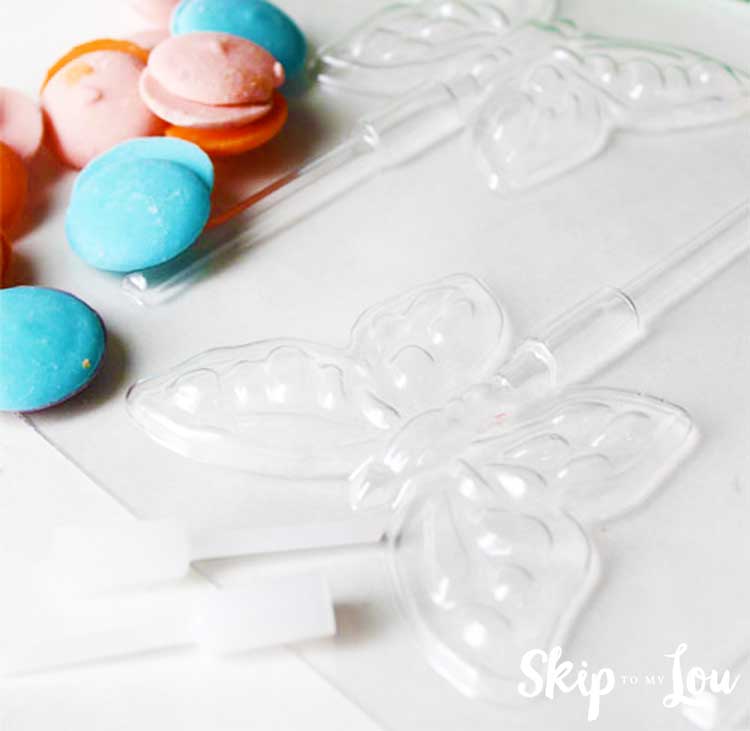
- Chocolate candy mold – We used a mold with a special reservoir for a pencil pop, a plastic coupler that allows you to use a pencil as the stick instead of a sucker stick,
- Sucker sticks or pencil pops and pencils
- Candy coating discs
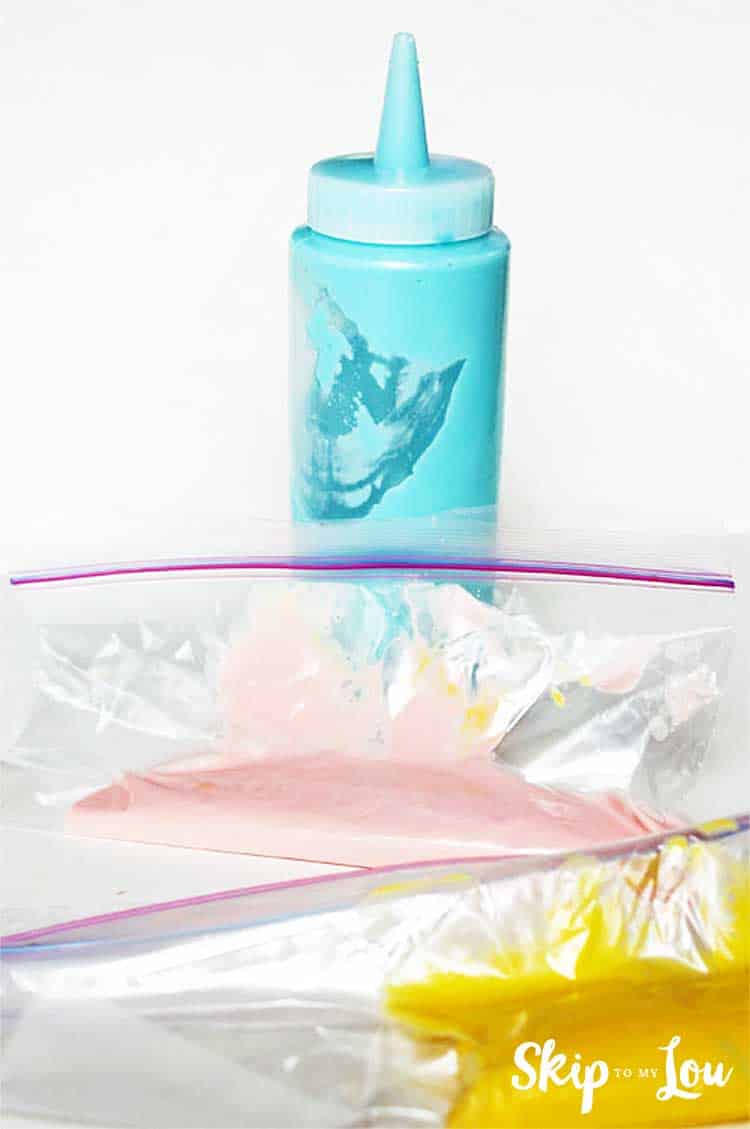
- Zip loc freezer bags or plastic squeeze bottles,
- Inexpensive paintbrushes and pencils.
You can purchase a sucker kit or all these supplies can be found in a cake and candy supply store like Sweet Baking Supply
How to Make Candy Melt Suckers
Place a couple of colored discs in small bowls. Melt candy discs in the microwave at 15-30 second intervals at 50% power, until just melted. It is important to not overheat the candy melts.
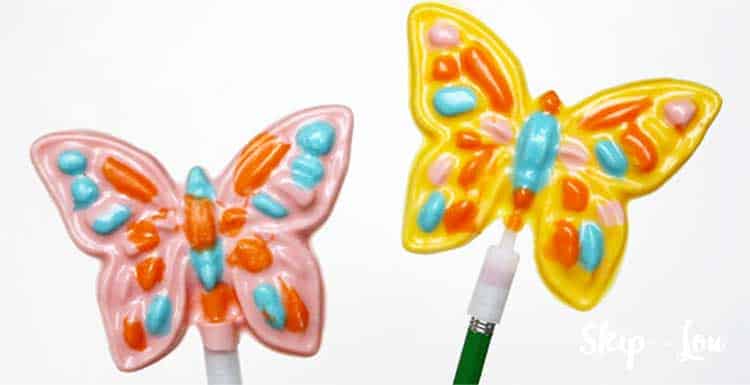
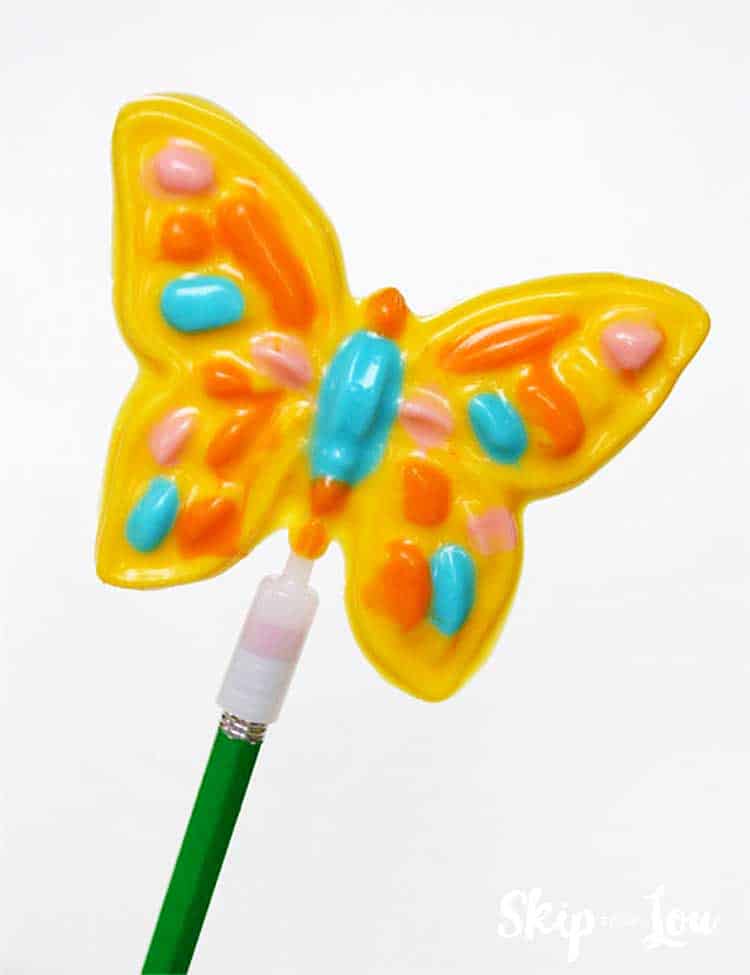
Paint indentations on the chocolate mold with the melted candy coating.
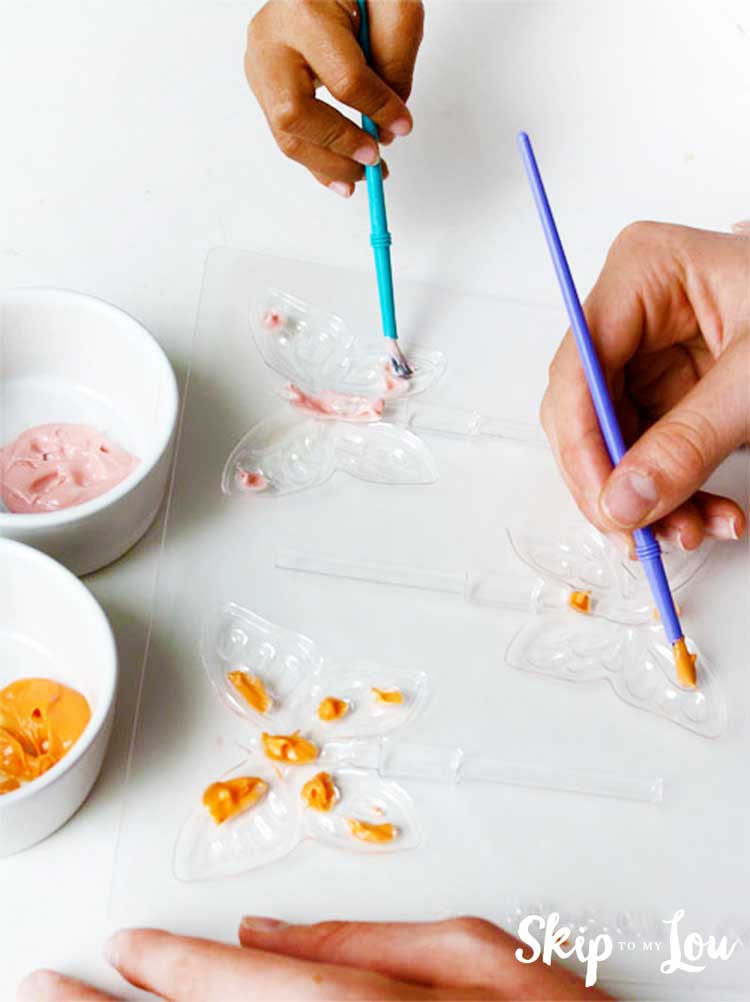
Place a plastic pencil pop or sucker stick in the reservoir.
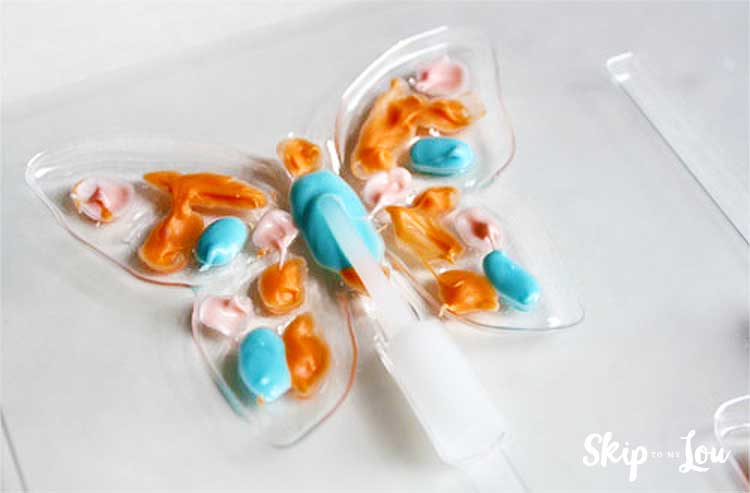
Melt more candy coating in the microwave (each butterfly took about 15 discs) in a microwave-safe bowl. Place melted candy in a zip lock bag. The candy coating can also be placed in a plastic bottle and heated in hot water (not boiling) and kept warm on the stove. Be careful to not let any water get into the candy coating, as it will make it curdle.
Remember to melt candy coating very slowly. Heating it too quickly with too much heat will cause the candy coating to seize. It will also cause the candy coating to be cloudy when hard.
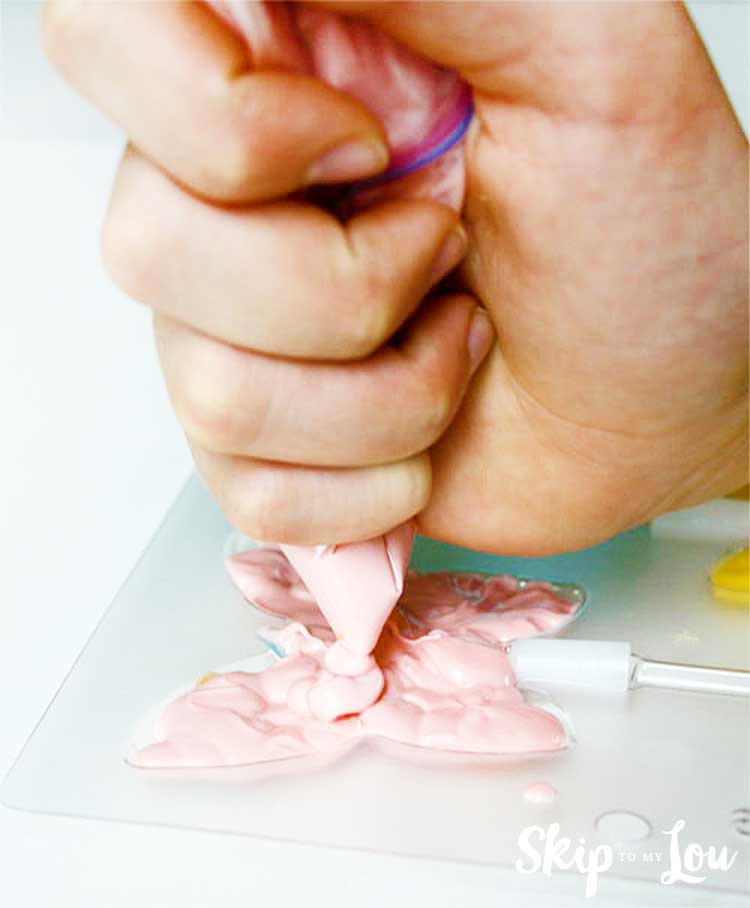
Snip off the lower corner of the zip lock bag and fill the chocolate molds. Tap the mold to release any air bubbles and to help the candy settle into the mold.
Allow candy to completely harden. You can place the mold into the freezer for a few minutes to speed up the process. When hard, the candy will slip right out of the mold. Place pencils into the plastic and you have a beautiful treat!