Looking for a simple craft that’s full of fun and color? This rainbow spinner is a quick and easy paper spinner toy made from paper strips and a pencil! It twirls and spins with just a flick, making it the perfect rainy-day project or afternoon boredom buster. Plus, it’s a sneaky way to introduce kids to basic STEM concepts like force and motion, with no screens in sight!
Related: Love toys that move? The sky’s the limit with these rocket straws—a fun launchable toy powered by a puff of air!
Supplies for a Rainbow Paper Spinner Toy
You don’t need much to make this colorful, spinning fun:
- Strips of colored paper (use rainbow colors for the rainbow spinning toy effect!)
- Scissors
- Pencil with eraser
- Punch
- Wooden skewer stick
- A bead with a hole in it
- Plastic straw
- Glue gun and regular paper glue
- Optional: markers, crayons, or stickers to decorate
WATCH | Make a Rainbow Spinning Toy
How to Make a Paper Spinner (Rainbow Spinning Toy)
Want to know exactly how to make a rainbow spinning toy with paper strips? Here’s the easy step-by-step:
1. Cut rainbow-colored paper strips
Cut 4–6 long strips of paper about ½ inch wide and 6–8 inches long.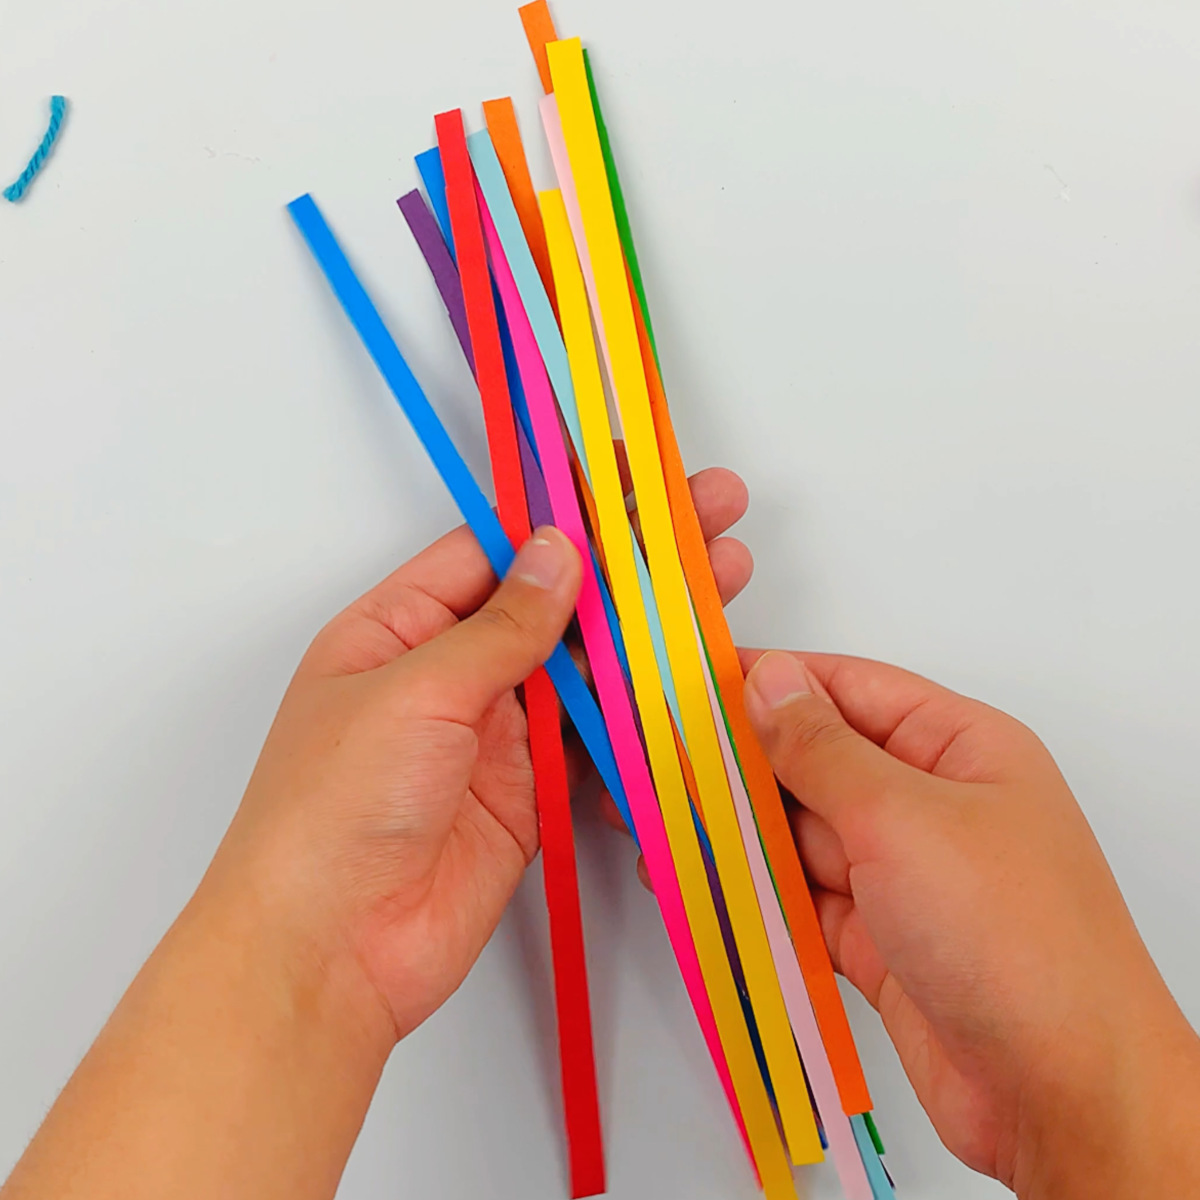
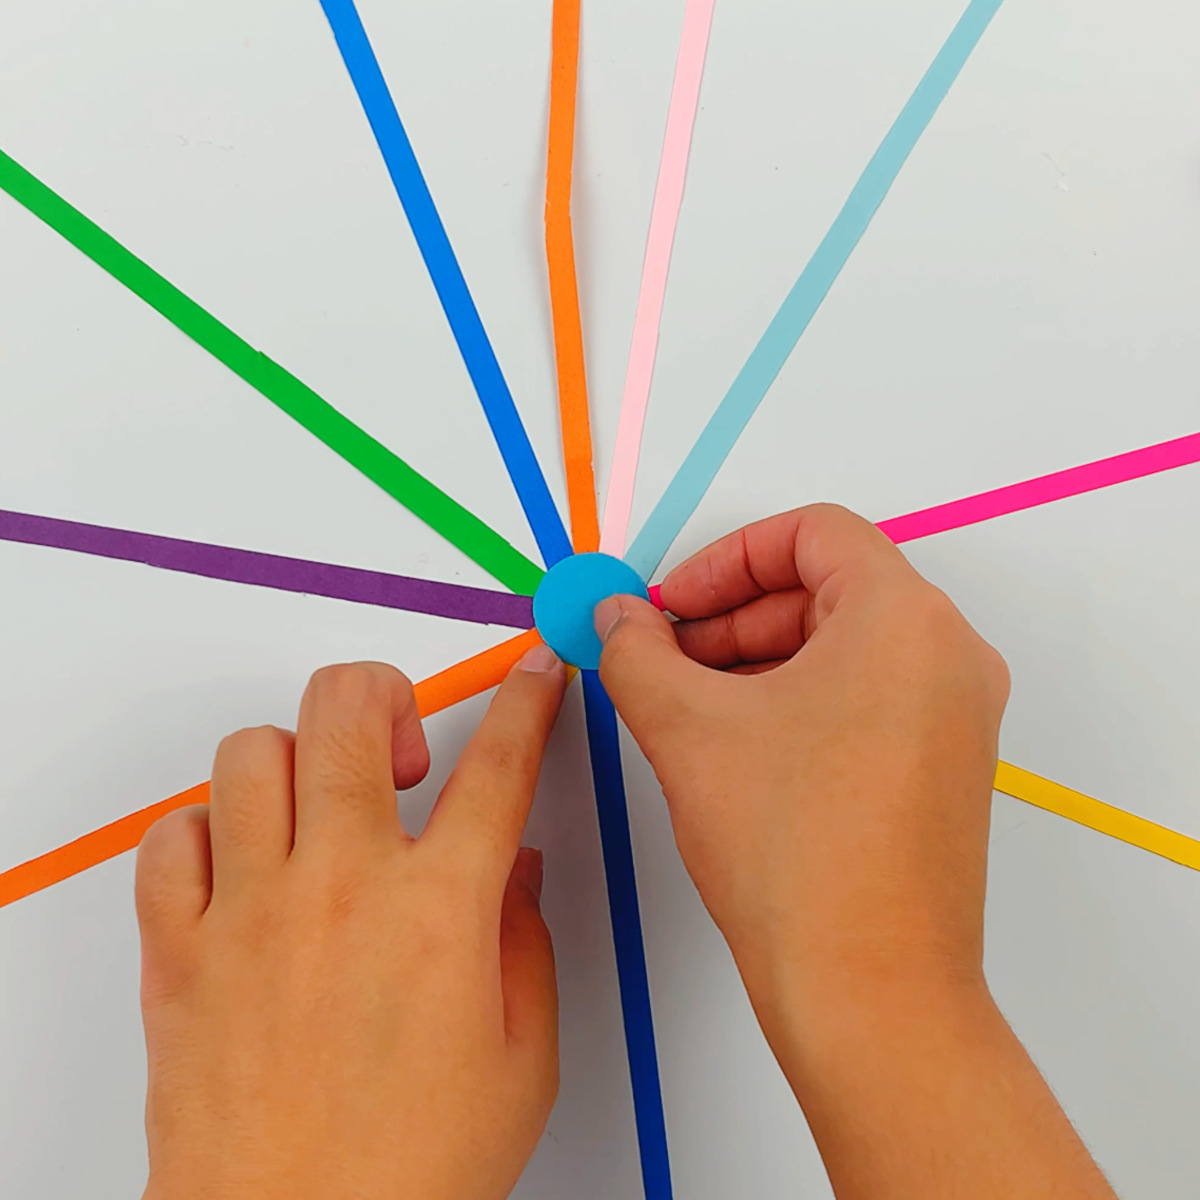
2. Cut a piece of paper into small circles and punch a hole in the middle.
Take two circles, put them on top of each other and using a punch, make a hole in the middle. 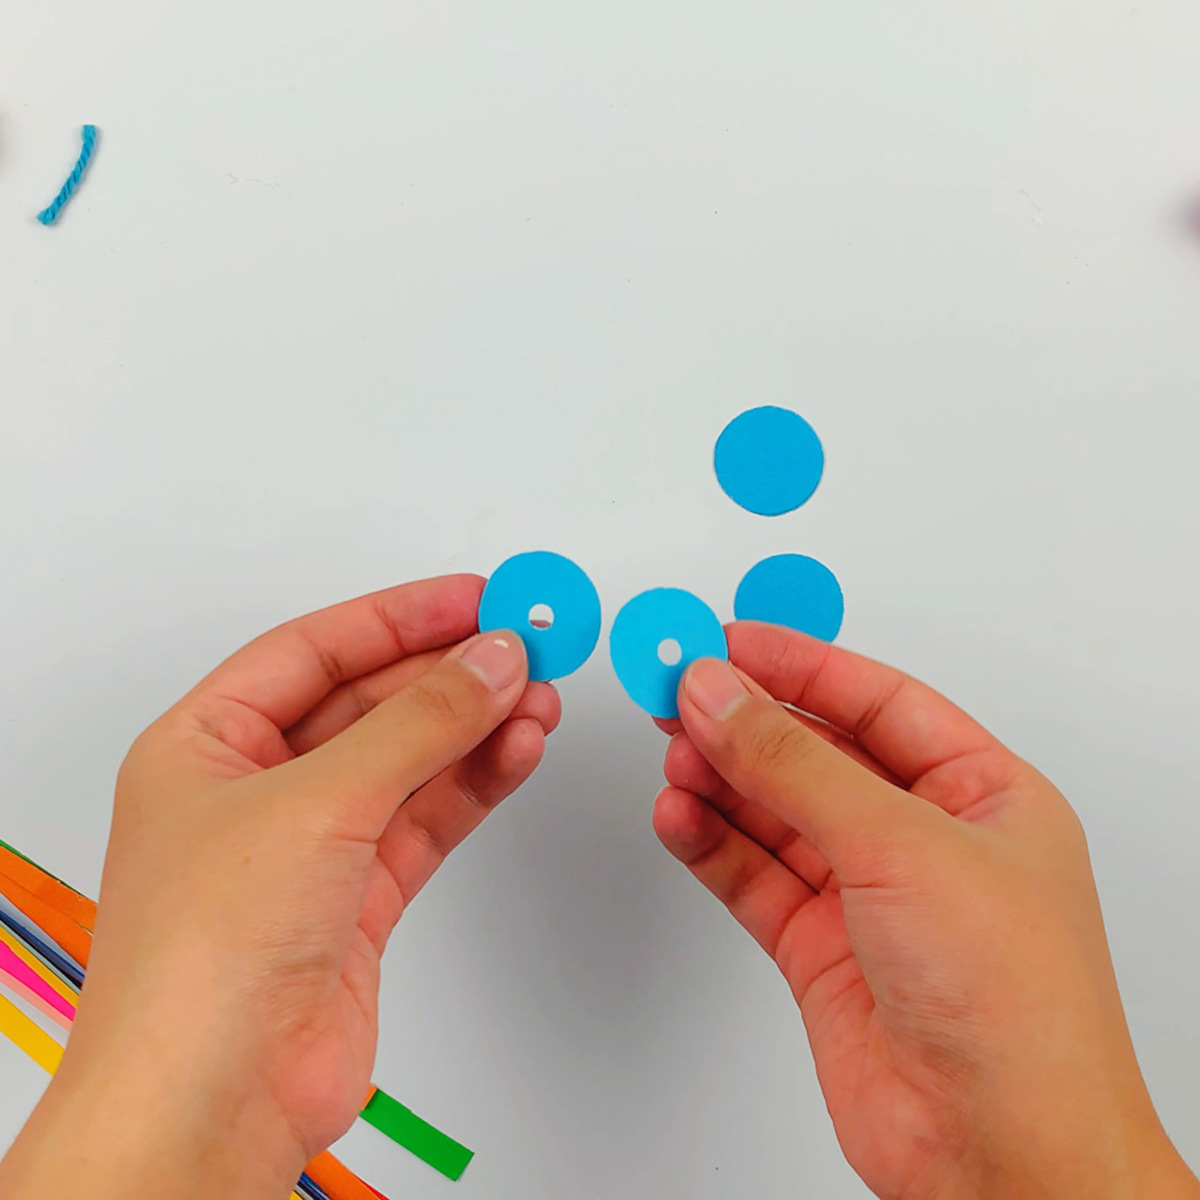
3. Add glue to one of the punched paper circles
Now add some glue to the paper circle to start attaching the paper strips. 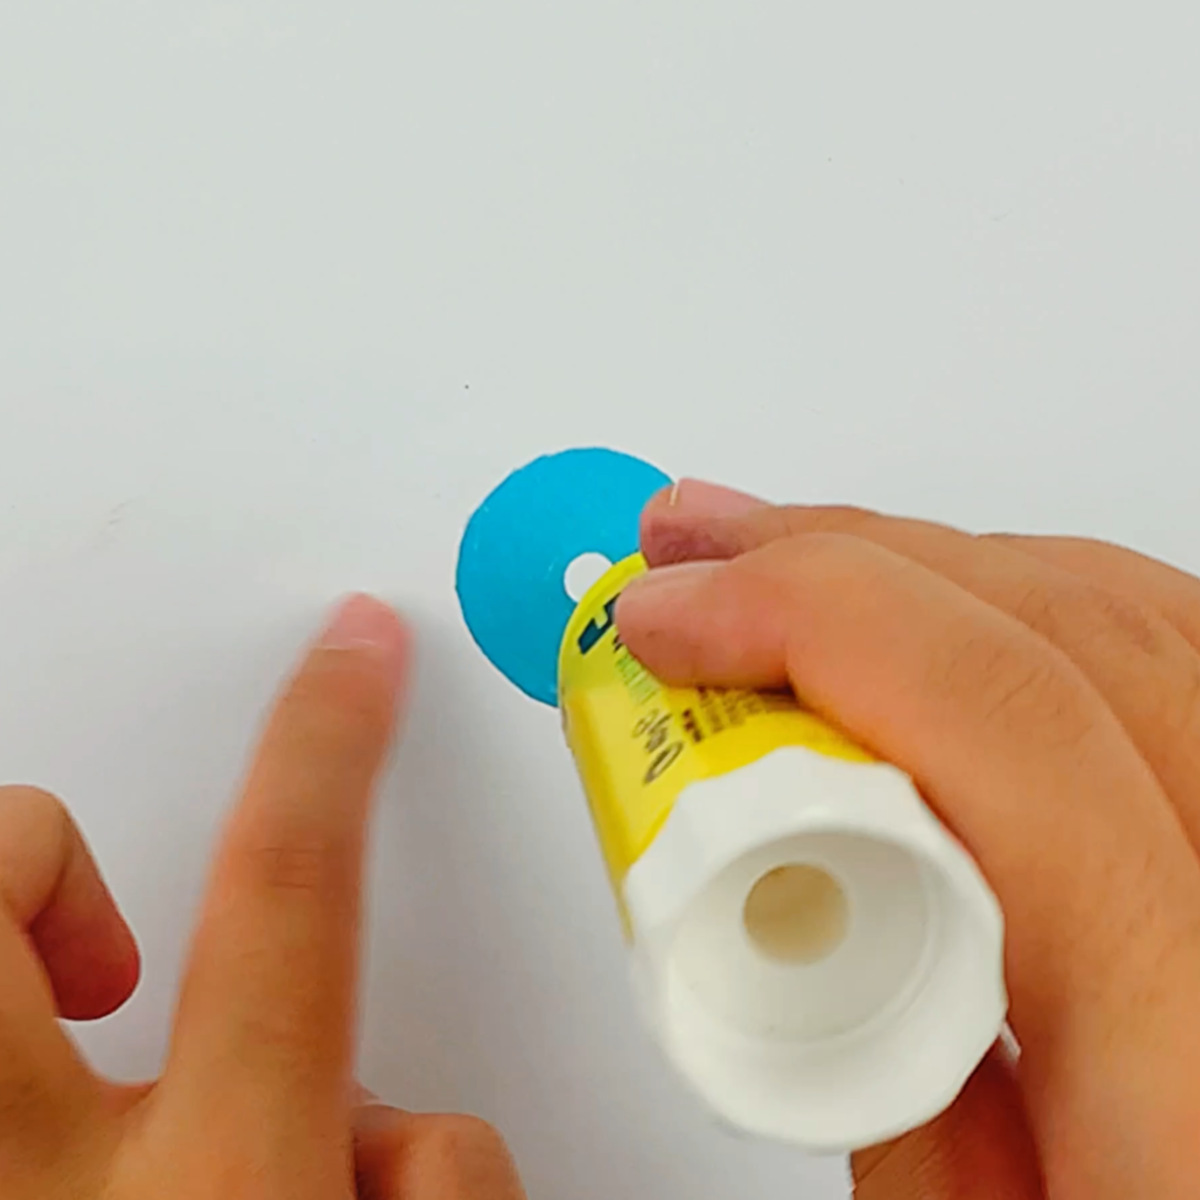
4. Attach paper strips.
You can now attach the paper strips all around the circumference of the circle. 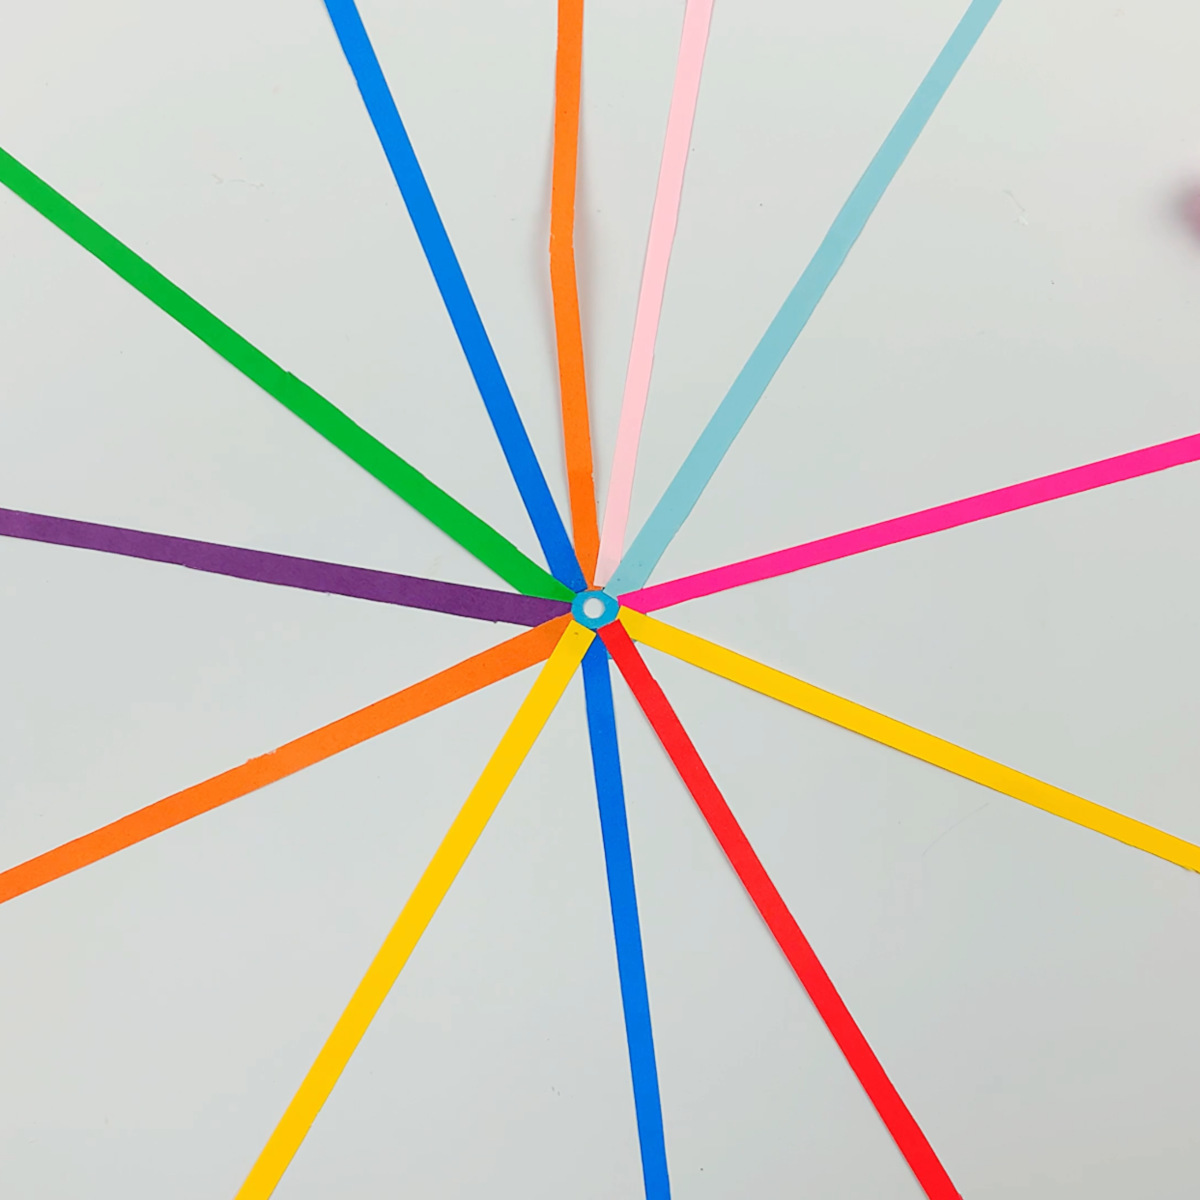
5. Attach one of the unpunched circles
Glue one of the unpunched circles to secure the first part of your rainbow spinner.
6. Secure the loose pieces to the other unpunched circle
Take the other unpunched circle, add glue to the top, and secure the other ends of the colored strips of paper to it.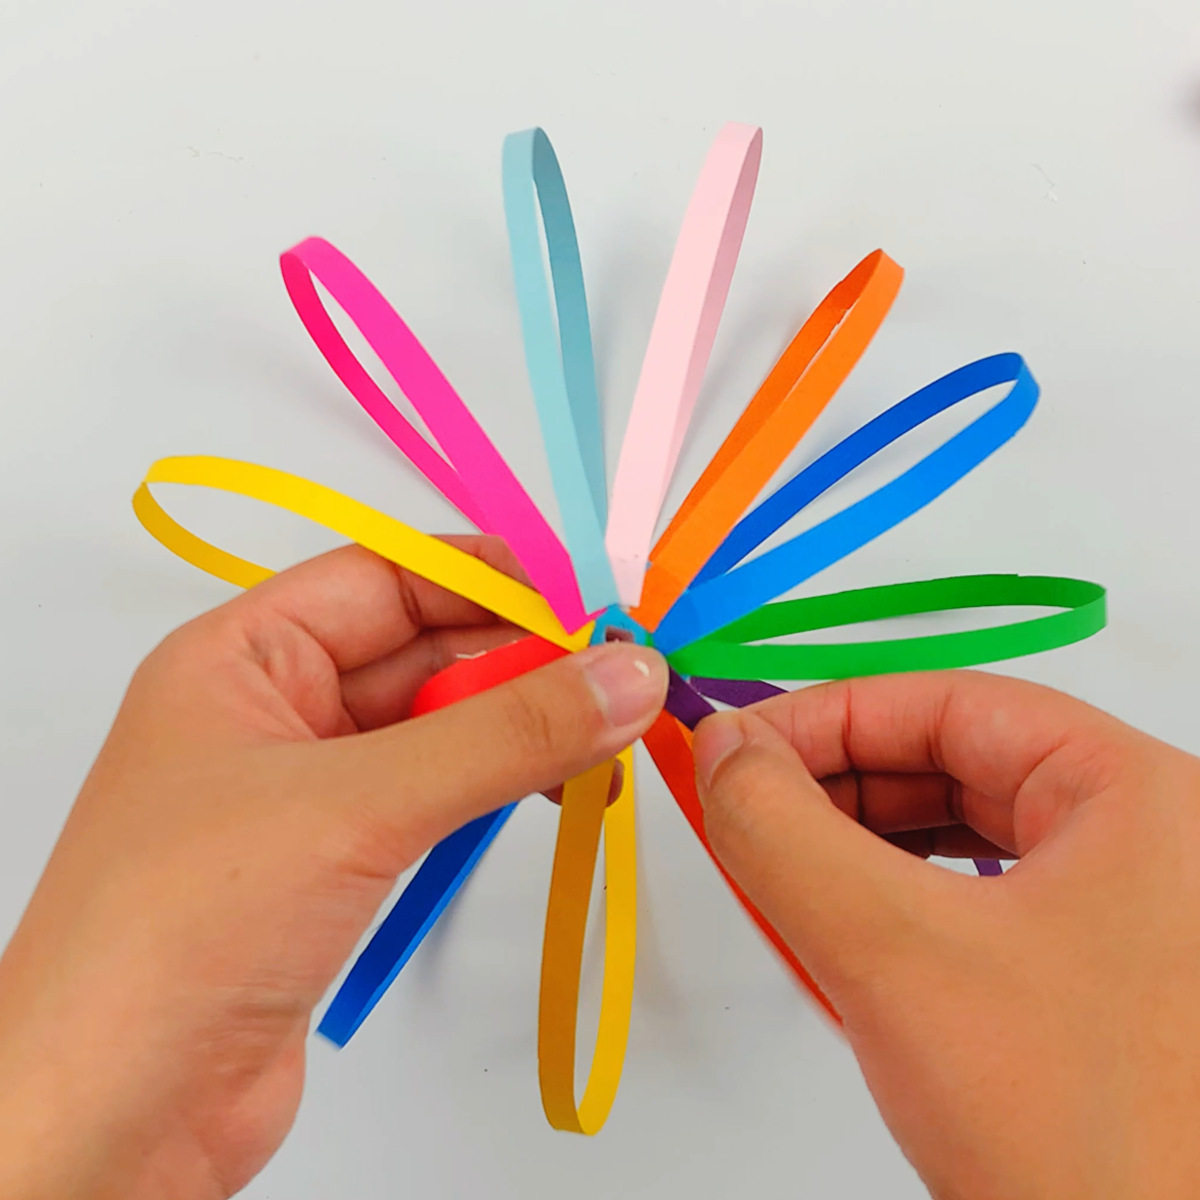
7. Glue on the top
Now take the final unpunched circle and secure it to the top with glue. 8. Place the skewer stick through the middle from the bottom upwards
Take a skewer stick and push it through the round circle at the bottom, all the way through the top and place the bead on top. 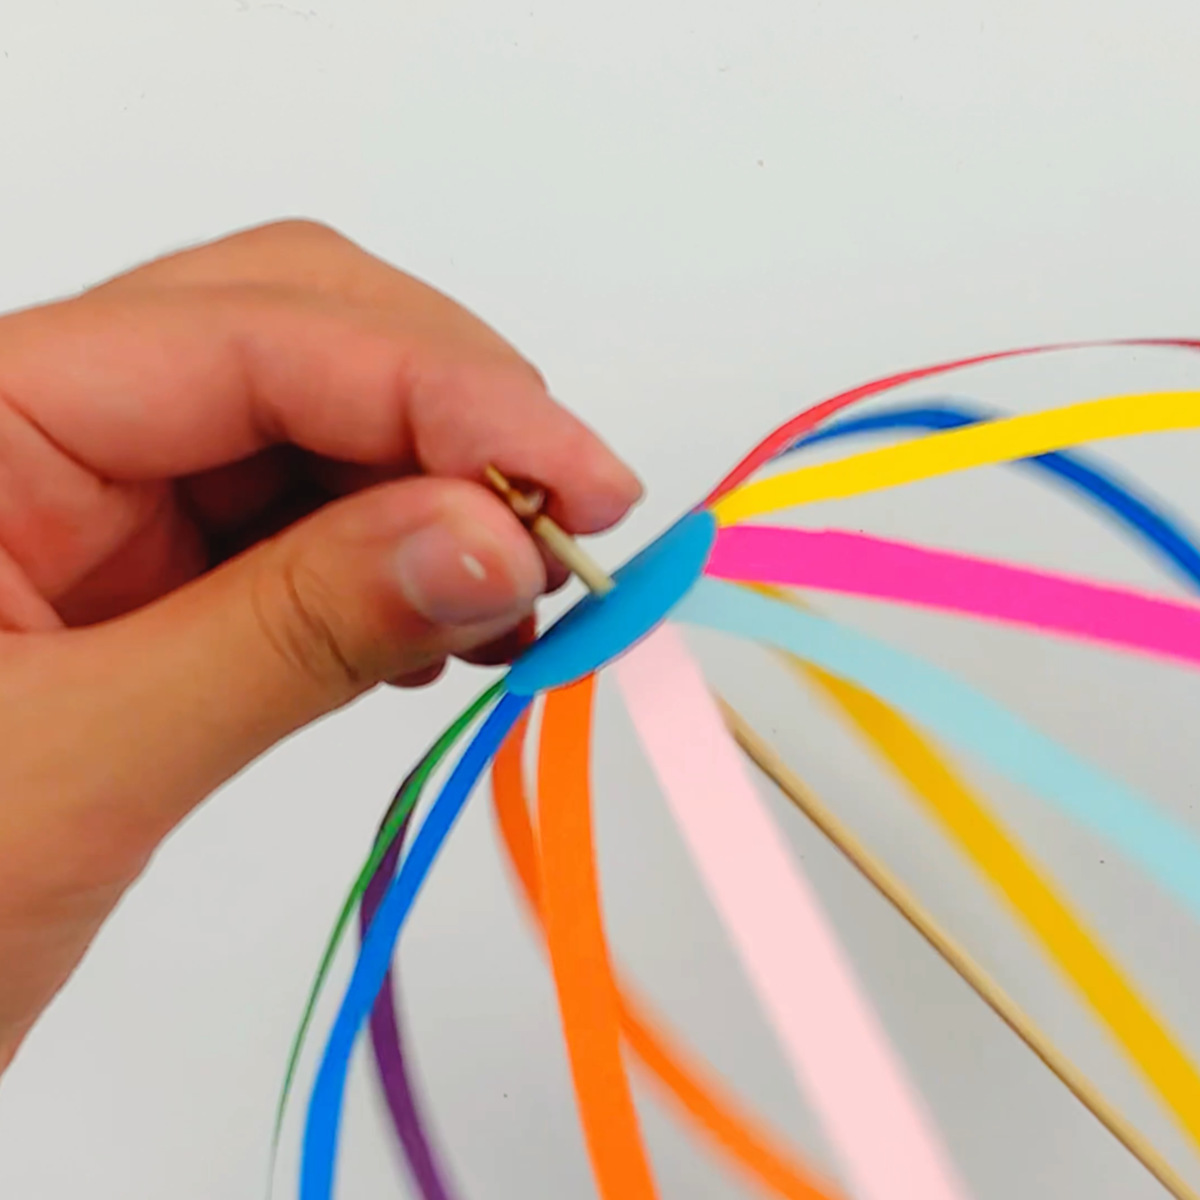
9. Cut the straw.
Cut the straw as shown in the image, and add some glue to the cut ends using a glue gun.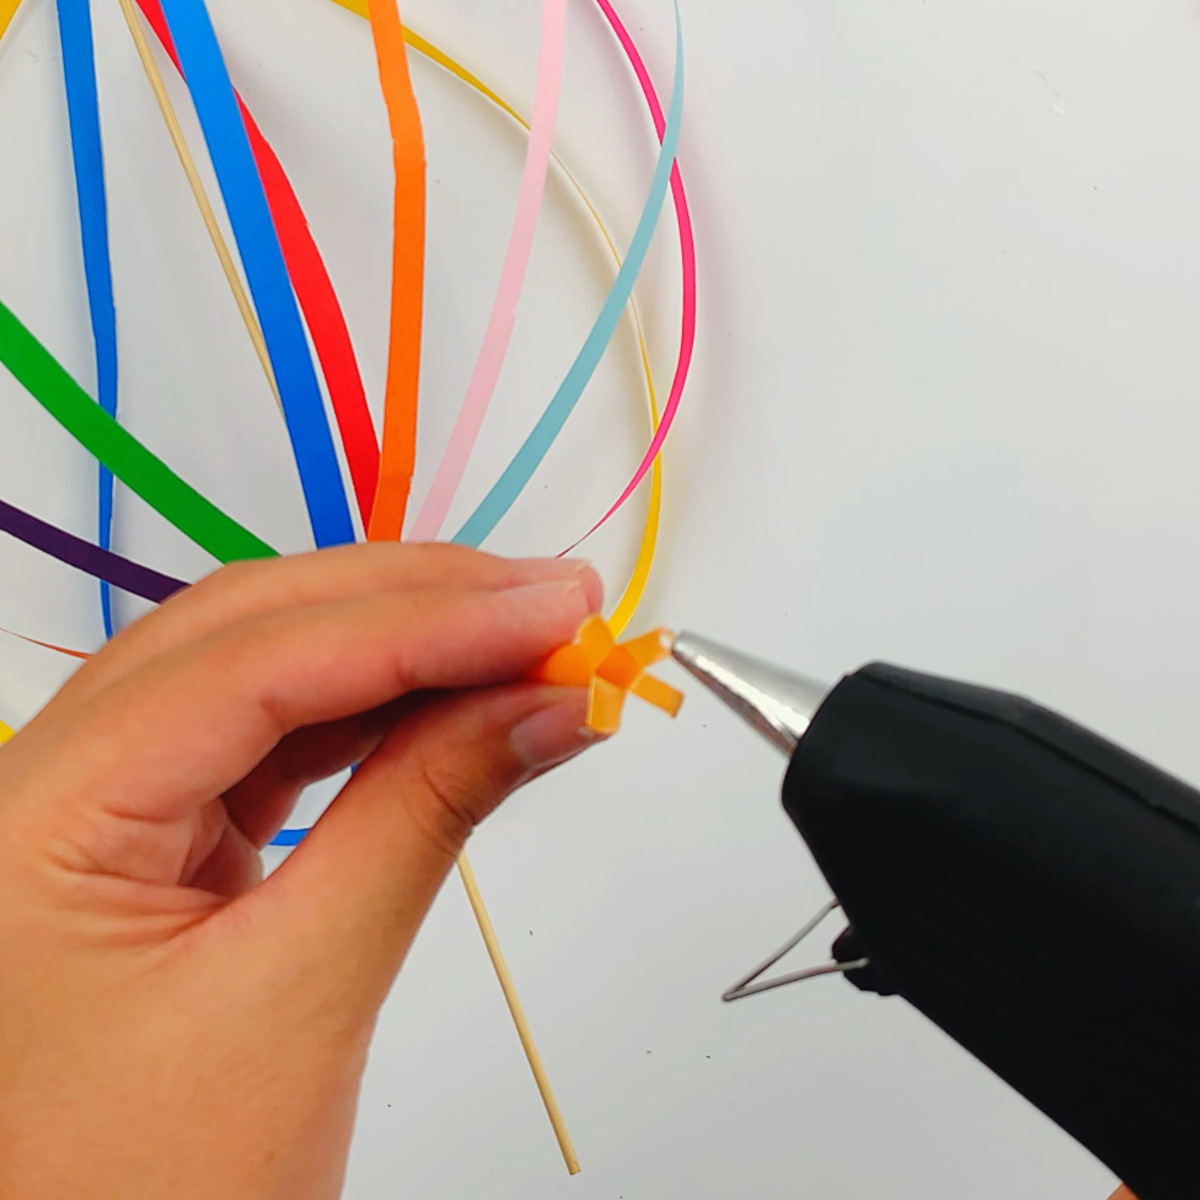
10. Attach the staw
Attach the straw to the bottom of the rainbow spinner. 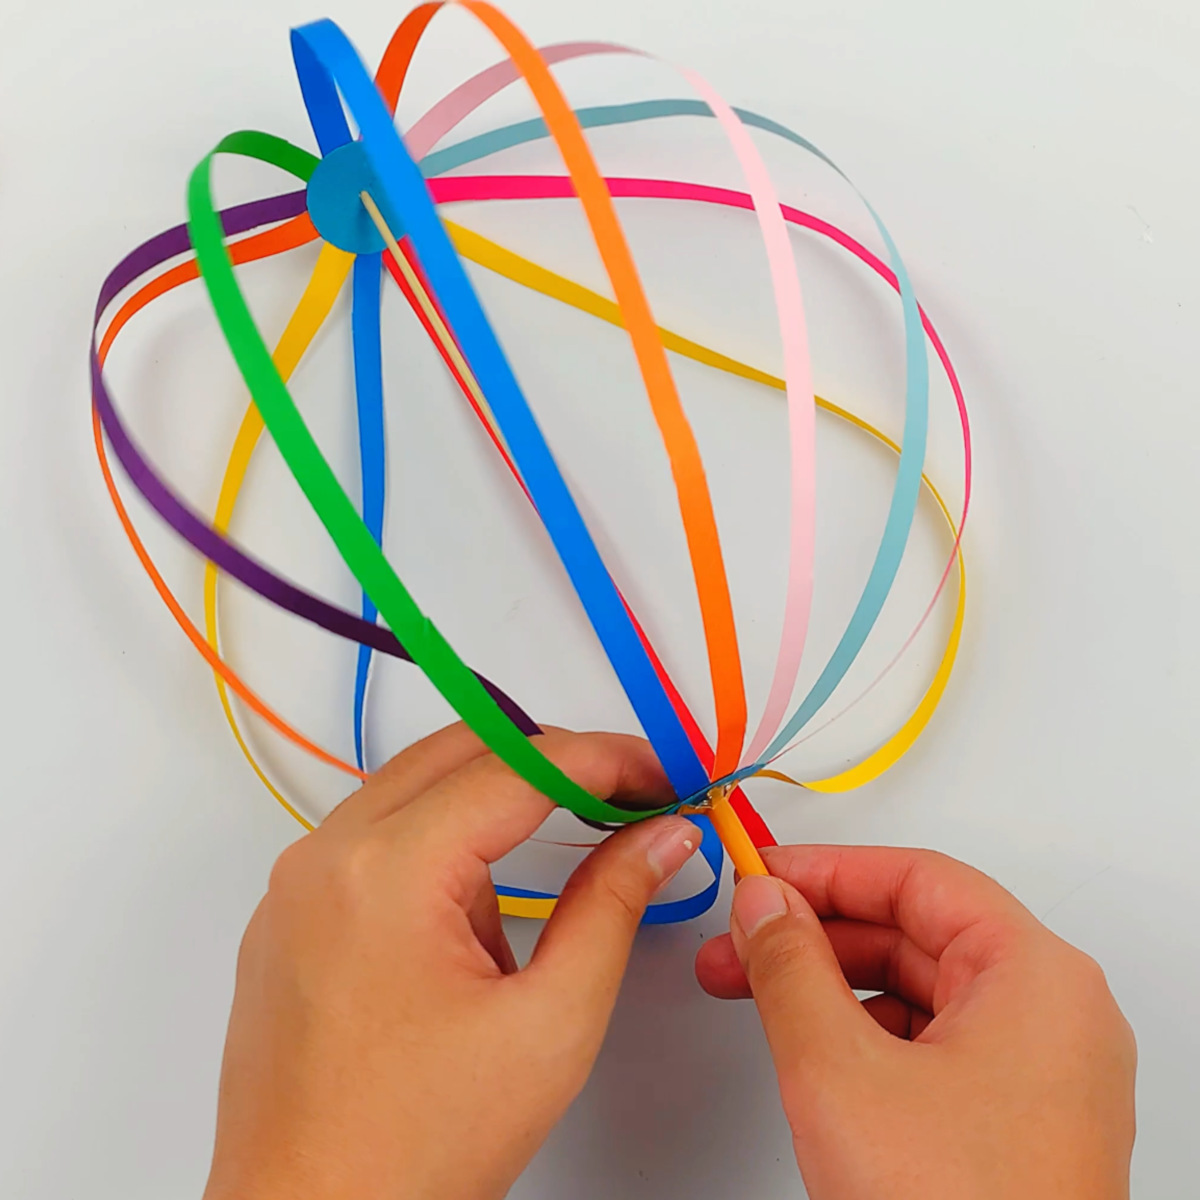
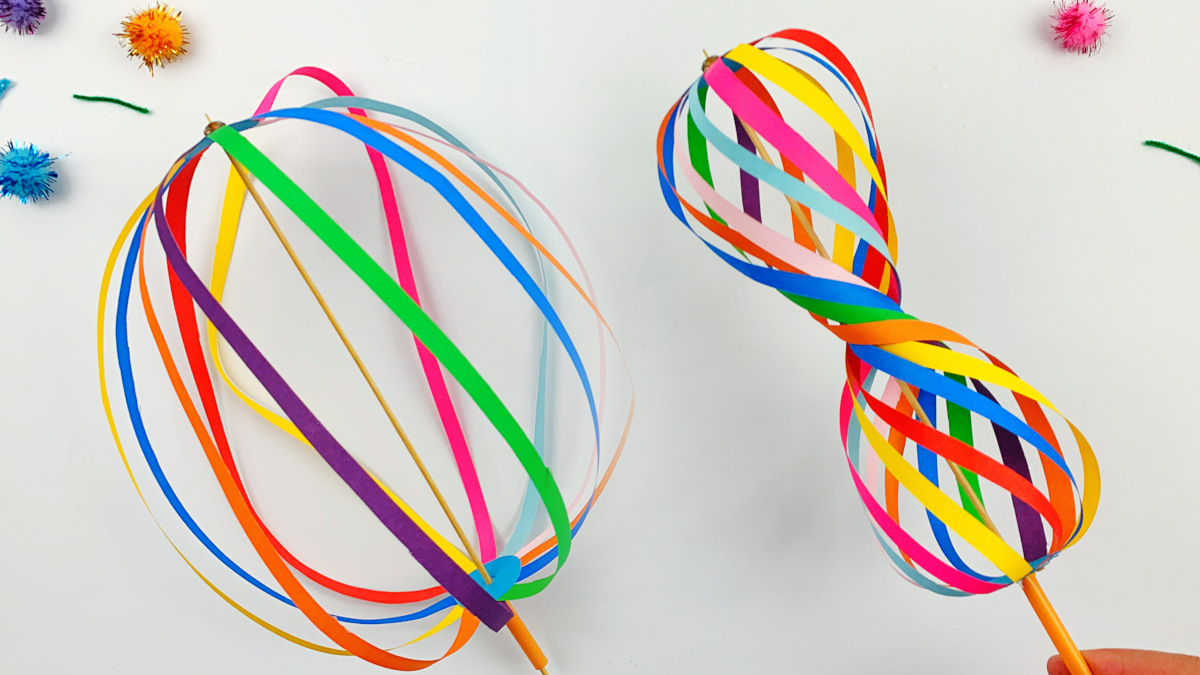
11. Push the straw and have fun.
By pushing the straw up and down, your rainbow spinner makes awesome, colorful patterns!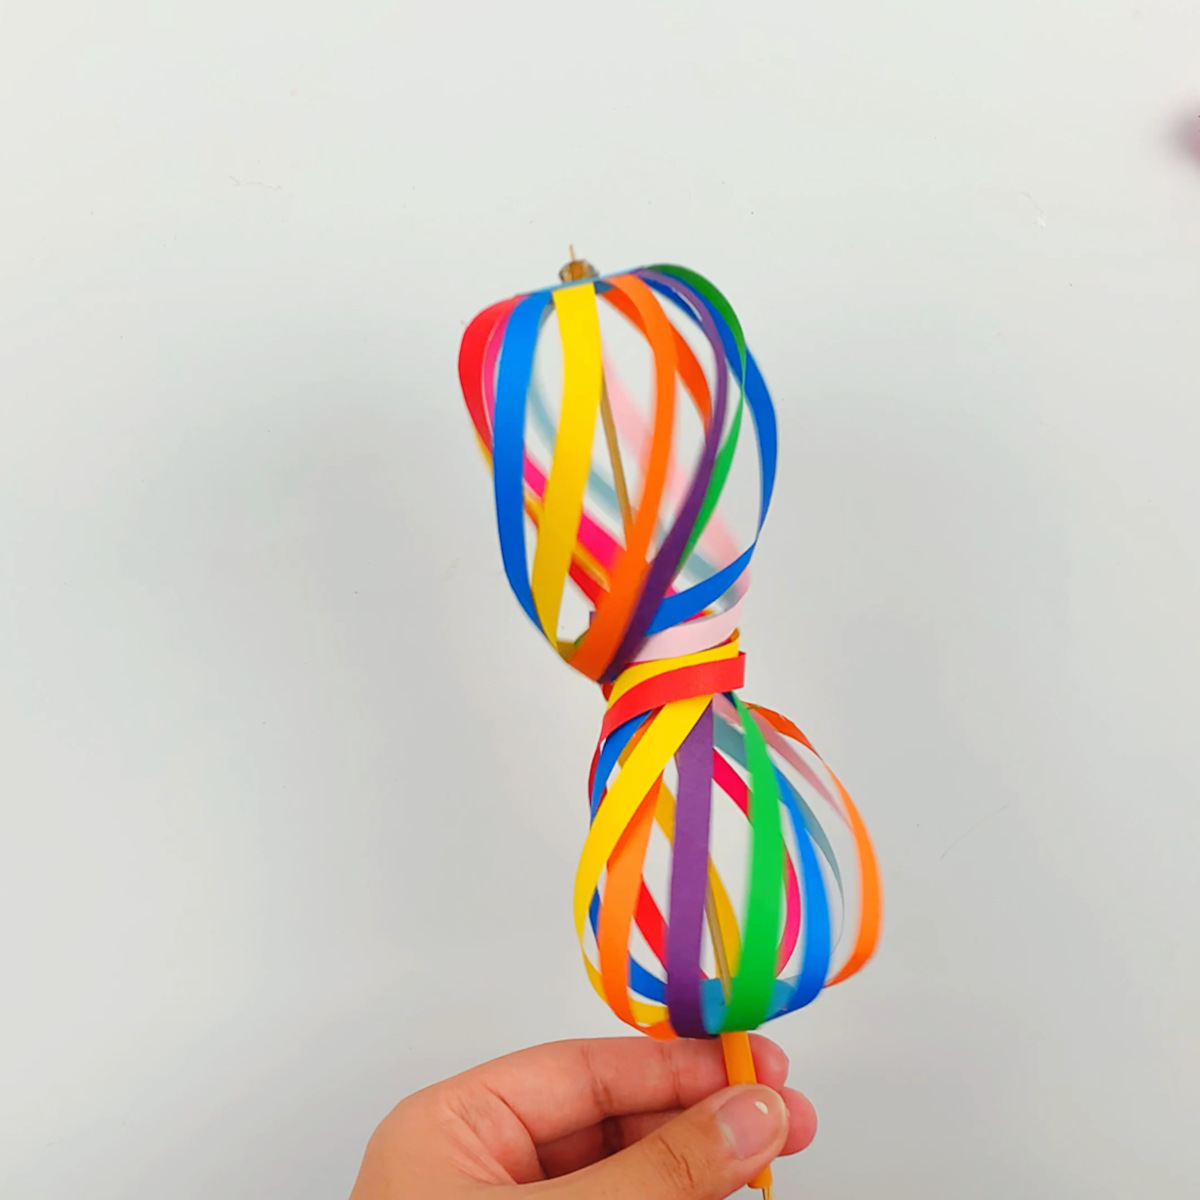
This fun homemade spinner is perfect for classrooms, rainy days, or colorful STEM play.
This DIY rainbow spinner is a creative and colorful craft that’s perfect for home, classrooms, or parties. It’s amazing what you can do with a few paper strips and a pencil! Kids will love watching their spinner come to life and experimenting with how fast or slow it turns. It’s a win for fun, learning, and low-mess creativity!
Related: Love fidget toys? Try this printable flextangle template to make a mesmerizing moving toy that bends, twists, and entertains for hours.
More Paper Crafts
Keep those little hands creating with these fun and easy paper crafts:
- Jumping Paper Frog – Watch this folded frog leap across the table—so much fun!
- Accordion Paper Flowers – Make bright, cheerful blooms perfect for decorations or gifts.
- Origami Owl – A wise little friend made from a single sheet of paper.
- Paper Cup Mechanical Claw – A clever STEM craft where kids can grab and grip using a simple paper cup!
- Easy Paper Butterfly – Graceful and colorful, these butterflies are a springtime favorite.
- Paper Fortune Teller – Classic playground fun—kids love making and sharing these!
I would love to keep you fully stocked with creative ideas, yummy recipes, fun crafts, and loads of free printables. Subscribe to Skip to my Lou to get new ideas delivered to your inbox. Follow me on Facebook, Pinterest, Twitter, and Instagram for all my latest updates.


