These Magnetic Photo Frames are a great handmade gift to give a grandparent. Imagine your child’s cute picture setting it off. Whip up this Christmas Tree banner and make your house extra festive for the holidays. For some holiday entertainment, make this fabric scrap memory game, this also makes a fun gift for children on your list.
This month we are sharing over 100 handmade gift tutorials. I have teamed up with Thirty Handmade Days, Classy Clutter and Your Homebased Mom to share the best holiday decorating ideas and homemade gift ideas. We have over 100 tutorials so you will have the best homemade holiday ever! Each day be sure to visit the guest poster’s blog for a chance to win BIG! Up for grabs a Baby Lock sewing machine a $100 in Riley Blake Fabric! Grab a new entry every day!Visit Sew Much Ado today to enter win the baby lock sewing machine and fabric bundle!
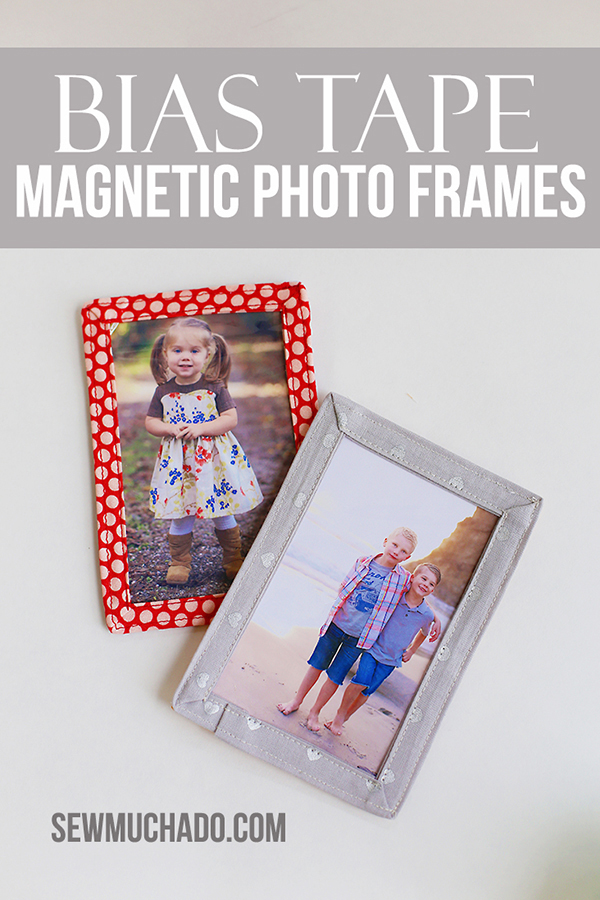
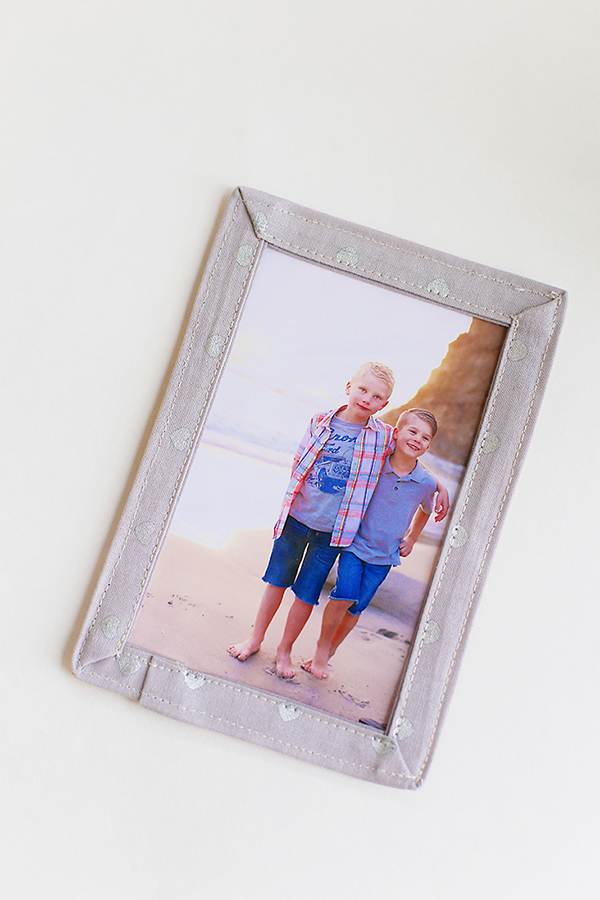
Today I’m sharing a tutorial to make these fun Bias Tape Magnetic Photo Frames! They’re a perfect gift for family members, and are even better when you add some photos along with them! They’re also easy and fun to whip up, and you’ll have them ready for gifting in no time!
Let’s get to work!
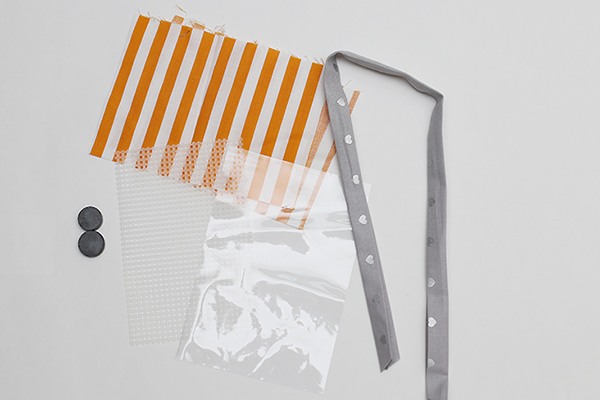
Materials:
plastic canvas: 3.75″x5.75″ – can be found in the craft section of most stores, or can substitute cardboard that you have on hand
clear vinyl: 4.25″x6.25″
cotton fabric for back of frame: cut 2- 4.75″x6.75″
1/2″ wide double fold bias tape (can be pre-made or handmade): 24″
2-4 magnets (2 will work if they have a strong force, otherwise 4 is recommended)
hot glue gun and glue
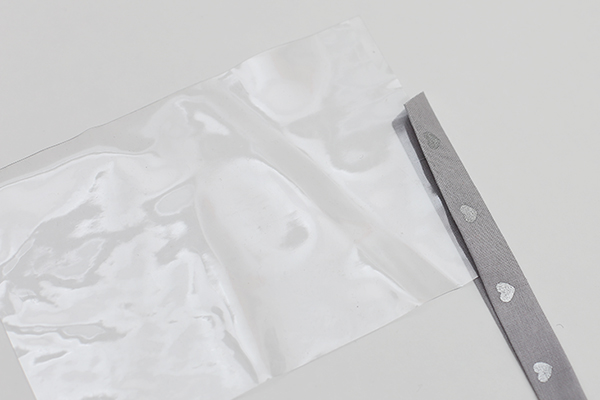
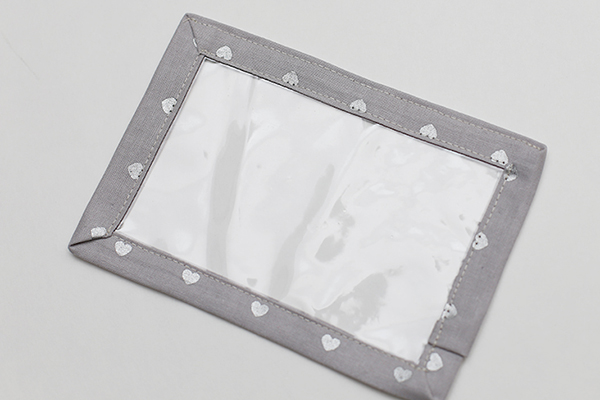
Beginning on one short side of vinyl, sandwich bias tape around edge of vinyl, placing fold of bias tape at edge of vinyl. Stitch close to inner edge of bias tape. At end of each side, stop stitching, cut threads, fold bias tape into mitered corners, and begin stitching on next side. When you near the beginning of the bias tape, overlap ends of bias tape 1″ and fold free end under 1/2″ to make a clean finish.
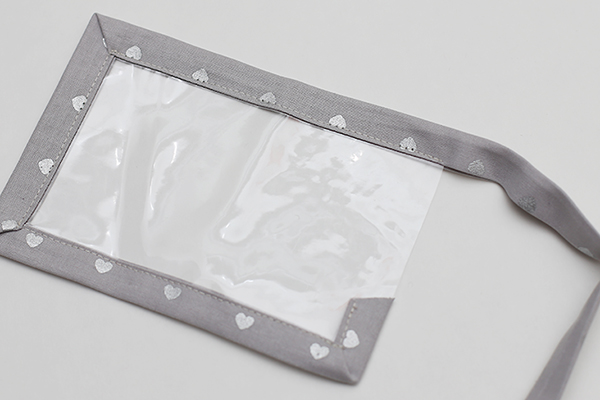

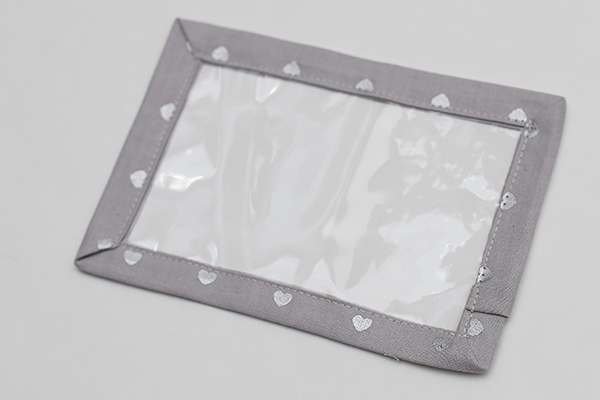
Topstitch along one long edge only, close to edge of bias tape.
Press one short edge of each backing fabric piece 1/4″ to wrong side.
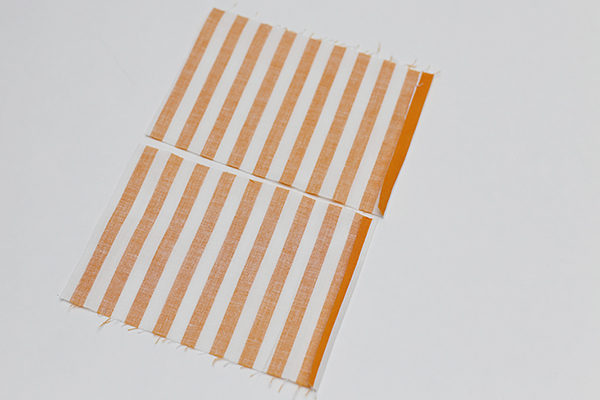
Right sides together and with pressed edges unfolded, stitch the two back pieces together using a 1/4″ seam allowance along all sides EXCEPT side with pressed edges, forming a pocket.
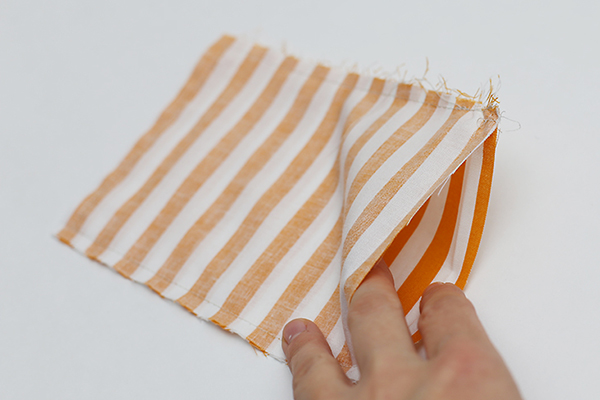
Trim corners, turn frame back right side out, and press flat along seams (pressed edges that were unstitched should be folded back inside of pocket). Insert plastic canvas piece into opening and stitch opening closed close to folded edges.

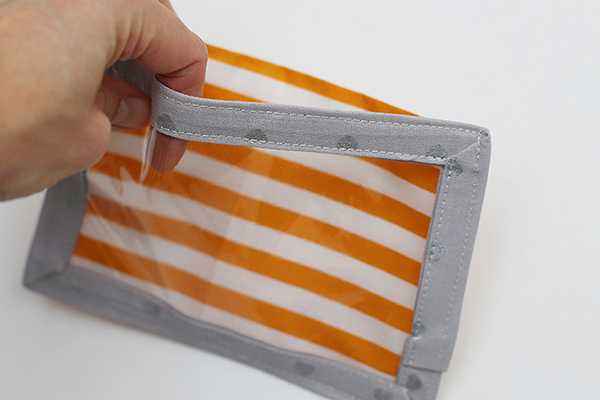
Center vinyl piece over backing piece and pin in place, being sure that back piece is not overlapping vinyl piece at edges. Stitch together along three sides, close to edges of backing piece and bias tape, leaving side of bias tape that was previously topstitched open.


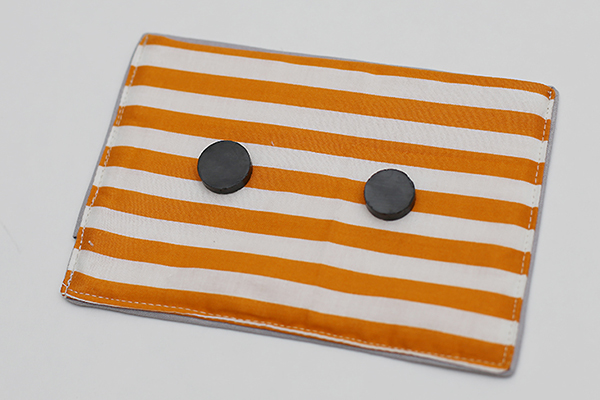
Place magnets on back of frame back as desired and hot glue in place.
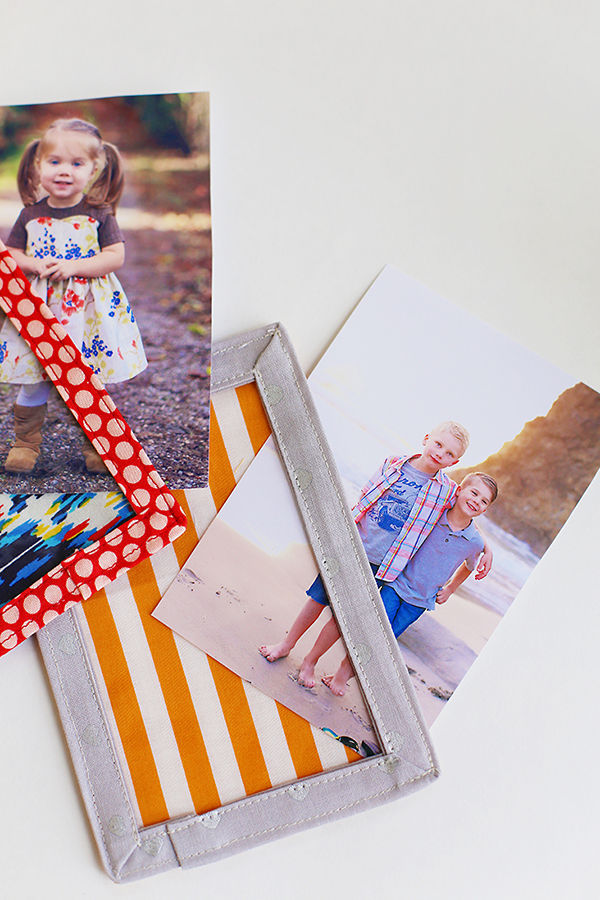
Slide your photos into the opening, and you’re done!

Thanks for reading! Visit me at Sew Much Ado, where I share tutorials, patterns, and more!
Here are a few of our most popular posts to enjoy!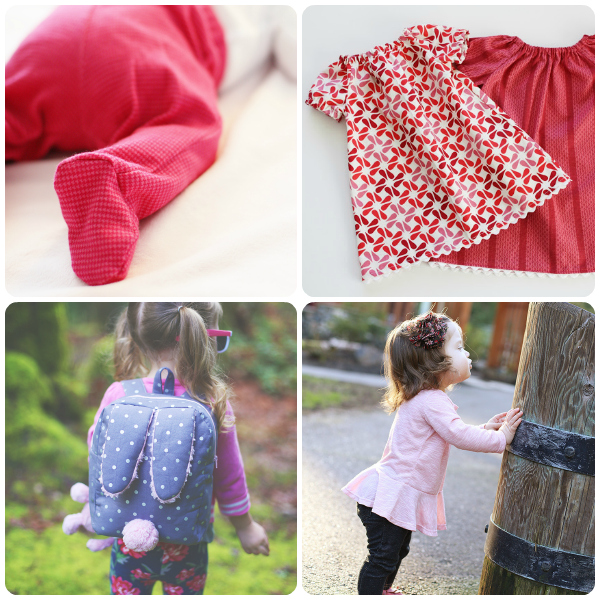 Free Footed Baby Pants Pattern
Free Infant Peasant Dress Pattern
Free Bunny Backpack Pattern
Free Knit Peplum Top Pattern


