Think of this as your last-minute gift idea, you could whip it up next Saturday right before Mother’s Day. Seriously, this tutorial is so easy peasy, even if you are a beginner, you can do it in about an hour.
Materials needed:
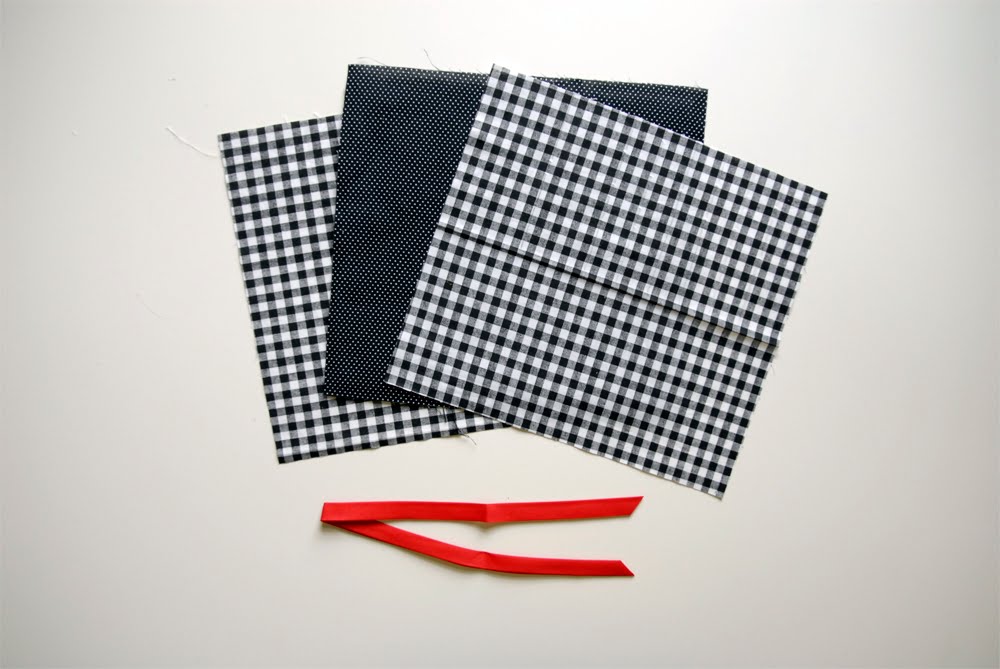
- fabric 3 10x11inch pieces – contrasting, coordinating or all the same
- one piece for lining, one piece for the top + one piece for your brush pocket
- fusible interfacing 1 9.25×10.25 piece – whatever kind you have on hand
- ribbon 16-17 inches – or bias tape or whatever you have on hand
How to Make a Make-Up Brush Holder
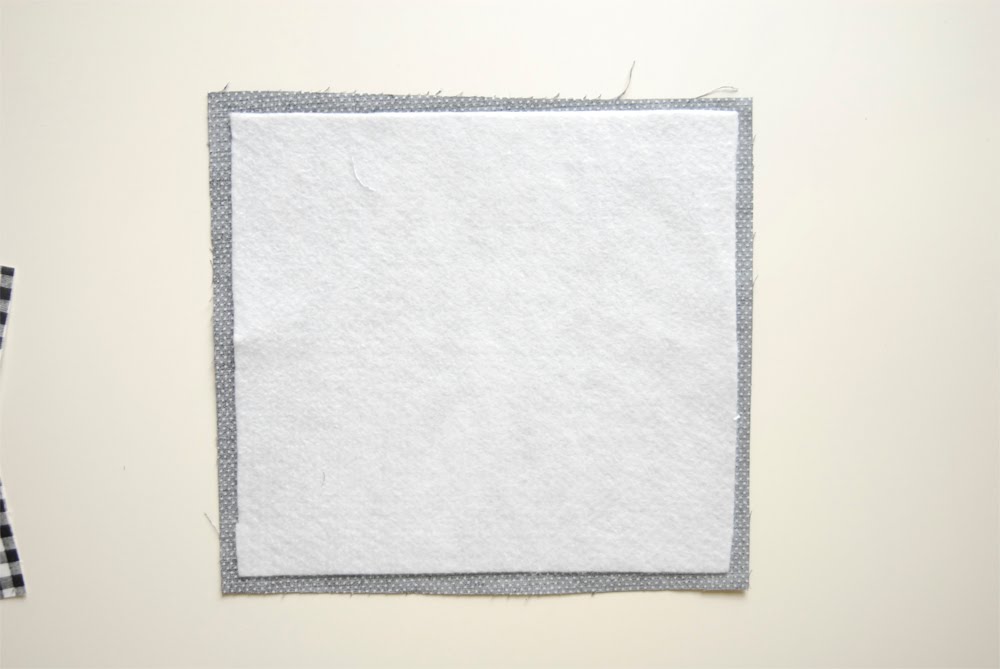
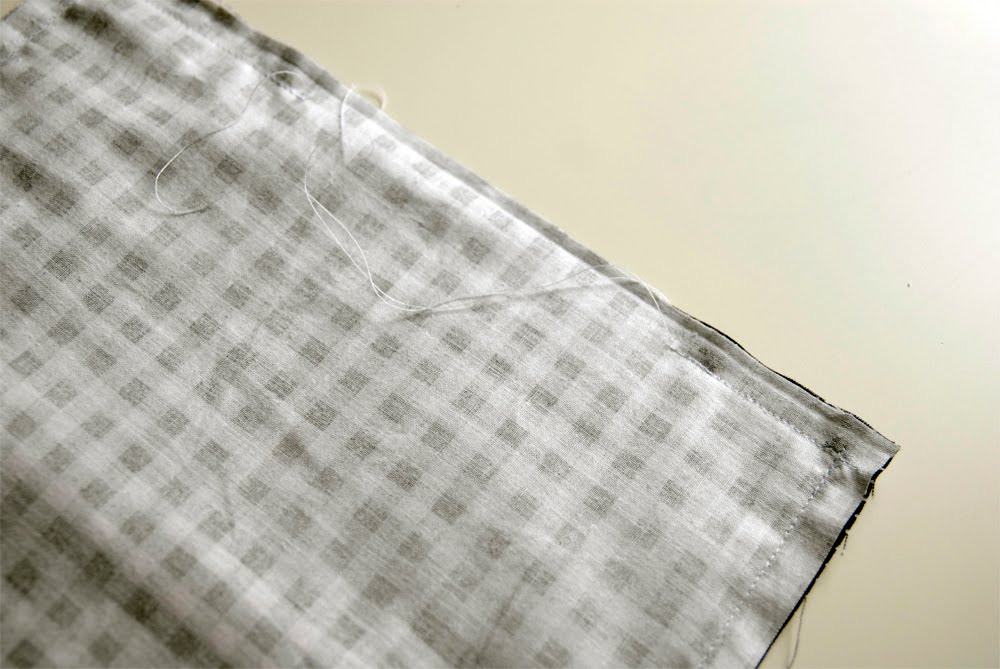
Start by ironing (fusing) your interfacing to the back of your lining piece.
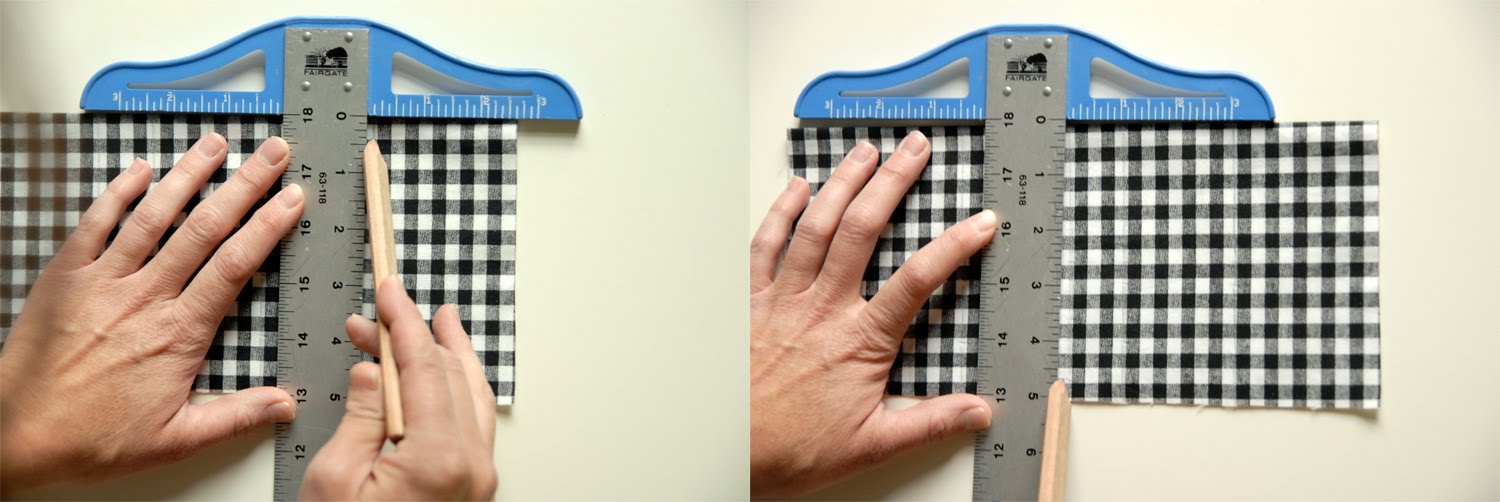
Then iron your pocket piece in half lengthwise, it should now measure 5×11 inches.

Mark your pocket stitches. The big brushes need about 2 inches of pocket space + the little brushes need about 1 inch. Your pockets should vary depending on what kind of brushes you have.
Give yourself a 1/2 seam allowance on the ends when you mark, if you are doing a 2 inch pocket on the end, then mark your fist pocket at 2 1/2 inches, for the seam allowance. All other pockets mark true to size.
Sew your pockets to your lining.

You don’t have to sew down the edges of the outside pockets, you can if you want, but I always leave mine open + sew them down when I sew the whole piece together.

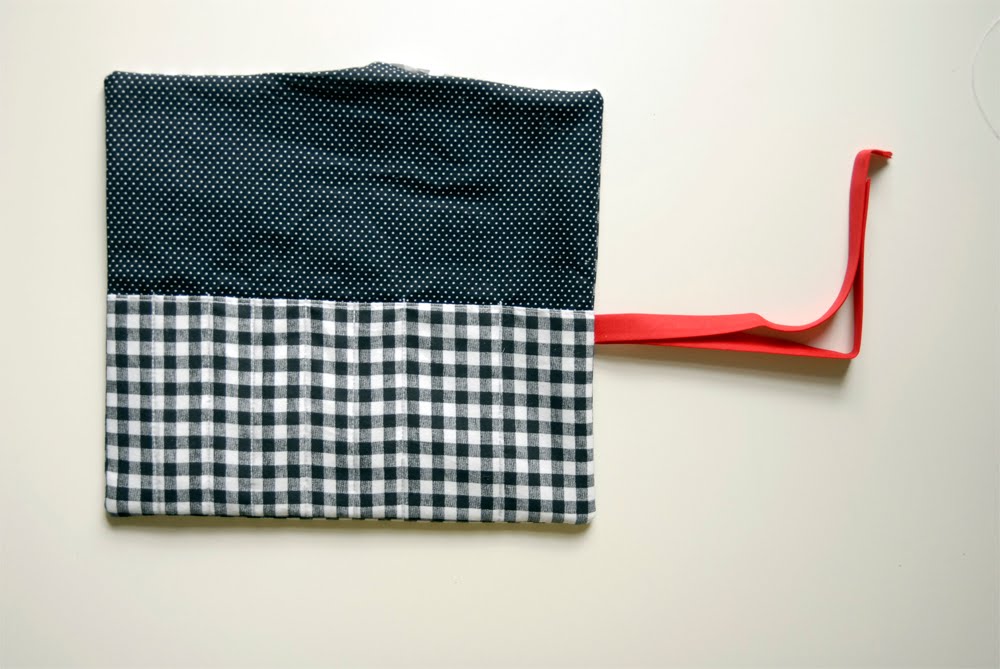
Start with your top piece face up, place your ribbon or bias tape on either side of the top piece about 4 inches from the bottom.

Place your sewn lining + pockets face down on top of your top piece.

Pin your ribbon in place.

With a 1/2 inch seam allowance, stitch around the entire piece,

leaving a 3-4 inch opening at the top.
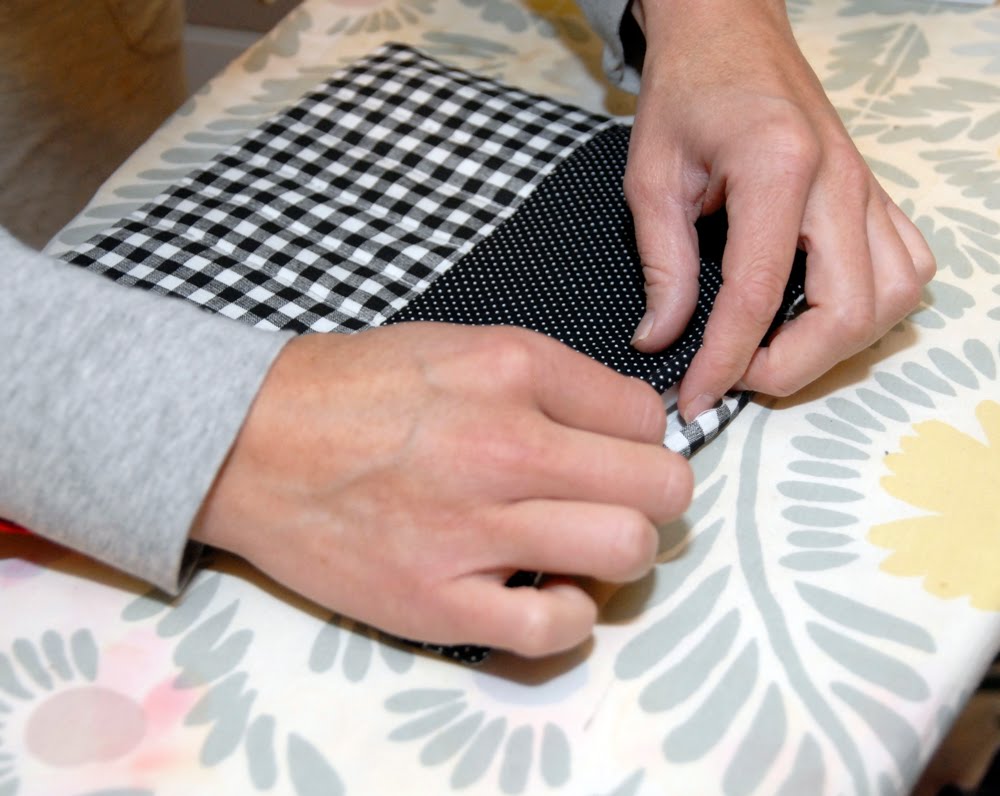
Turn right side out.

There are so many fancy corner poker outers that you can buy, but I always just use a chopstick.

Poke out your corners.
Tuck under your opening, making it flush
Iron your piece flat.

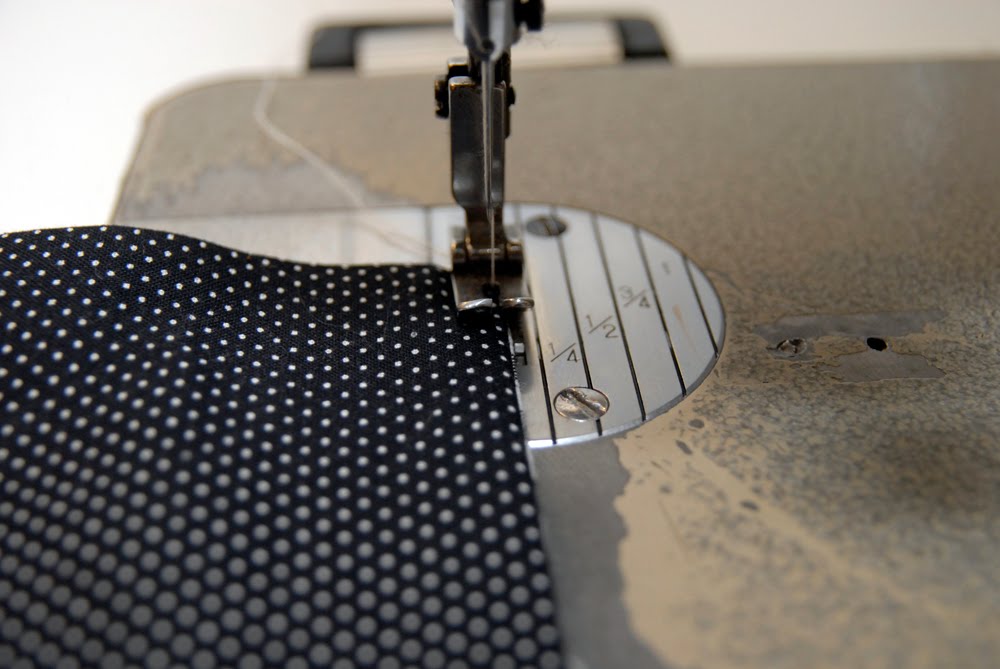
Use an 1/8 inch top-stitch. See where the seam riper is pointing? If you line your piece up with the inside of that feed dog, that will give you an 1/8 inch stitch.
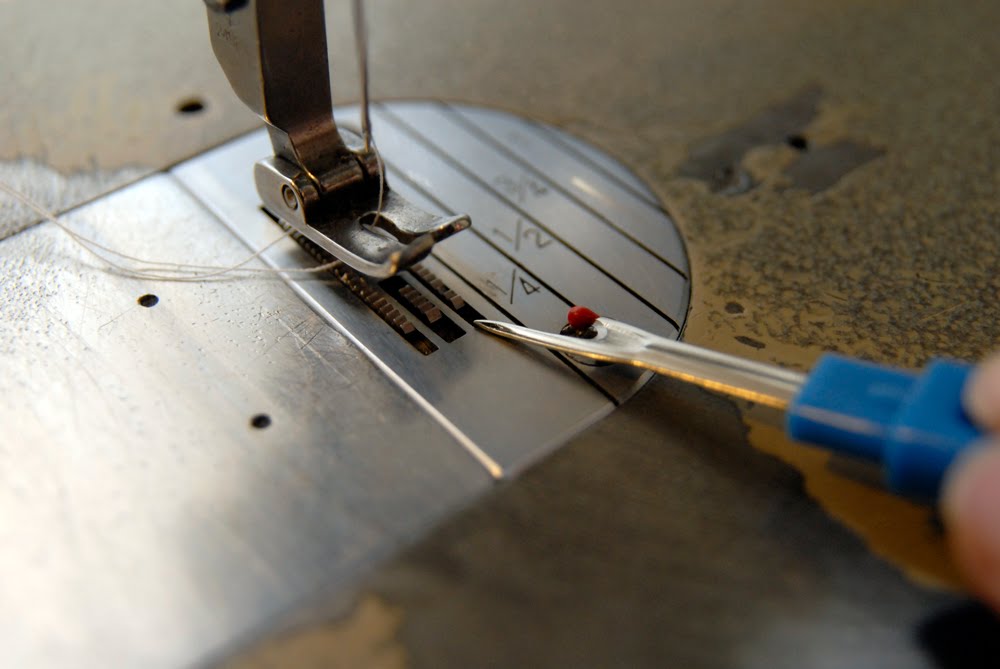
Like so.
Stitch all the way around the piece.


Fold + iron down the top piece about 2 inches.

Stitch across the top of the folded down piece.

I also stitched one of the edges of the flap down to give it some structure, you can ignore this step or do it.

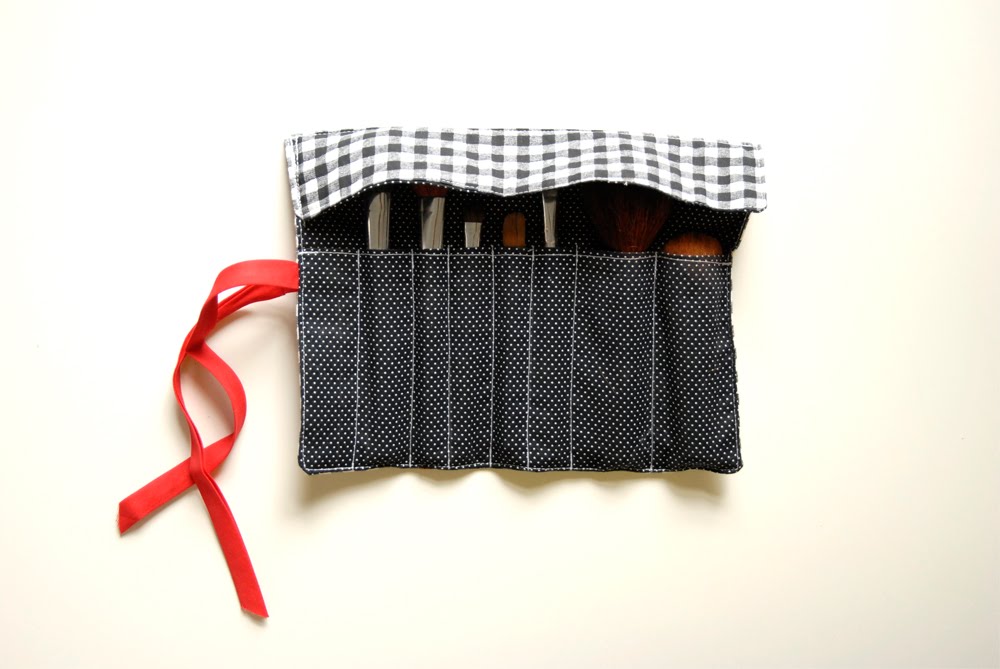
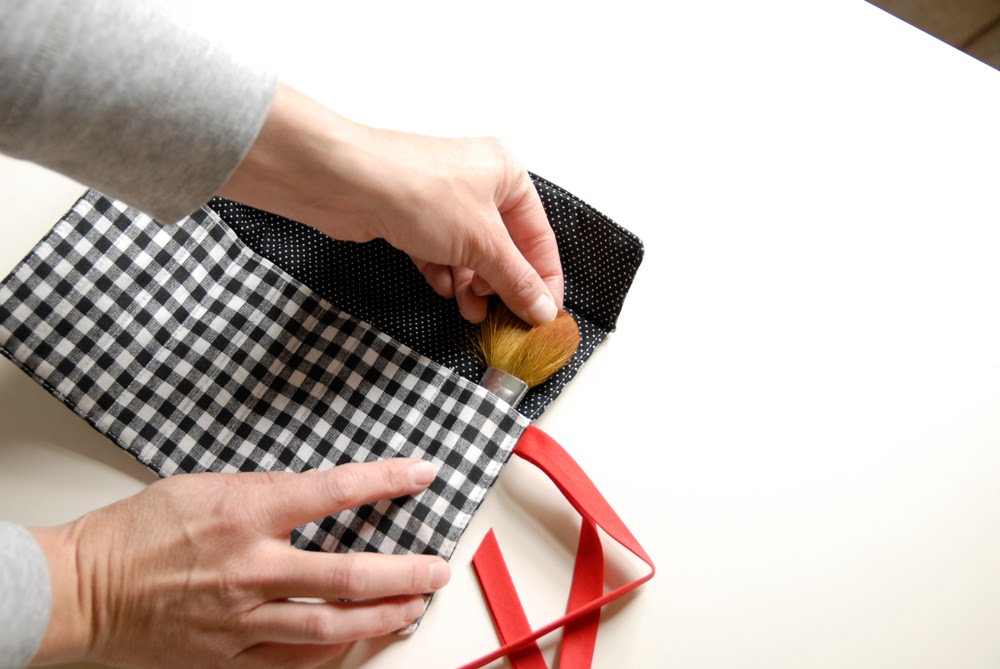
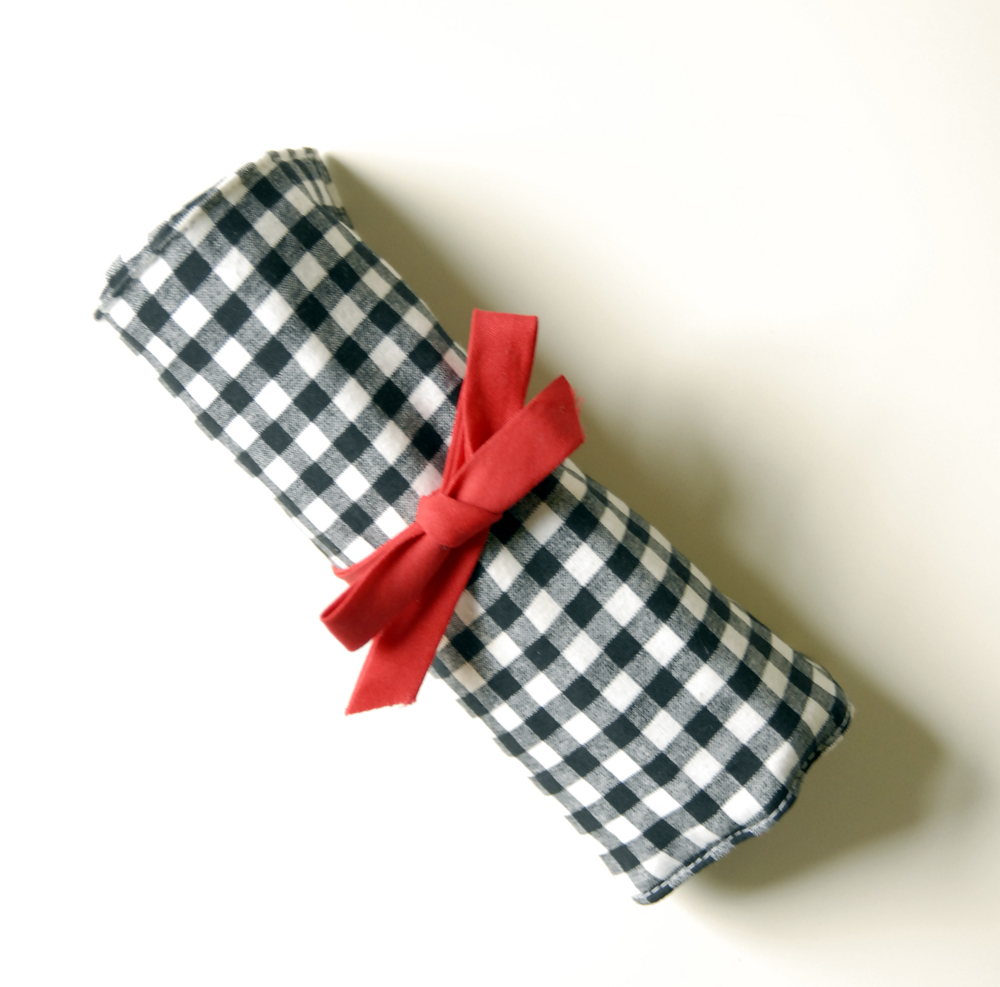
Now fill it with brushes + enjoy!

Or maybe if you don’t have enough brushes, you should get some for Mother’s Day so you can fill up your holder.
Make one + put it in a prominent place, leaving your husband a hint. Or if your like me, you could make one + hit your husband upside the head with it, for an even better hint.


Great article! This is the type of information that should be shared across the
internet. Shame on the search engines for
not positioning this put up higher! Come on over and visit my web
site . Thanks =)
This could be made for knitting needles or crochet hooks. Great tutorial !
How cute!
Ohhh. My brushes are totally jealous of your brushes (and I am too)! My brushes get thrown into a plastic container in my makeup drawer…perhaps it is time for an upgrade! Darling.
What about a paintbrush holder? Perhaps I could use this template, but with what kind of fabrict? Would it work with drying brushes?
a great gift idea
I am definitely going to make this for my sister for Xmas! Good idea!
So handy! I need to make one of these for my overnight bag! I love that you use a chopstick to push out the corners, that is a nice practical tip!
great tutorial!
Although I have one of these … I read through entirely.
Gotta admit, this lady is great!
Love the last comments- AAHHHH marriage, what a great INSTITUTION !!
After 8 years of marriage that is where I thought I must belong!
I keep my brushes in a canister on my vanity, but this looks like it would be perfect for double-pointed knitting needles! Great tutorial. Thanks!
thanks for the tutorial– this is awesome!