 A
AHow to Make a Super Hero Cape
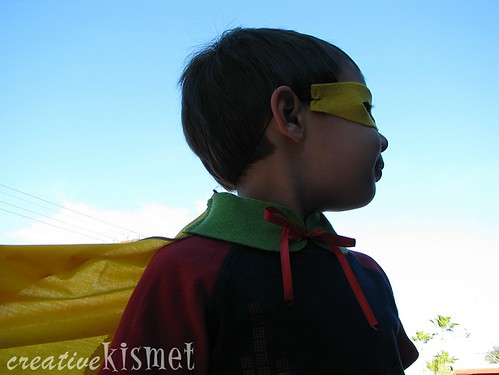
1 serger + 1 yard fabric = 2 super hero capes
In case anyone with a serger wants to make super easy, super fast, super hero capes. It’s cheap too. 1 yard of symphony broadcloth on sale for $1.99, felt .25 and a roll of ribbon .99, for a grand total of $1.65 per cape!!
If you don’t have a serger, see option two at the end.
For 2 capes, you’ll need:
1 yard of lightweight cotton fabric
40 inches of ribbon cut into four-10 inch lengths
1 piece of felt (I used that new recycled eco-felt, also found at JoAnns)
A serger
thread (multi-color or coordinating color
regular sewing machine
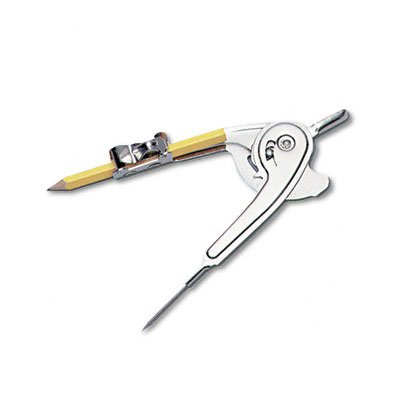
drafting compass (or string/ruler & pencil )

Diagram is not exactly to proportion
1. Fold the fabric into quarters (you will be cutting two capes at one time). Use the diagram above and cut out capes. I used a pencil and string to make my own drafting compass for the rounded bottom and this for the neck. This fancy contraption would work too (I secretly want one of these).
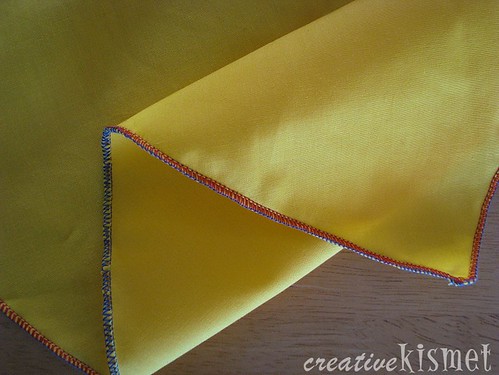
2. Set your serger on rolled hem setting and hem around all edges – neck, sides and bottom. Repeat on second cape.
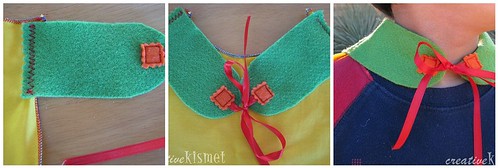
3. Cut out 4 felt strips (2 for each cape), 2 x 4 inches each. Round off one edge on each strip. Now cut 4 squares, roughly 1 x 1 inch and trim with pinking shears if desires. Place square over ribbon edge and sew onto strip. Sew other end of strip onto cape with a simple zig-zag stitch on a regular sewing machine.
Option one:
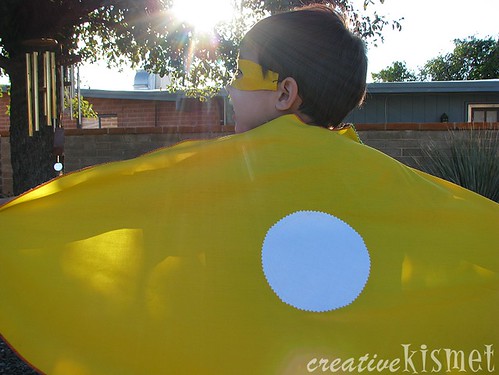
Add a circle of white fabric to back with double-sided iron-on interfacing. Stitch around the edge and let the kids decorate with markers or colored pencils.
Option two:
If you don’t have a serger, you can do a rolled hem on a regular sewing machine by doing a double fold along the edge, press and then sew. Or you can make one cape out of both pieces by sewing them together along the side and bottom edges, leaving the neck open to turn right side out. Use bias tape to close up the neck.

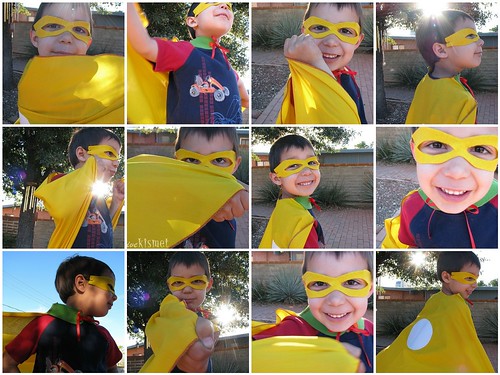
Now watch your kiddos S O A R ! ! !
You might also like this version of a super hero cape from The Long Thread. A child’s chef hat and apron also make cute gifts for kids!


I think this is one of the most significant information for me. And i am glad reading your article. But want to remark on few general things, The web site style is great, the articles is really excellent : D. Good job, cheers
this is just cute. All mothers love to see little happy faces with the things we made.
Very cute! Both of my kids would love to have a cape!
Couldn’t you use a “fat quarter” of material? I think it is 22″ by ? SUPER cute!
Here is my version of a super hero cape using a pillowcase. I hope you like how easy it was to make 🙂 http://naptimejournal.blogspot.com/2010/06/pillowcase-super-hero-cape.html
Becca
This is so awesome! One thing I disagree with though is that this is a project strictly for kids! I totally want a hot pink one for myself! Also, love the mask! Any tips for cutting out eye-holes so they are actually over the eyes?
I’m looking for it cos my niece just like to play hero everyday (she used a bath towel ^_^). Very cute! Thanks