
How to Make a Pilgrim Hat {Free Printable}
This Pilgrim Hat Thanksgiving craft is a fun activity that will keep the kids entertained before dinner begins. It is such a simple papercraft they can make one for themselves and more for guests.
Servings 1 each
Equipment
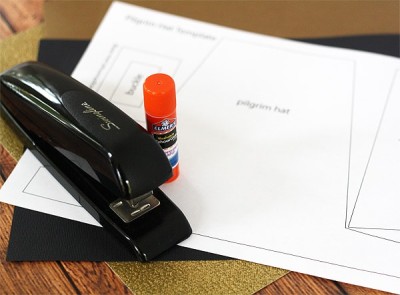
- Printer (for to print the template)
- Pair of kids paper scissors
- Stapler
Ingredients
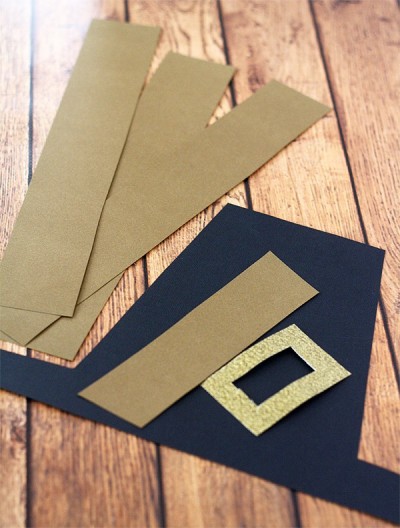
- 1 piece Black construction paper or cardstock
- 1 piece Brown construction paper or cardstock
- 1 piece Gold glitter paper or yellow construction paper
- 1 each glue stick
- 1 each Pilgrim Hat Template (Free Printable)
Instructions
- First, download the Pilgrim Hat Template and print on regular copy paper. Cut along the lines and cut out all the pieces to create a stencil to trace around.
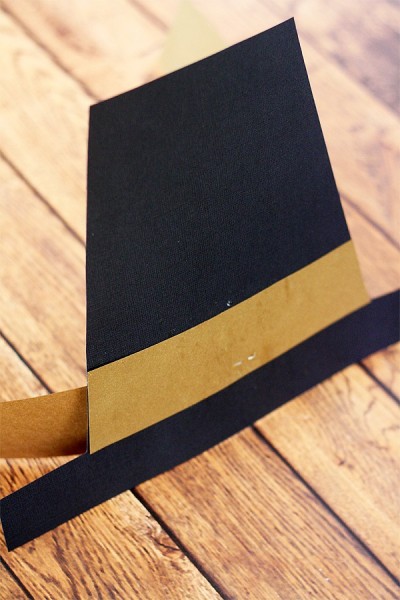
- Trace the hat onto black cardstock and then cut it out.
- Trace the band onto brown cardstock and then cut it out.
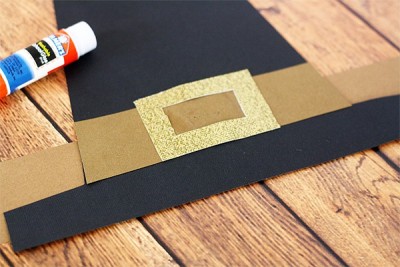
- Trace the buckle onto the backside of the glitter paper and then cut the buckle out. No worries if you can't find glitter paper. Simply add your own glitter to the buckle piece.
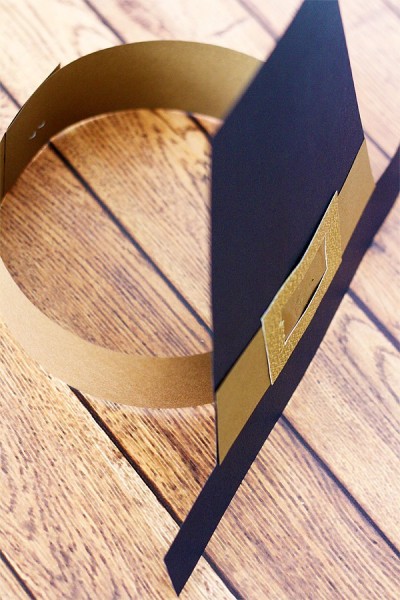
- Cut two to three strips lengthwise from the brown paper for the band that goes around the head.
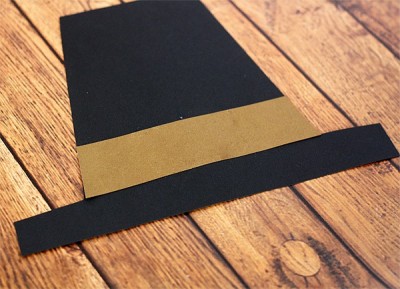
- Glue the brown decorative band piece to the front of the hat.
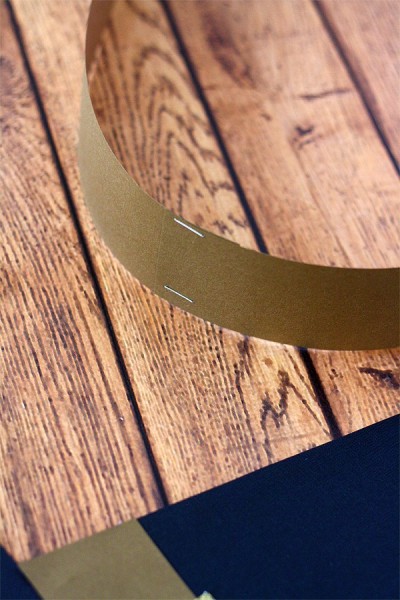
- Staple two of the long brown strips together. Make sure it will fit around the head. If not, then attach the third strip to make it longer.
- Staple the long band that goes around the head to the back middle of the bottom edge of the hat about 1/2 inch up.
- Glue on the gold buckle, place it so it covers the staples.
- Place the long band around the head to determine the correct size and then staple the ends together.
Notes
Recently I discovered adhesive-backed glitter paper and love it. Try using it for this craft if you have it on hand. It will eliminate the need to glue the buckle.