This Upcycled Kid Art Garland is creative way to display and create art with your kids. It is a fun kids activity you can make in just a few minutes. If you are looking for more boredom busting ideas check out all our summer crafts and activities ideas to keep kids active and entertained this summer! The best craft bloggers are sharing fun kids crafts! For younger kids this paper plate crab is easy and fast or try creating this DIY tic tac toe game keep checking back and you will find fun creative ideas that inspire and encourage imaginative play this summer!

Kid art, beloved for all its color and character, can pose a problem for parents when it piles up into unreasonable quantities. Is there really enough room for every marker drawing and finger painted craft on the fridge? Probably not.
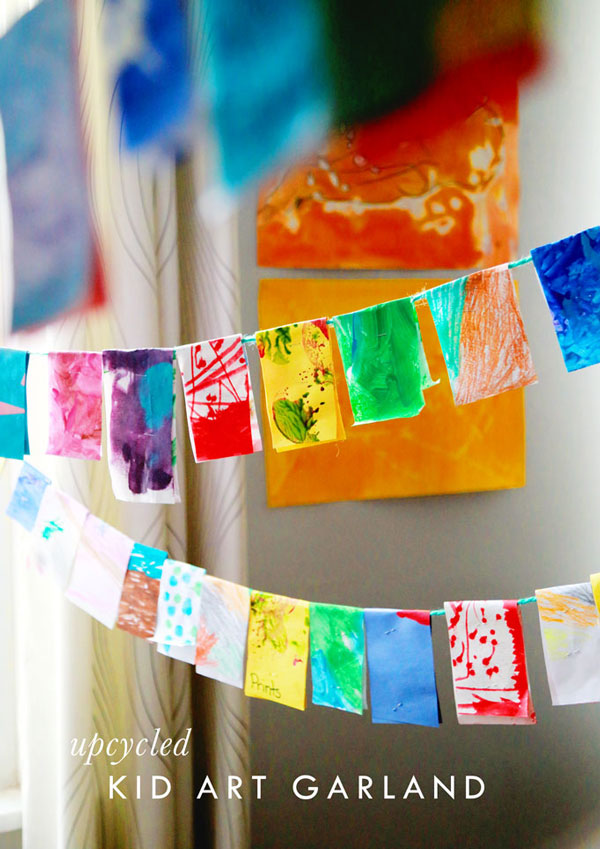
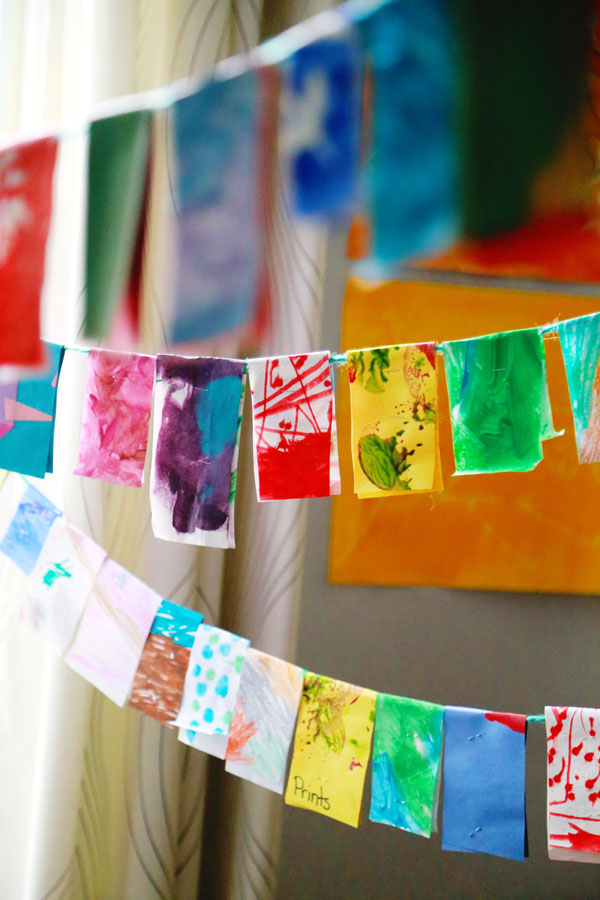
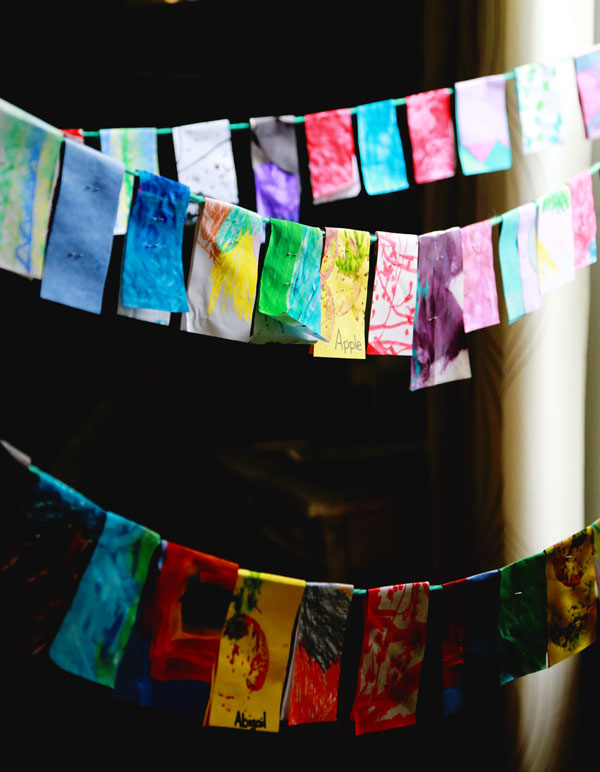
And while every piece is special milestone or memory, after a few months in a box, or piling up in a cubby at school, they are suitable to move onward into a another life. Let them live it up in a second creative adventure! Ready to upcycle? Let’s make a kid art garland.
This garland craft is decorative, festive, easy to make, no-cost from stuff you probably already own, and the process to make it is fast and kid-friendly. You can hang it at a birthday party or special occasion, or let the kids hang it in their bedroom year-round. They are going to love seeing their work displayed in a new and exciting way, especially when everyone who sees it will say, “WOW! Did YOU make that?”
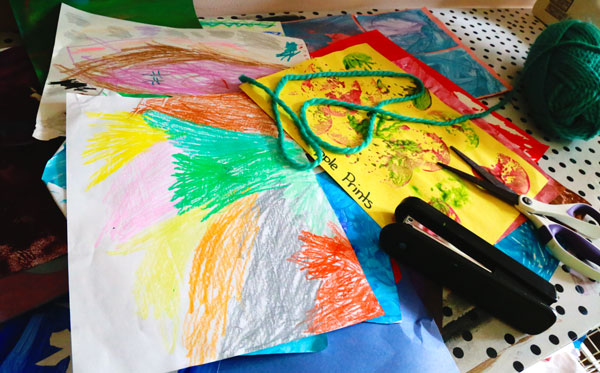
Materials
Paper-based artwork
Yarn, ribbon or heavy string
Scissors
Stapler (you can also use a glue stick or double-sided tape, but I find the stapler is the fastest)
Instructions
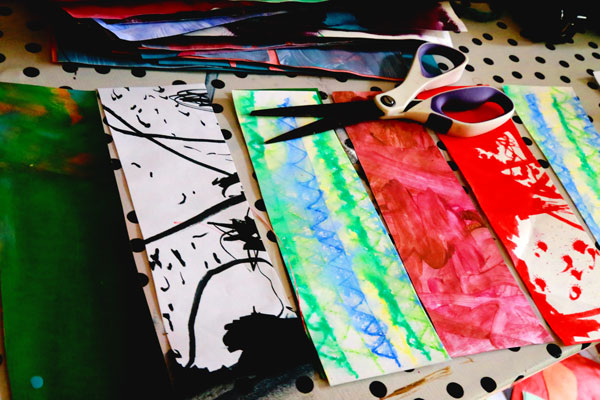
Slice strips in pieces, roughly 3” x8” long. Most letter-size paper can be easily into four equal stops of this size. Don’t worry if some pieces are longer or skinnier than others, it will add variation and look great in the end!
Side note: not all children will want to see their drawings being cut up like this, so it might be a good idea to go through the pile with them and set aside a few favorites for archival purposes first.
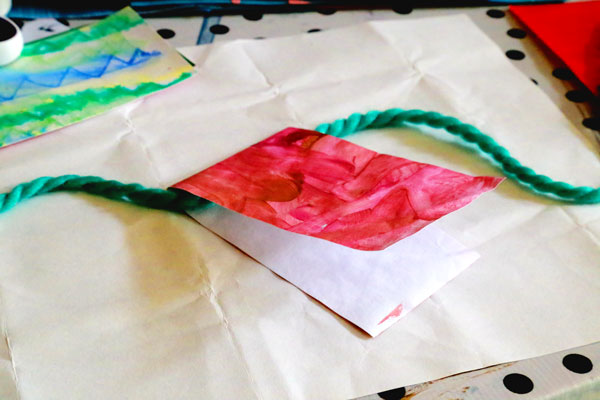
After cutting your yarn to the desired length, fold each paper strip in half and insert the yarn down the middle.
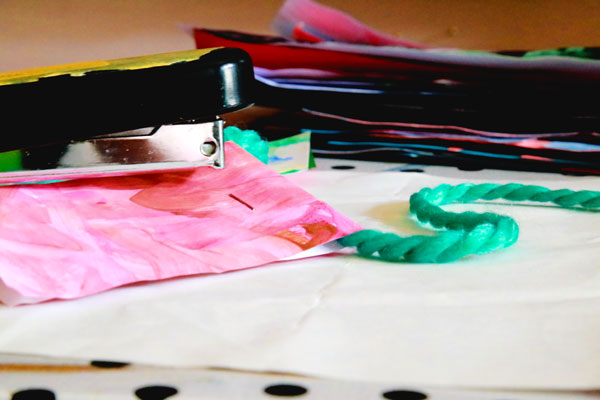
Staple 1” below the fold, creating a channel for the yarn to slide through. If your art work is on lightweight paper and curls at the edges, you may also want to add a second staple toward the bottom. You can also use glue or tape instead of staples, but this process will be fastest and the most secure.

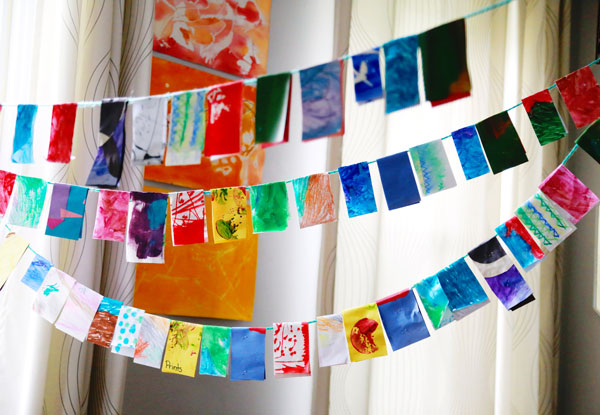
Repeat, repeat, repeat until all your paper strips are on the yarn and ready to go. Hang up the garland and admire your work! You could choose to a create a pattern by alternating the colors, but I like a random jumble best of all. Depending on the age of the crafter and the length of the garland, you can complete a room-length-sized garland in under an hour.
Thanks so much to Cindy and al lot you Skip to My Lou readers for letting me stop over and play. Feel free to drop by my place anytime!

Peaches is the artist and author behind Aunt Peaches, dubbed “the Citizen Kane of craft blogs” by the Huffington Post. Always on the lookout for clever ideas, Peaches shares creative and inexpensive how-to projects for those who love where they live. When she isn’t busy making, styling or photographing handmade goods for magazines and design sites, she is busy removing cat hair and glitter from her lint trap.
Looking for other nifty crafty ideas on ways to use children’s art? Start here; Party Luminarias, Children’s Art Vases, Plush Toys Made From Drawings.