Creating custom pencils with the xTool laser engraver is a fun project, perfect for adding a personal touch to kids’ school supplies or for creating thoughtful gifts. It’s surprisingly easy to do, and the results are simply fantastic! Let me guide you through the process step by step.
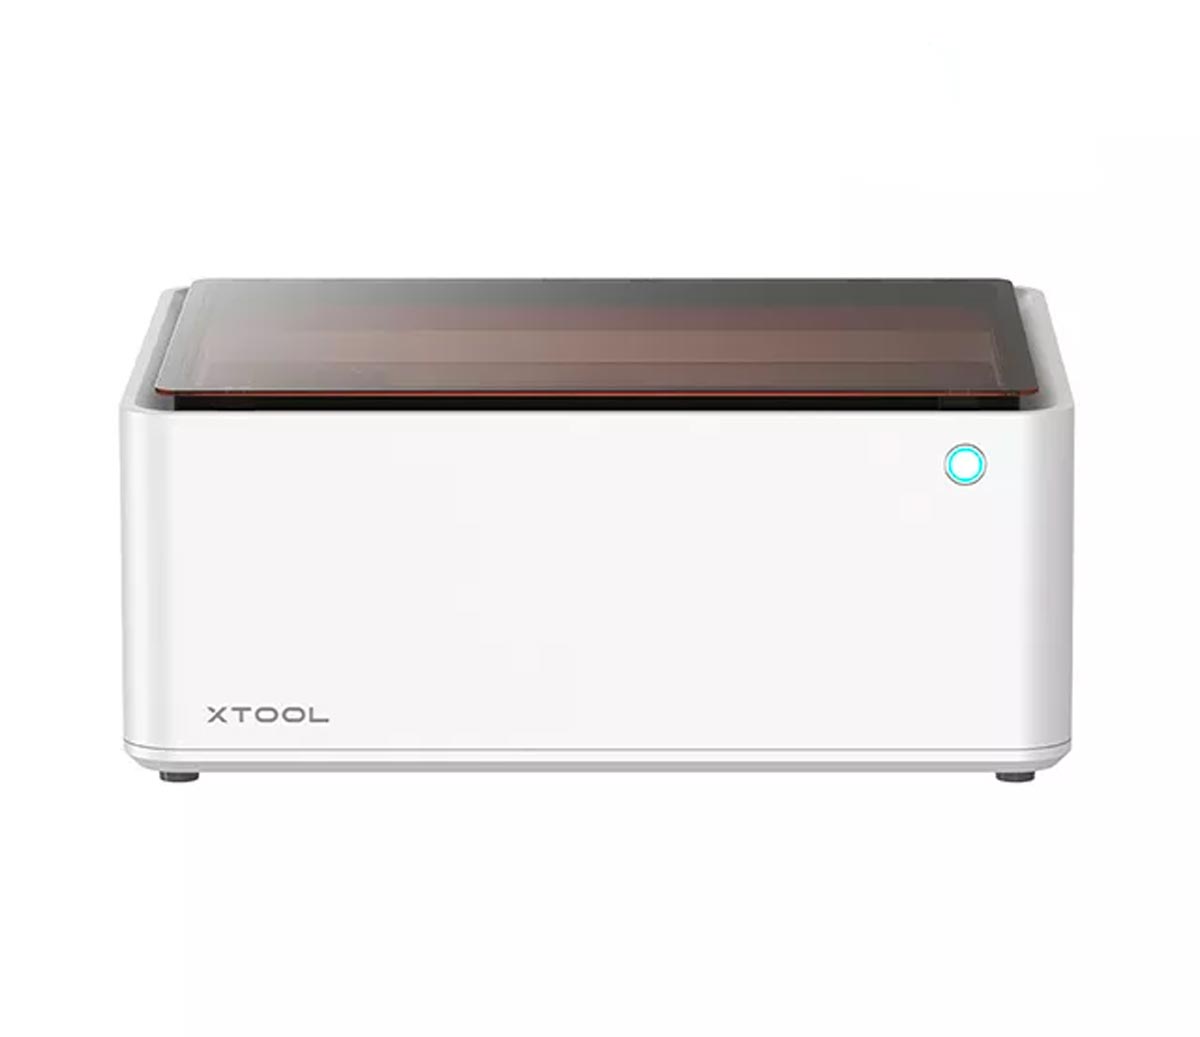
xTool M1 Laser Engraving and Blade Cutting Machine
First of all, you need the right tool! I received the xTool M1 (10-watt) for review. All opinions are my own.
Why you will love the xTool:
- EASY SETUP
This is the first machine I have ever opened that within the hour was on my way to creating something amazing with no stress or frustration. I had never used a laser before and was surprised at how simple the setup was. - VERSATILITY
One of the most impressive features of the xTool M1 is its versatility. You’ll be amazed by the wide range of materials you can work with using this incredible tool. From brushed metal and plywood to felt, plastics, iron-on vinyl, hardwood, leather, leatherette, stone, and even food, the possibilities are endless. Imagine engraving heartfelt messages onto cakes and treats for special occasions like Halloween and Valentine’s Day – it’s a surefire way to make those celebrations extra memorable.
If you’ve been using a Cricut and find yourself in need of additional functionality, or if you’re searching for a worthy Cricut alternative, the xTool M1 is a perfect choice. - USER FRIENDLY
What sets the xTool M1 apart, especially for home use, is its convenience and user-friendly design. The self-contained box into any room without creating much mess. You will need to be near a window to release exhaust or get purchase the smoke purifier attachment. Its clean and it’s easy-to-use interface ensures a hassle-free crafting experience that will leave you satisfied!
One of my favorite features is the camera that makes placement for engraving and cutting a BREEZE. Love it!
The need for a window, slow speed, and scorching on some materials were my only cons and this could easily be solved with the air assist attachment and smoke purifier attachment.
If you’re a crafter seeking more options to unleash your creativity, the xTool M1 is a fantastic and fun gadget that will elevate your crafting game. With this tool by your side, you’ll be able to create beautiful handmade gifts, personalize your home decor, or even venture into starting your own crafting business. The possibilities are truly endless and the best part… EASY to execute!
Now, let’s get on to my first project.
How to Make Custom Pencils with the XTool M1
You won’t believe how easy it is to make your very own personalized pencils with the xTool. To make it extra simple I have made you a free pencil jig file.
Download the file below. Open the file in xTool creative space. Set cutting parameters for the wood you are using. I used 1/8-inch pine plywood.
Get a Free Pencil Jig File
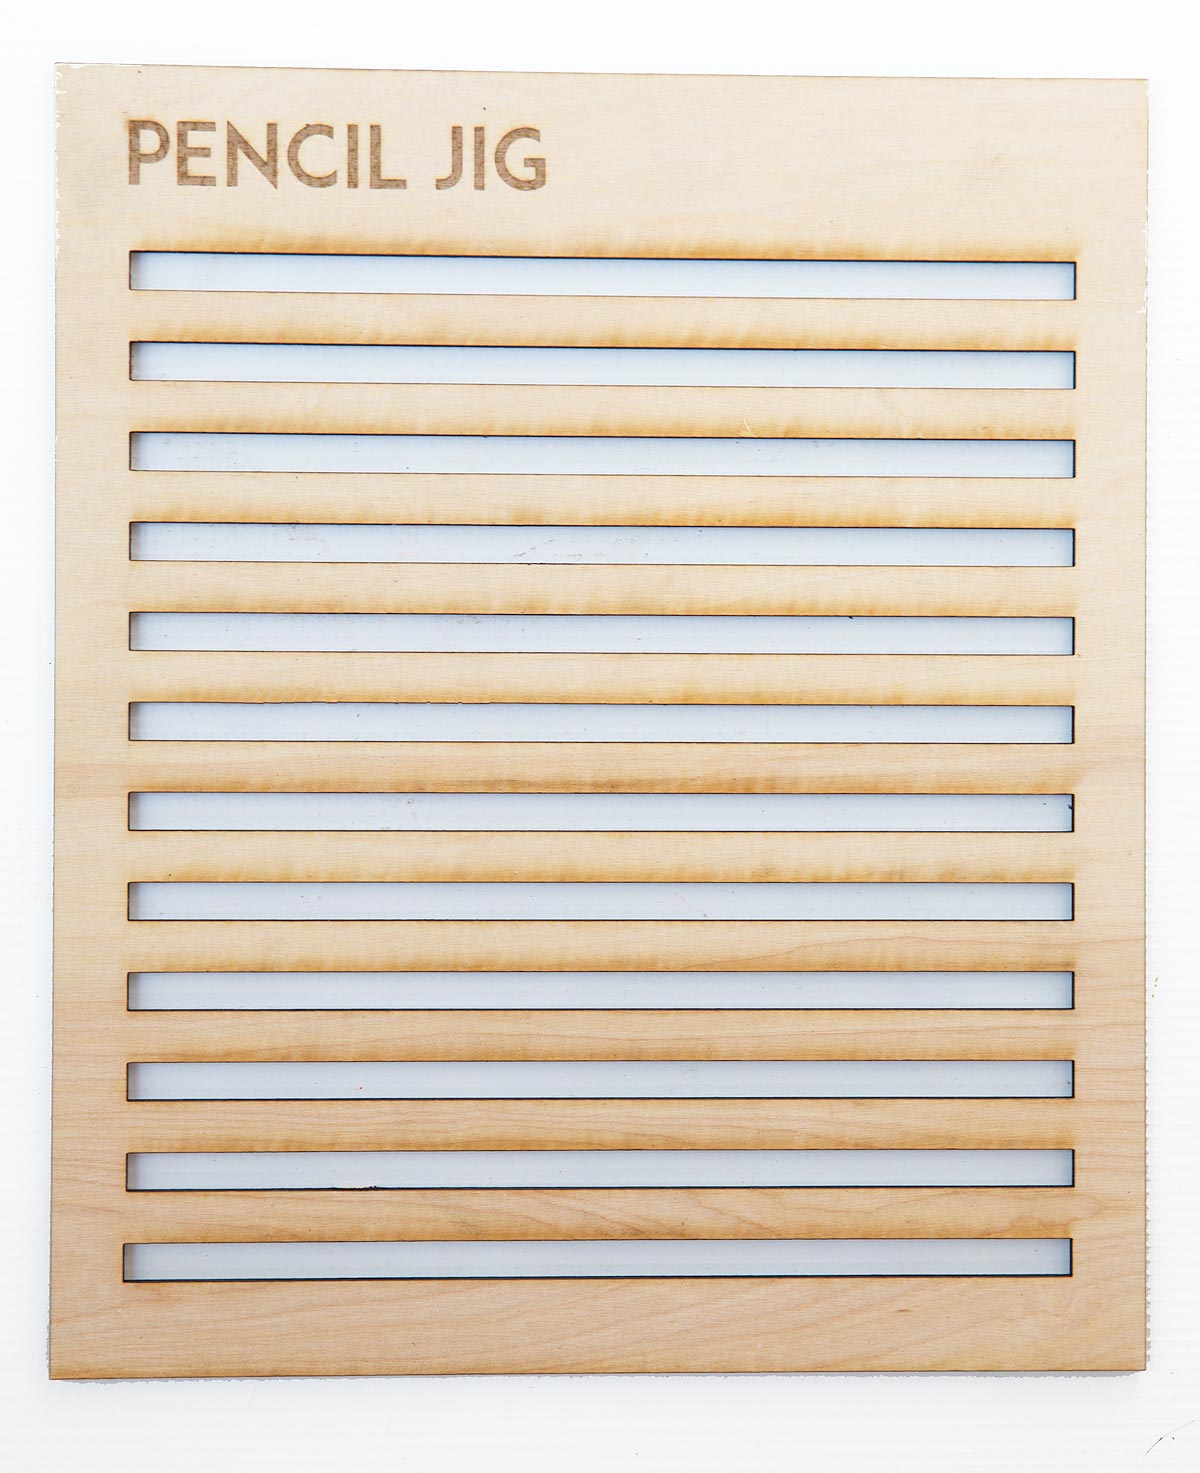
The jig will hold up to 12 pencils, but you don’t have to engrave that many at one time. The setup and process are so quick and easy that it is no trouble to just engrave one pencil!
How to Engrave Pencils Step by Step – It’s Easy!
- Connect xTool to your computer and open Creative Space
- Cut Pencil Jig
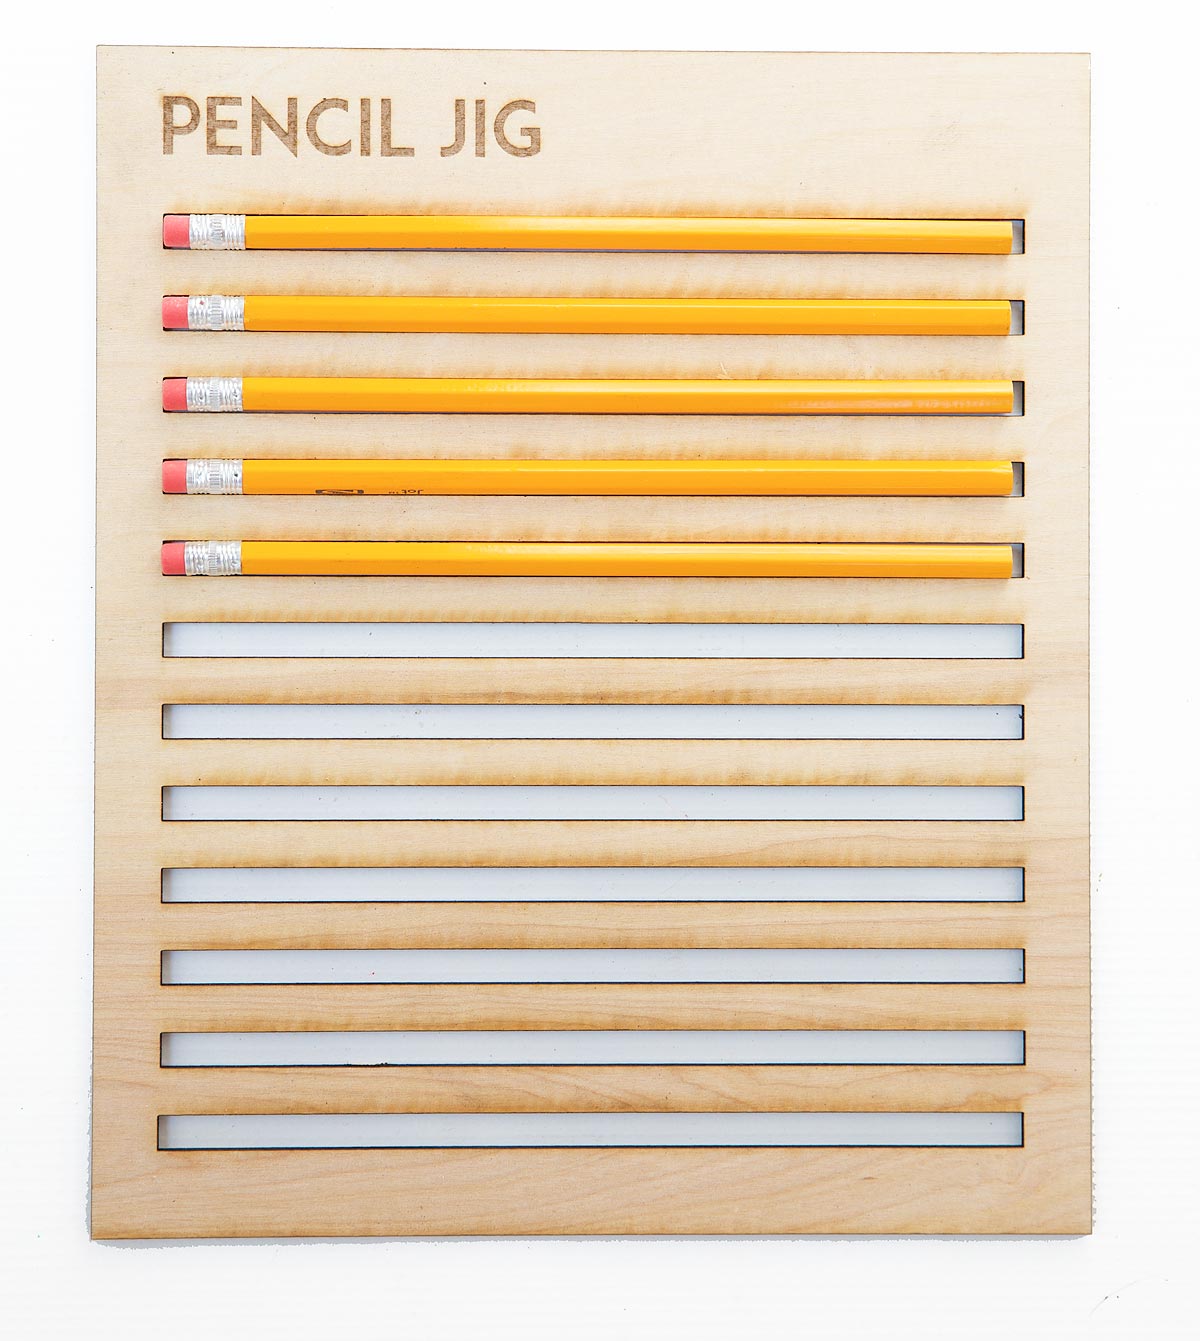
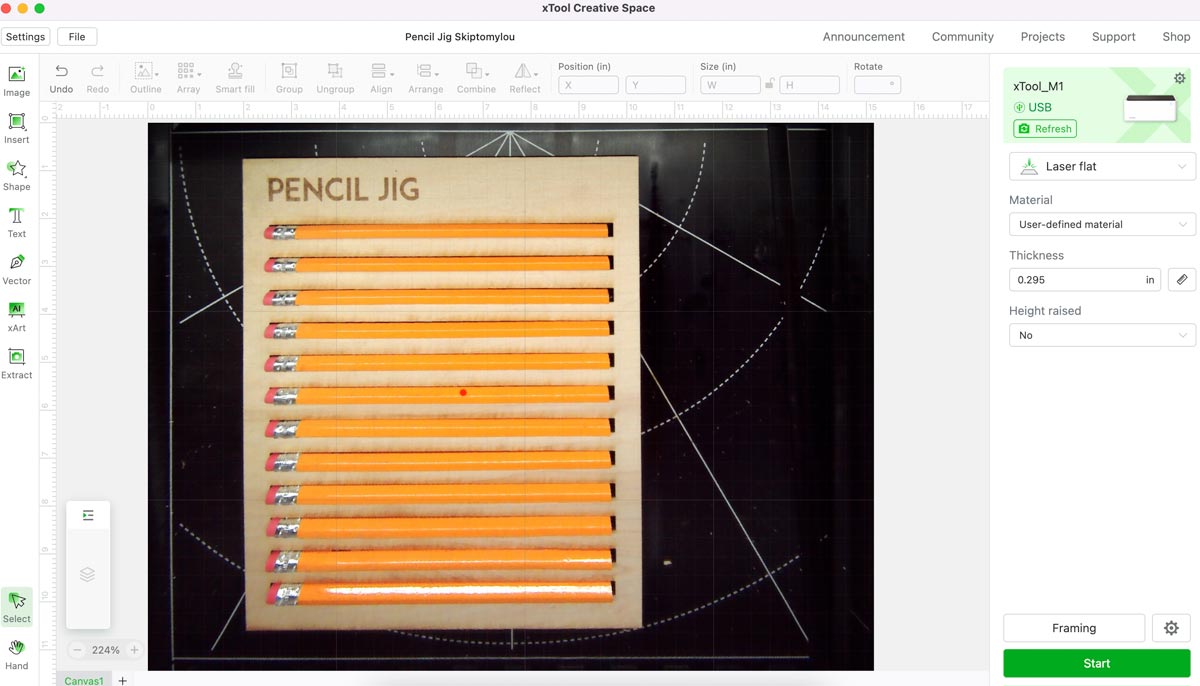
- Place the pencil jig inside the machine. Put the pencils to be engraved in the slots.
This is what it will look like on your computer screen. I told you that camera was amazing! - Adjust the jig and pencils so the red dot is shining on one of the pencils. Select the ruler icon in the right panel to measure the height of the pencils.
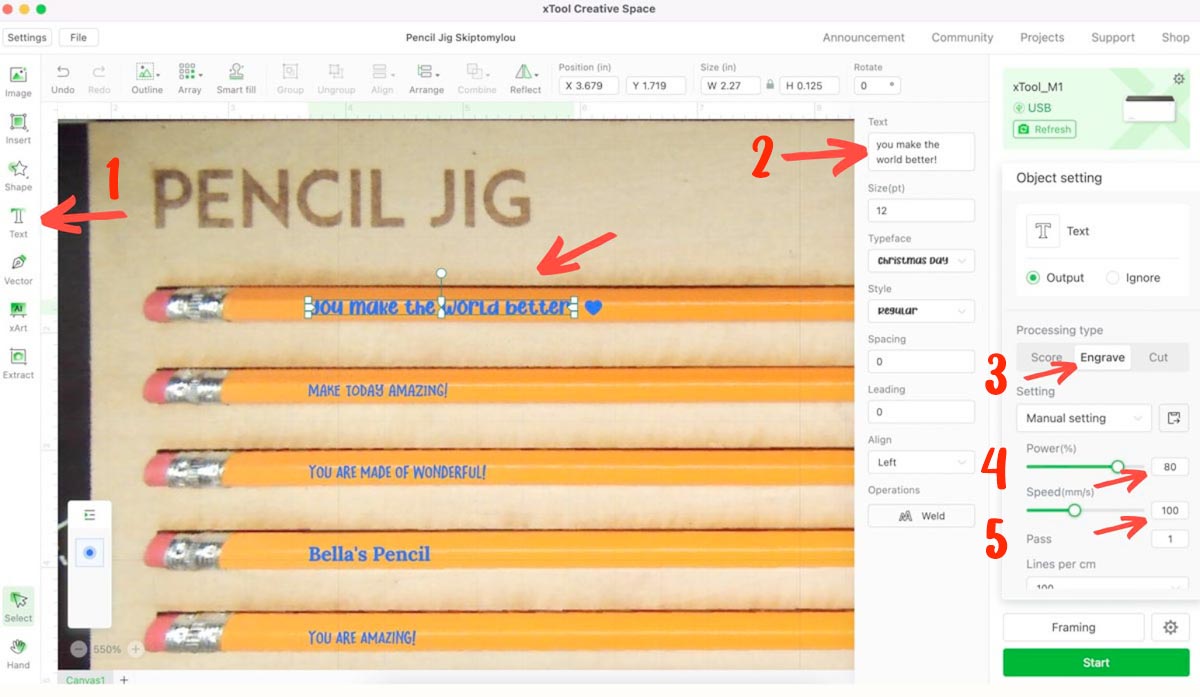
- Select the type tool.
- Type desired text in the box. Choose the size of the type. I used between 12 – 16 pt depending on the font (typeface).
Move the text boxes to align words on the pencils. This takes a bit of experimentation for perfect placement. I needed to set the font boxes slightly lower than I thought to get them to be where I wanted the engraving to be. - Select Engrave.
- For my pencils, I set the Power to 80
- Set speed to 100.
Don’t be afraid to experiment with these settings. This is what worked for my pencils purchased at the dollar store. I also noticed that different fonts engrave differently at the same settings.
Hit start and watch the magic happen.
Tip
I found if I increased the power and reduced the speed the engraving was deeper. If you need the engraving darker you will want a slower speed and higher power. If you want a lighter engraving adjust with higher speed and lower power.
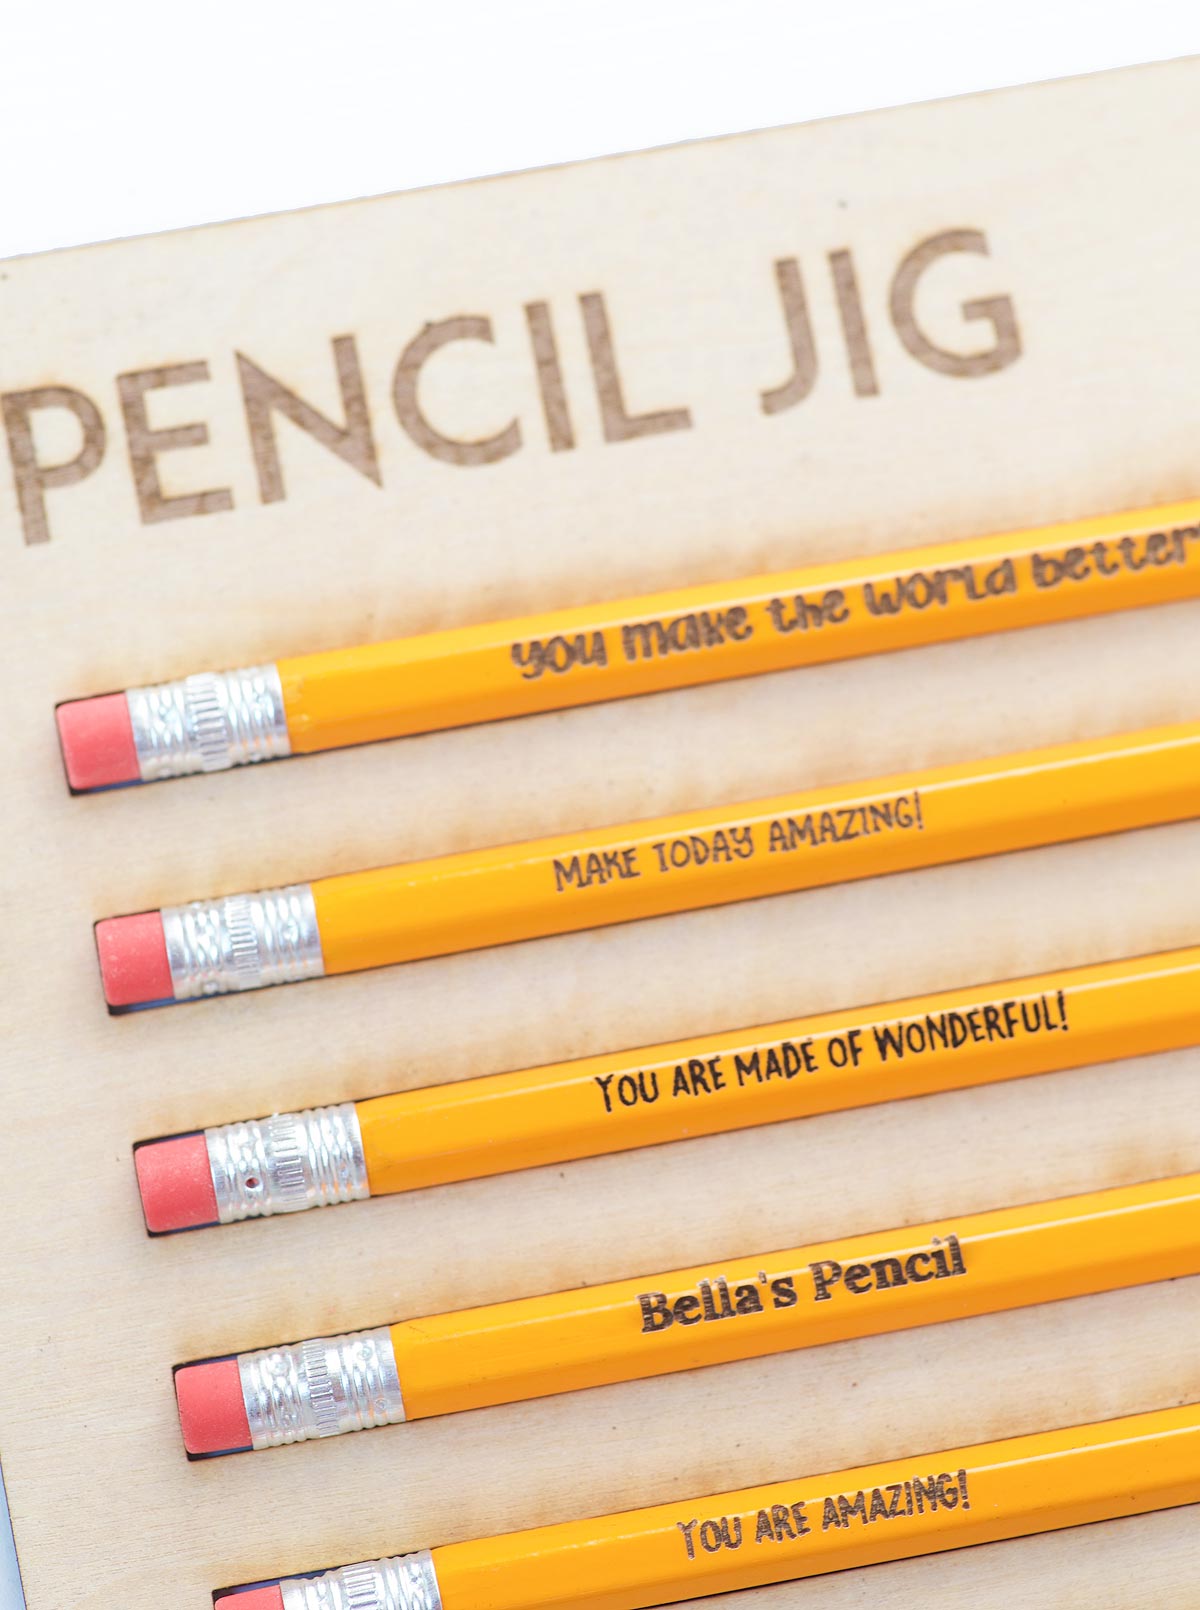
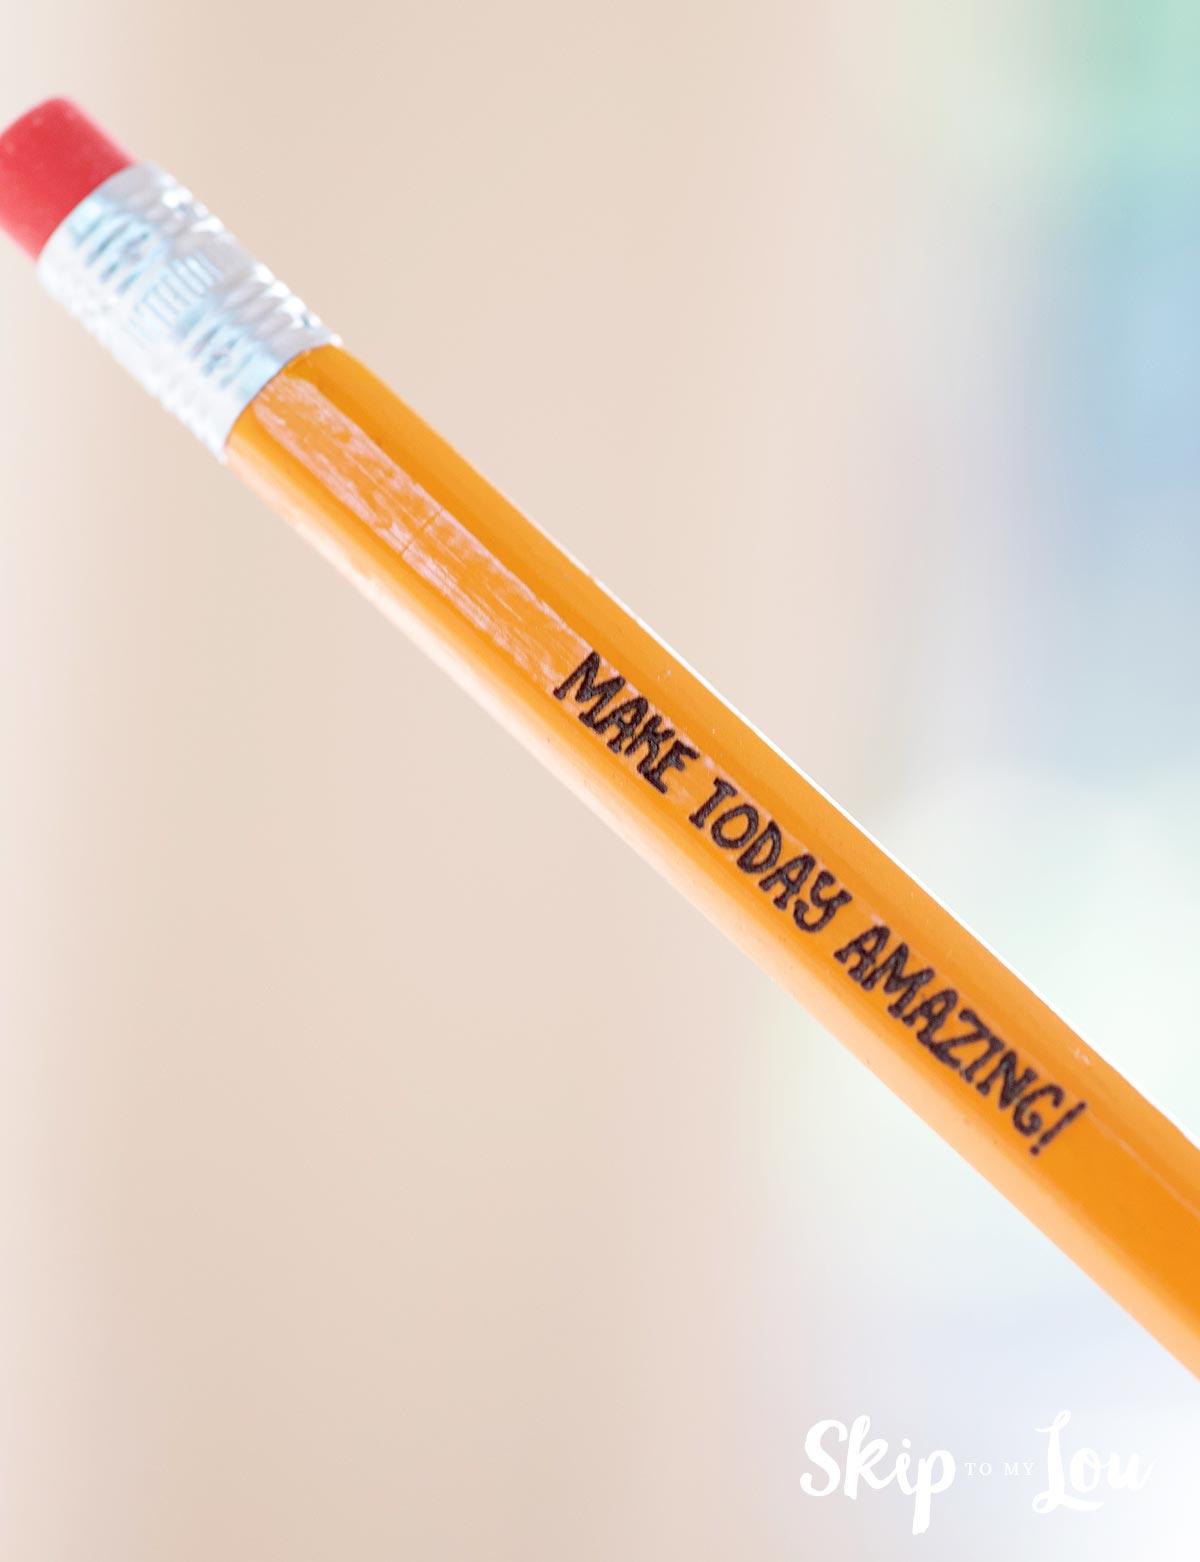
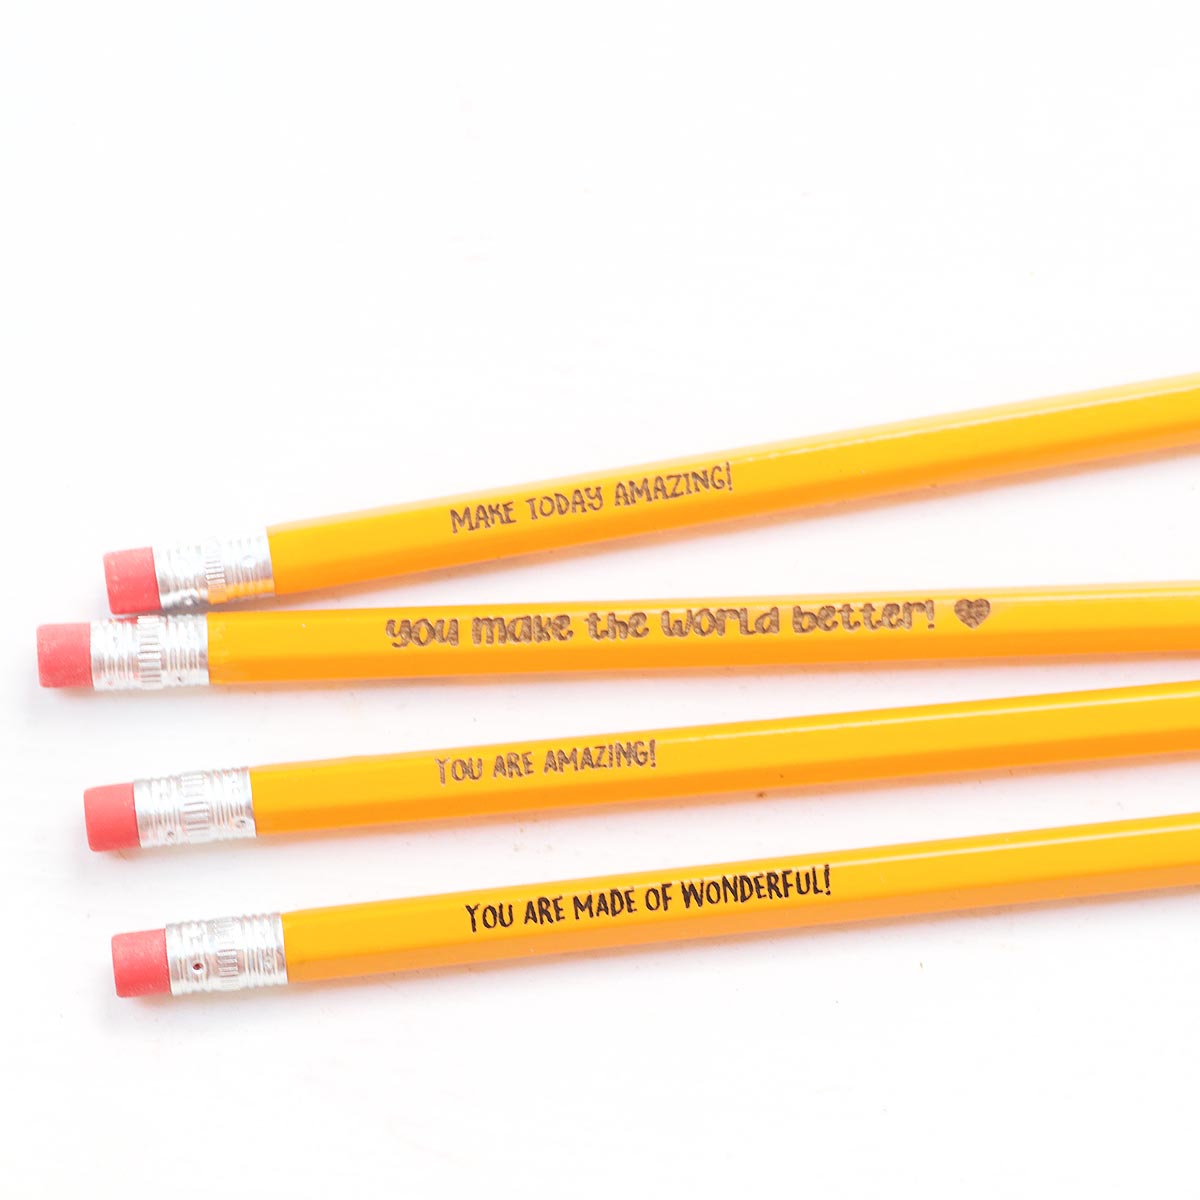
In a couple of minutes, you will have made your very own custom pencils! Just look at those!
| FONT | SIZE (pt) |
| You Make the World Better – Christmas Day | 12 |
| Make Today Amazing – Fontbox Masquerade | 16 |
| You are Made of Wonderful – Fontbox Jeronimo Bouncy | 16 |
| Bella’s Pencil – Lora Bold | 12 |
| You are Amazing – Fontbox Jeronimo Bouncy | 16 |
Wouldn’t these make great teacher gifts with these cute teacher tags? So easy you could make them for the entire teaching staff and place them in mailboxes with these just write tags.
I would love to keep you fully stocked with creative ideas, yummy recipes, fun crafts, and loads of free printables. Subscribe to Skip to my Lou to get new ideas delivered to your inbox. Follow me on Facebook, Pinterest, Twitter, and Instagram for all my latest updates.


