How To Make a Boxy Cosmetic Bag Tutorial
Look! Something you can make for a man!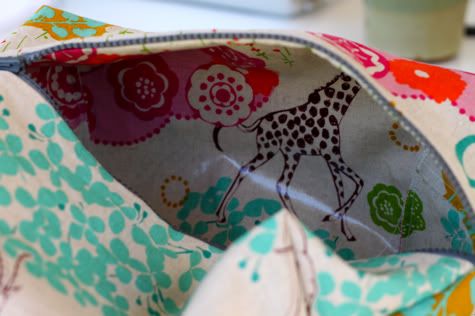
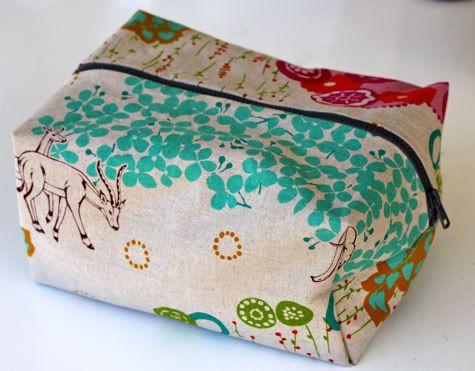
OK, so this one is for my friend Felice. Not a man. But a woman who enjoys cosmetics and bags and just had a birthday. It has a canvas outside and oil cloth inside for spill containment and easy wiping clean. But oil cloth not required.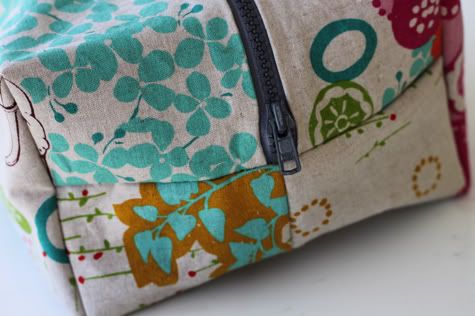
I used Echino by Etsuko Furuya, Quiet Ground, Oil Cloth in Natural and the matching canvas, both available at Fabricworm.
Sizing is up to you. My finished boxy make up bag is quite large. You might want to make yours smaller. I don’t know any man that would need this much space for his toiletries.
So my pieces measure:
2 pieces canvas outer 16X14
2 pieces oil cloth lining 16X14
One 16″ zipper
but i suggest, for a more normal size, going 14X12 with a 14″ zipper
1. Cut your fabric.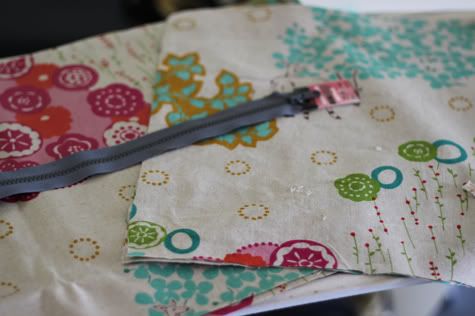
2. Lay one piece of canvas (or whatever outer fabric you are using) right side up. Lay your zipper facedown with the zip to the left with the top edge of the zipper lined up to the top edge of the fabric. Now lay a lining piece (oil cloth) facedown on top, with top edges lined up, like so: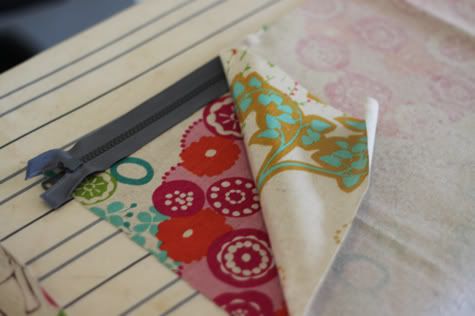
Sew in place with your zipper foot:
Now fold your pieces wrong sides facing. Lay your other outside piece right side up. Now lay your zipper and assembled pieces with the outside fabric face down and the lining fabric facing up as pictured. The zipper will be face down with the zip to the right this time. Make sure all the top edges are lined up: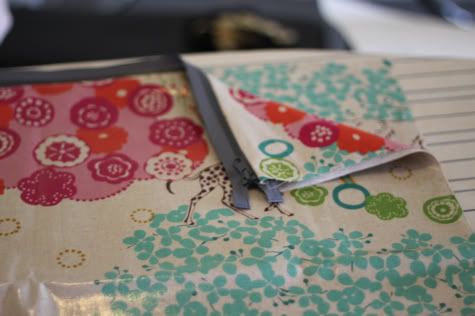
Lay your other piece of oil cloth (lining) right side down on top with the edges aligned. You can pin at the very edge (pins leave holes in oil cloth but you won’t see these in the final bag):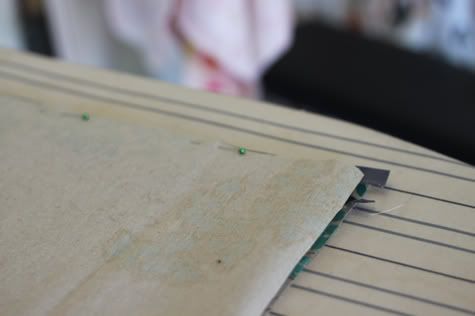
Sew in place with your zipper foot.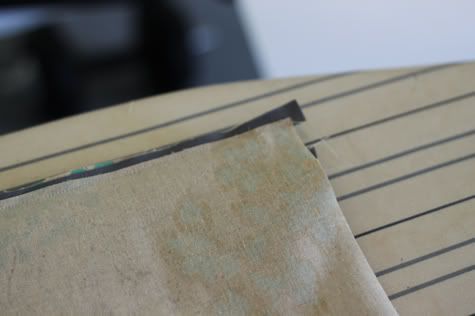
3. Flip all the pieces around so the zipper is at the top and your oil cloth (lining) pieces are on the outside right side up. Sew straight across the bottom: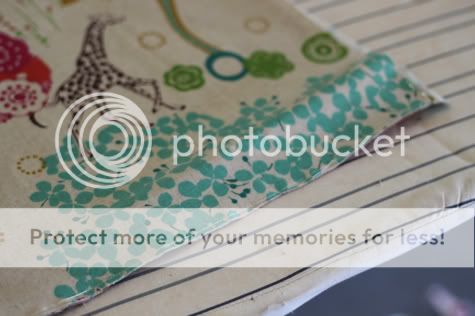
4. Now bring the seam you just sewed to the center, above the zipper like so. Unzip the zipper halfway so you can turn it inside out when you’re done: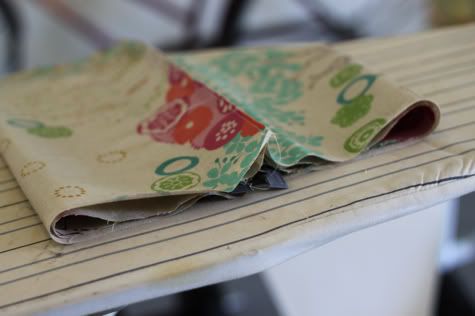
Flatten it out and sew up each side, across the zipper. Reinforce the zipper edges by sew back and forth over them a few times. Trim your edges: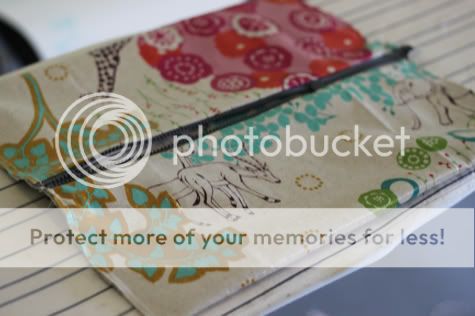
4. Now pouf up your bag, still with the oil cloth to the outside. Pinch each corner in and pin it. Determine what height you like and draw straight line at the same measurement across each triangulated corner (i did 5″):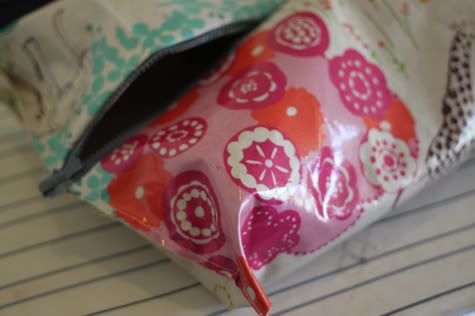
Sew that line with a straight stitch: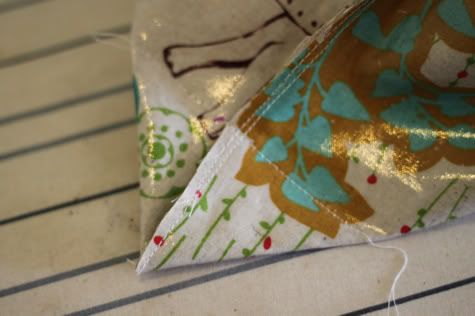
Cut off the triangle: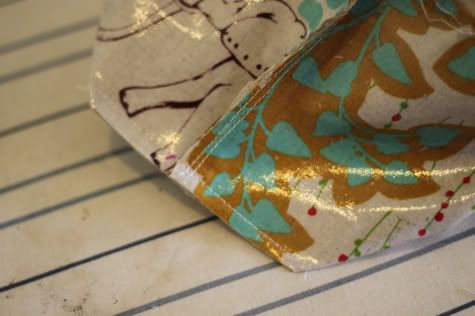
Repeat on all four corners. Now your bag looks something like this: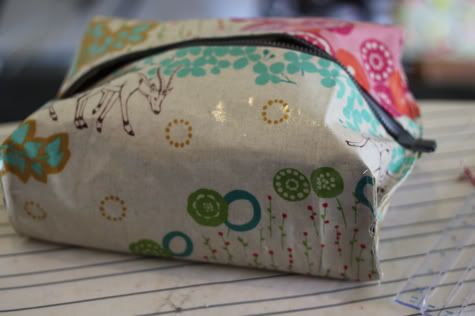
Turn it right side out. You’re done!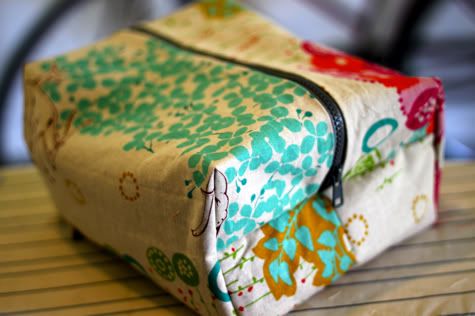
Pretty quick and simple right?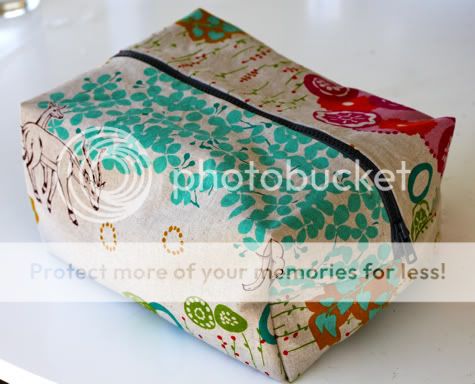
Stuff with sunscreen and the like. Don’t worry about spills, you can wipe it clean!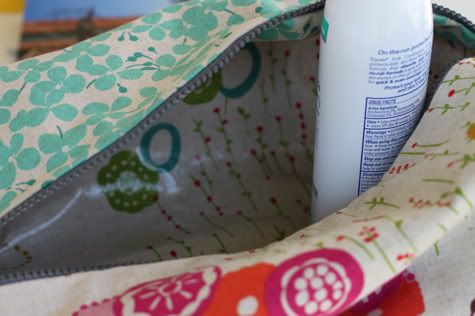
More great gifts to sew
I would love to keep you fully stocked with creative ideas, yummy recipes, fun crafts, and loads of free printables. Subscribe to Skip to my Lou to get new ideas delivered to your inbox. Follow me on Facebook, Pinterest, Twitter, and Instagram for all my latest updates.


Thanks….this is a great tutorial
I just wanted to let you know that I blogged about my experience making this on my site. (http://sewingnovice.com/2011/03/13/toiletry-bag/)
This tutorial is wonderful. I’ve tried to make it but I’ve made too many arbitrarily changes (and mistakes) to fit my supplies so I’ve ended up with a completely different bag! hahaha
You can take a look here if you want:
http://anzouyaspool.blogspot.com/2010/12/ho-ho-hoback-again.html
Thanks for sharing! 🙂
i think that is a great tutorial
Love this tutorial!! Made in a snap! (Except I put the oilcloth on the OUTside…
Check out my version:
http://genxquilters.blogspot.com/2010/08/oilcloth-boxy-cosmetic-bag.html
Thanks for the Great visuals I think I just found another GREAT blog to follow!
T
I love it and such a good tutorial too. The fabric is perfect.
Once again great post. You seem to have a good understanding of these themes.When I entering your blog,I felt this . Come on and keep writting your blog will be more attractive. To Your Success!
The perfect!These articles written too great,they rich contents and data accurately.they are help to me.I expect to see your new share
Awesome! Thank you!
Great tutorial! I’ve added your tutorial to my directory of free patterns and tutorials for Purses, Totes & Handbags at http://www.linda-matthews.com/free-purse-patterns-and-tutorials/
Thanks for sharing!
I am LOVING this series~ I’m looking after 5 children this summer and your projects have been great for them AND for me.
This one though….I teach a clothing and textiles class for High Schoolers and I’ve just decided to make this our first project. So simple but it really teaches a lot of the basics and you still end up with something useful, relevant to them, and it can easily be individualized! Thank you Thank you Thank you!
Great tutorial.
Instead of buying oil cloth, you could also use Heat’n Bond Iron-On Vinyl to create a waterproof fabric to match the exterior fabric.
Yay! I have been waiting for a good boxy bag tutorial! Thank you!!
this is awesome! i’d love to make this w/ a matching beach/tote bag for trips. love it
What a wonderful tutorial and great finished product! Thank you!