gifts for teachers
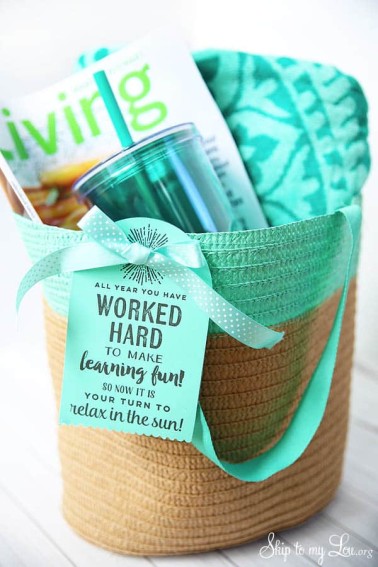
Find the perfect gift teachers will love with these great gifts. Find good ideas for gifting school supplies, water bottles, tote bags and every teacher’s favorite gift, a gift card.
If you need to find gift ideas for preschool teachers to high school you will be inspired here. No need to fall back on the typical coffee mug!
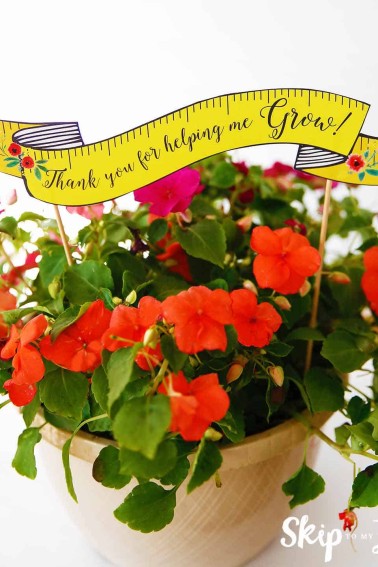
Teachers spend a lot of time the entire school year lesson planning and working hard to make a difference in the lives of our children. This is our chance to say thank you!


As Seen on