Hi everyone! I’m Heidi from Happiness is Homemade, and I just love quick and easy crafts that add lots of pizzazz and personality to my holiday decorating scheme.
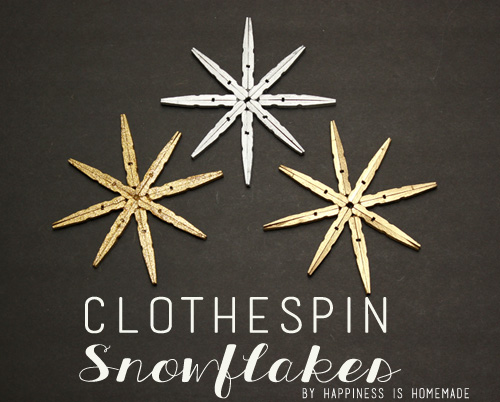
These clothespin snowflakes take just minutes to make, but show off lots of style with their chic metallic gold and silver sparkle.
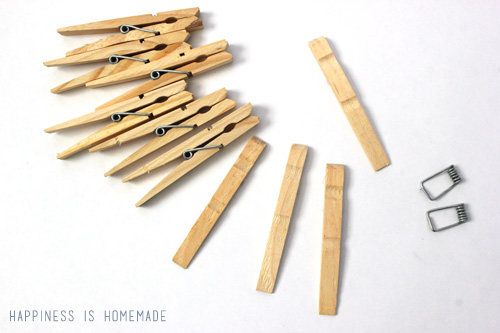
For each snowflake you will need eight clothespins, a hot glue gun, and some paint. Start by twisting the clothespin to disassemble it, removing the spring, and separating both halves.
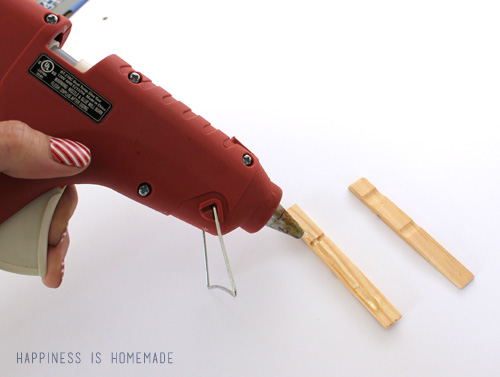
Use the hot glue gun to glue the flat sides of two clothespin halves together.
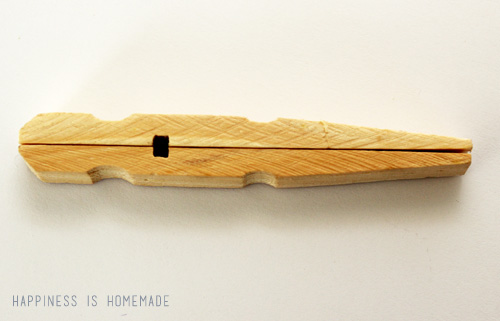
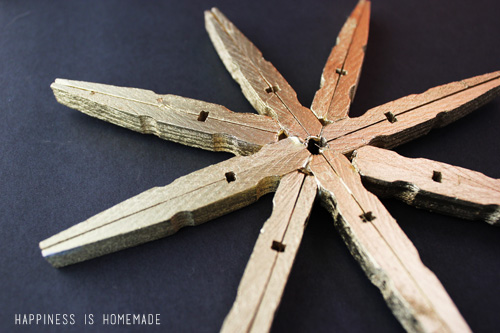
Each new pair of wood pieces will look like this. Continue gluing all of the pieces until you end up with eight of these.
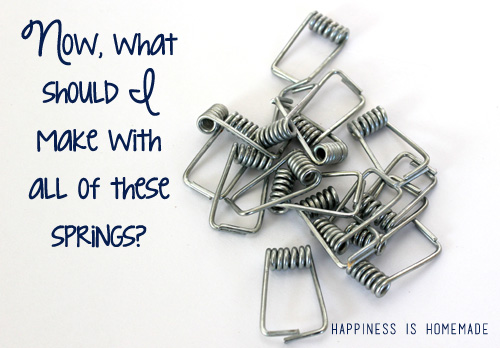
Any suggestions on what I could make with all the leftover springs? I hate wasting things, and I’m sure there’s a new project idea in here somewhere!
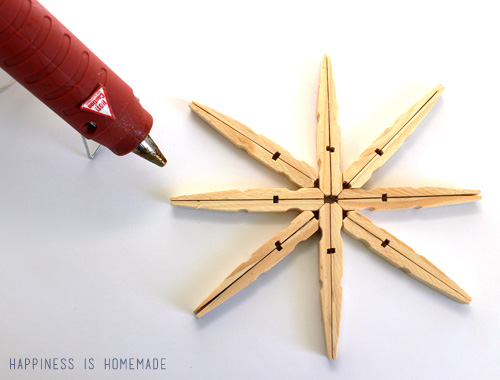
Arrange your eight clothespin pieces to form a snowflake and hot glue them together. It helps to start by gluing together the four pieces that make a + shape, and then add the other four pieces in the center spaces.
Give each snowflake a coat of paint. I used spray paint to make quick work of it, but any kind of craft or hobby paint should do the trick!
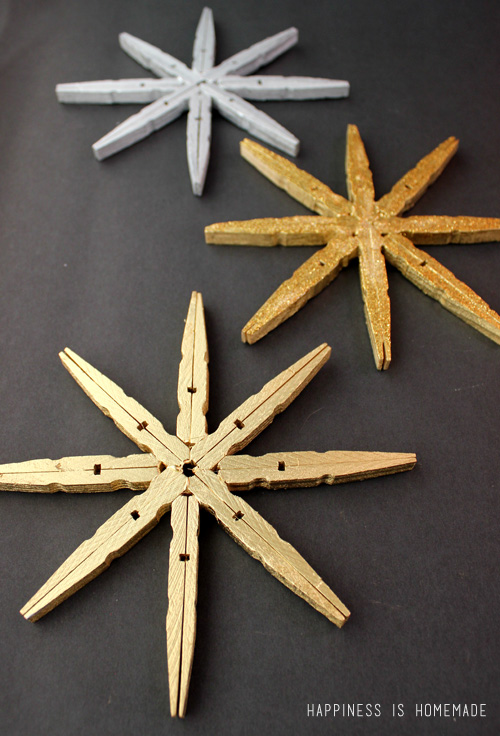
I added some glitter to one of my gold snowflakes for even more sparkle…the holidays are ALL about sparkle and shine in my house!

Add a string to hang on your tree or display a whole grouping on a shelf or window sill for maximum decorating impact!
For even more holiday crafts, recipes and decorating ideas, be sure to come visit me at Happiness is Homemade!

![]()
![]()
![]()
![]()
![]()
![]()
![]()


You can make crosses out if the sorings by connecting 8 of them together. &!then form the cross
Then weave in & out with snall ribbob
Thank you for all the ideas, but I’m especially grateful for the stars made with the clothespin springs!
I made stars out of the springs. Use 10 connected together by inserting open ends into springs. Make a complete circle. Folding two together you get 5 arms of the star. I hot glued in the center then added a jewel in the center of each side to help hide the glue.
Drill a hole at the top of the clothespin snowflake, put the spring ends through the hole and now you have something to hang the snowflake with. No waste and keeping the project as a whole.
Gorilla wood glue!👍
Carol, I think it is worth giving a try if you use clear glue.
I don’t have a glue gun. For making clothespin snowflakes, will other glue hold ok?
Found this link to a necklace made with the springs from the clothespins.
http://live-love-scrap.blogspot.com/2013/08/clothespin-necklaces.html
love your snowflakes!
i recently saw on a blog which escapes me now but they made necklaces out of the springs:
https://www.google.com/search?q=necklace+made+with+spring+from+clothes+pins&source=lnms&tbm=isch&sa=X&ei=e3yuUtyWC8_voASr-ICgAg&ved=0CAkQ_AUoAQ
i also so earrings and bracelets from that link too.
i’ve also seen them used on ‘cheater chopsticks’:
http://www.likecool.com/Clothespin_Chopsticks–DIY–Gear.html
Was thinking that the clips could be painted and chained together as a necklace. The idea of using the clay is great. Really like that idea. Maybe the two used together somehow. A free form sculpture would be good too. Or stretched out for arms on a puppet. Will look forward to seeing what you come up with in the future.
Hi Heidi. These are very pretty! And you could use the springs for steampunk jewelry. Or somehow make a bracelet out of them. Oooo…..maybe they would make a good zipper pull.
What a stellar use of the clothespin!
I wonder if you could use them to make pendants. Like with polymer clay by embedding the two ends into the clay before baking and then use the spring to thread the chain through?