We are wrapping up my fun summer series 30 days of fun crafts to keep kids active and entertained this summer! You won’t want to miss a day of these fun crafts for kids from some amazing bloggers! Please be sure to pay them a visit! Welcome Back Sew Woodsy!


Hi, Skip to my Lou readers! My name is Katie and I’m the other half to the husband & wife DIY team over at Sew Woodsy! I’m so excited to be back again. Last year, during the teacher appreciation month I shared my Washi Tape Notebook. Today, I’m excited to share a simple “summer of love” vinyl sign! I love creating vinyl signs for any occasion and especially seasonal signs. We always have scrap wood laying around and since I’m a pretty lucky gal and have a well supplied craft room I can make these signs for little to no cost with all the supplies I have on hand!

This can be a fun craft day for the older kids in your life. Cut out a variety of vinyl for the kids, let them paint the wood, apply the vinyl themselves (or with the help of an adult) and voila! They have a new piece of art for their room! I’m sure they will feel accomplished by making their own vinyl art (because I always do)!
Supplies:
- Scrap Wood
- Annie Sloan Chalk Paint – Provence
- Paint Brush
- Drop Cloth
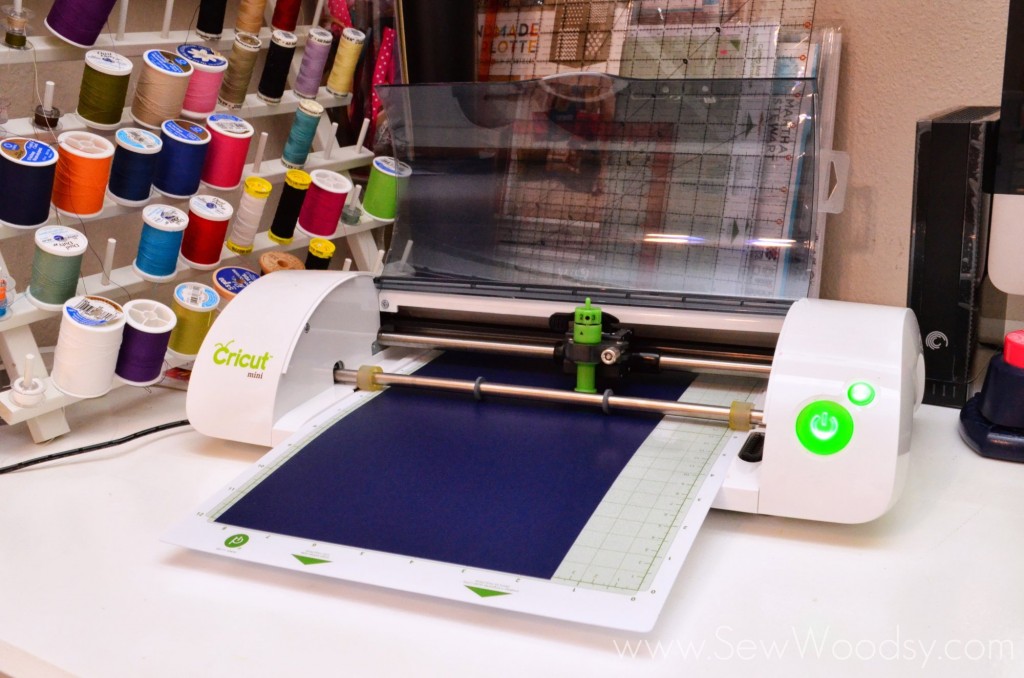
- Cricut Mini
- Vinyl
- Transfer Tape
- Plastic Card Spatula
- Sand Paper

First up, paint your sign. I laid out a drop cloth and applied a thin coat of Annie Sloan Chalk Paint to the scrap wood. Make sure you paint the sides since you will see the sides and you don’t want it to look unfinished.

Using Cricut Craft Room, select the image of your choice. I chose the “Summer of Love” image from the “Life is a Beach” cartridge. Since my wood was 11 x 6 I made sure to keep my graphic smaller than my wood.
Cut out the image on vinyl. I used a blade setting of 2, pressure 2, and high speed.

Peel off all the excess vinyl leaving just the design.

Then apply the transfer tape on top of the image. Smooth it out using a card spatula.

Carefully pull the transfer tape (with the vinyl sticking to it) on to the wood sign.

Apply the transfer tape with vinyl on to the wood sign. Smooth out all bubbles with card spatula.

Carefully begin pulling back the transfer tape. I like to use the card spatula to help smooth the vinyl down as I pull the tape off the wood sign.

If you would like to give the sign a little more character run a little 220 grit sand paper on the edges.

I made this summer sign for my neighbor. She has a beautiful nautical inspired room and I knew she would love adding the sign to her room.


My Favorite Sewing Tools
I would love to keep you fully stocked with creative ideas, yummy recipes, fun crafts, and loads of free printables. Subscribe to Skip to my Lou to get new ideas delivered to your inbox. Follow me on Facebook, Pinterest, Twitter, and Instagram for all my latest updates.
I hope you enjoyed our project. Make sure you visit us over at Sew Woodsy!
Get social with us on Facebook | Twitter | Pinterest | YouTube | Instagram


