Hi, it’s Gail from that artist woman. Today it’s my turn at Craft Camp and I wanted to show you these little art collections.
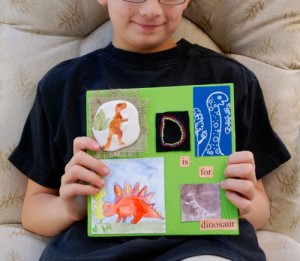
As an art educator I try to keep my kids engaged in ‘arty’ activities throughout the summer but large projects can sometimes feel too much like school. So we compromised, little projects with a common theme which we pull together into a collection. This way everyone’s happy and the kids get to try out lots of different techniques. For this collection we used plaster casting, embroidery, watercolour painting, crayon resist, and doodling in white.
MATERIALS REQUIRED:
– background for your collection, we used square pieces of plywood but you could used a primed canvas, nice cardboard, or even a shadowbox frame.
– small pieces of watercolour paper, drawing paper, and/or card stock
– plaster, small scraps of burlap, items for casting
– acrylic and watercolour paint, sharpies, crayons, white paint pen
– felt, embroidery thread and needle, hoop
– tacky glue, Modpodge
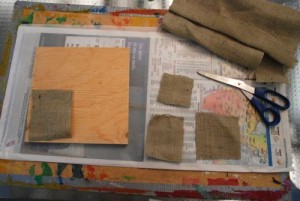
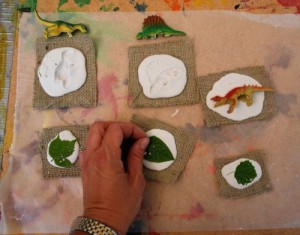
Let’s start with plaster casting. Cut your burlap into squares and rectangles, small enough for your collection.
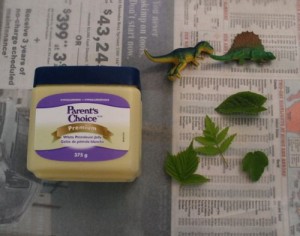
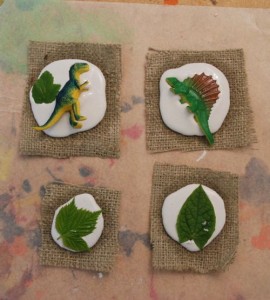
Find some good items to cast. We had a dinosaur theme going so we used little plastic toys. You can also cast lots of nature items, basically anything with texture. To ensure the item will be released from the plaster we added a thin coat of petroleum jelly. If any gets left on the plaster it can be wiped clean with a paper towel.
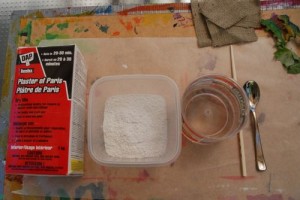
For casting you need plaster, I find mine at the hardware store in the paint section. You will also need some water, a plastic spoon for mixing, and a recycled plastic container to mix in.
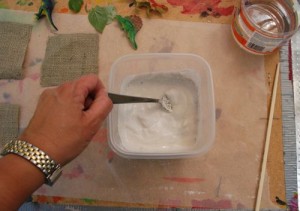
Put some dry plaster into your container, you will only need about 3/4 of a cup for 5 casts. Add water (slowly) and mix until the consistency of thick sour cream.
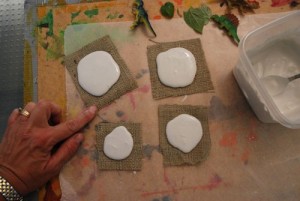 Place about 1 good spoonful of plaster on the burlap square. Put your finger on the edge of the burlap and just move it back and forth a little. This will get the plaster to spread out a bit and flatten. It also forces air bubbles to the surface.
Lay the items you wish to cast on top of the plaster. Gently press in. You want to be able to remove the item so ensure no plaster comes up over the sides and on top of the item. Leave in place while the plaster sets up, about 20 minutes.
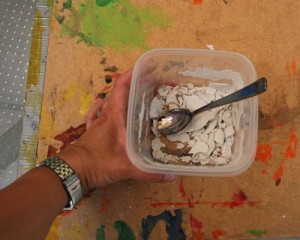
If you have extra plaster let it set up in your container. Do not pour down the drain! After it sets up you can squeeze the container to get it to release and then dispose in the garbage.
When the plaster is hard you can remove your items to see your impression. With leaves sometimes a little bit might stick in place, I just use a toothpick to gently pry it out.
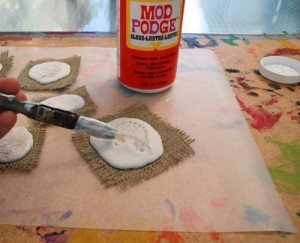
Leave them for a day or so to fully dry out. You then can add some colour to them if you want. The plaster is very absorbent so I add a little Modpodge to the surface first. This allows the kids to paint the plaster but be able to wipe away any mistakes if need be.
When the podge dries, add colour with diluted acrylic paint. By diluting it a bit with water you can see the texture better, more like a glaze.

For this collection we also did some watercolour painting and a crayon resist. These were on scraps of watercolour paper. For the crayon resist draw your subject and then apply a wash (watered down water-colour paint).
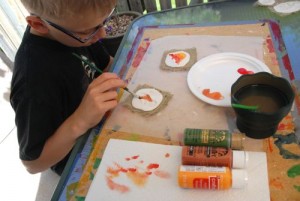
For the tree collection my son painted a tree using the straw blowing technique.

To do this paint your background and let dry. Add black paint (we used watercolour). He painted in a small trunk and then added more black paint using an eye dropper. You need a bead of paint in order to blow. Place one end of your straw in the paint and then blow from the other end. You have to follow the bead of paint up. This technique always makes amazing trees. You can find more on this technique HERE.
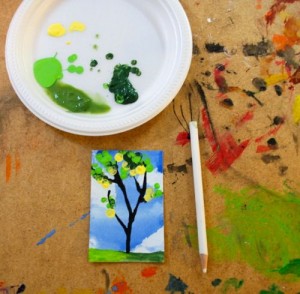
He then used the end of a pencil crayon and some more paint to dab in the leaves.
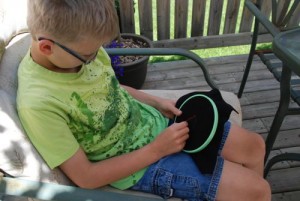
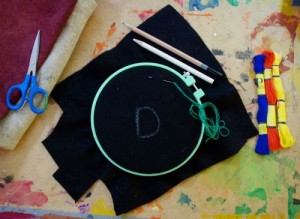 To round out our collection we did a little embroidery. My kids love embroidery, no matter how old they get. Using felt or muslin draw out your pattern with either a white pencil crayon on dark fabric or a pencil on light coloured.
Then just use a basic back stitch.
Just a small design is all that’s needed.
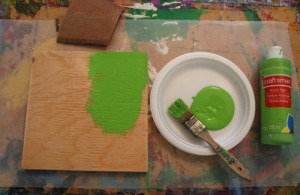
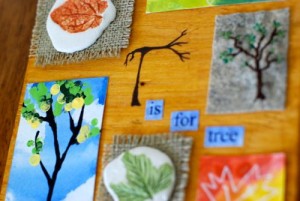
When you have enough little works of art prepare your background. We used some squares of plywood I had. Paint with acrylic paint.
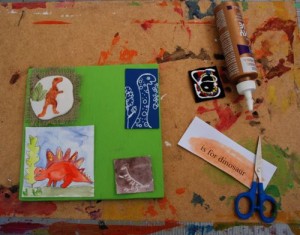
Glue your pieces into place. Add text if you want. A small poem or description would be perfect.
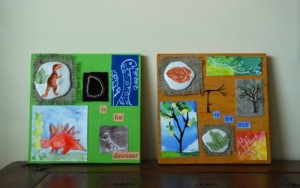
Stand back and admire your work! I hope you give these little collections a try. Have a great summer!
Gail
For more fun follow me for 30 days of fun crafts to keep kids active and entertained this summer! You won’t want to miss a day of these fun crafts for kids from some amazing bloggers! Please be sure to pay them a visit!


Hi,
These look so awesome! I tried this..but the plaster cracks on drying and did not really “stick” to the burlap. Any suggestions for fixing this? thanks!
I love this! Every kid should have the opportunity to try different art mediums. You have done an amazing job with this tutorial! Choosing a cool category like dinosaurs makes it so fun! Super!