Hi everyone, I am Hani at Craftionary. I love to make things to organize and beautify my home. On my blog I share DIY ideas that are budget and kids friendly and easy to make for everyone usually with common craft supplies. I have a page, listing all my tutorials, if you want to check it out.
I got so excited when I was asked to guest post at Skip to my Lou. I am simply in love with this blog and I am so happy to share with you this project I am very happy with!
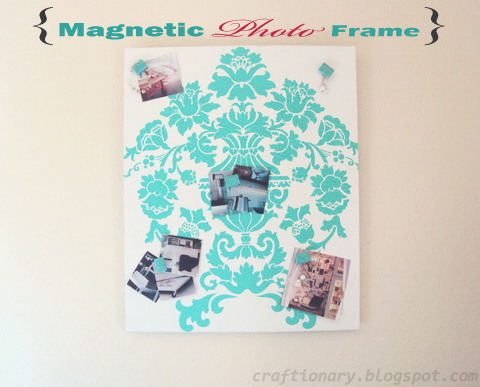
The Stenciled Magnetic Frame from a Foam Board.
For making this project, you will need
- Stencil (Mine is The Encantada Damask)
- Acrylic paint- Turquoise (I used delta paint)
- Turquoise beads (I bought mine from Michaels- Bead Gallery collection)
- Aqua colored ribbon
- Foam board
- White spray paint
- Magnetic paint and magnetic disks
- Mod Podge and some strong glue

Paint the foam board with a nice coat of Magnetic paint with the help of a roller, let it dry and then spray it with two-three coats of white paint. When finished arrange the stencil on the board.
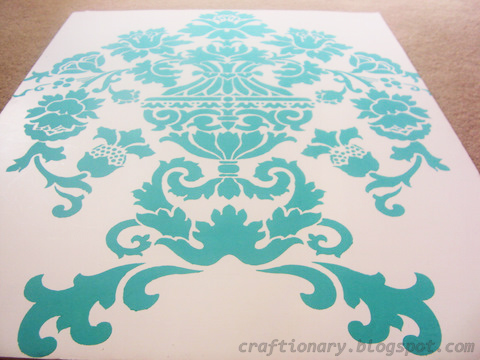
Use the stencil adhesive spray as per directions and stick the stencil to the foam board. Then using a sponge brush, paint the stencil. It is best to dab the excess of paint off the brush, this prevents the paint from bleeding out. Start by painting the edges first and then continue to the center. Dab the paint over the stencil, don’t drag and keep it in one direction.
Note: I highly recommend using stencil adhesive spray. My first stencil project (the without version) was a disaster, the paint had spread out and it was ugly.

One thing I like about acrylic paints is that they dry quickly. Just as I was done painting the stencil, it was time to peel it off. When removing the stencil make sure you go very slowly and carefully.
I like to decoupage the painted layer using mod podge. As, it seals it well.

Finally use some strong glue to stick the magnetic disks on the back of the beads.

The Magnetic photo display board is complete.
Stick the ribbon on the sides to give it a more complete look.

Please stop by to say “Hi”. I love meeting new people. Also check out my other projects may be you like one or two enough to make yourself.
Craftionary
Thanks for having me.
Craftionary
Thanks for having me.


Thanks for having me, it was an honor being featured on your wonderful blog. Have a nice weekend! 🙂
I’ve been wanting to use magnetic paint on a lot of things, this looks the easiest for sure
Thank you for sharing your tutorial. I was hoping you could share where you purchased your stencil?