I made this hooded towel for Christmas for my little girl. It is a really simple and quick project made from 1 bath towel and 1/2 of a hand towel.
Would you like a great DIY gift idea for teens and adults? Check out my simple DIY towel wrap for hair pattern – it’s perfect for long hair.

I would love to keep you fully stocked with creative ideas, yummy recipes, fun crafts, and loads of free printables. Subscribe to Skip to my Lou to get new ideas delivered to your inbox. Follow me on Facebook, Pinterest, Twitter, and Instagram for all my latest updates.
Child’s Hooded Towel Instructions
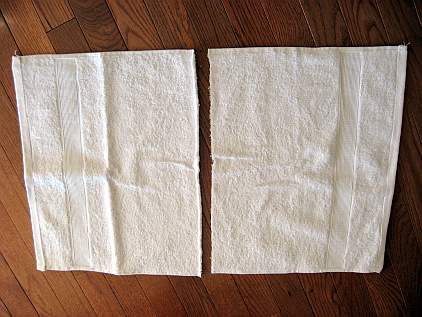
Cut your hand towel in half
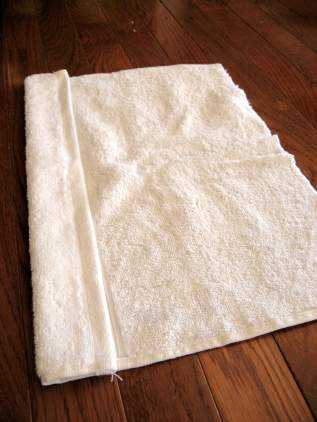
Fold over the finished edge of the hand towel. I folded down just past the ribbing. You want to have about 10 1/2 inches in finished length. Stitch down the edge.
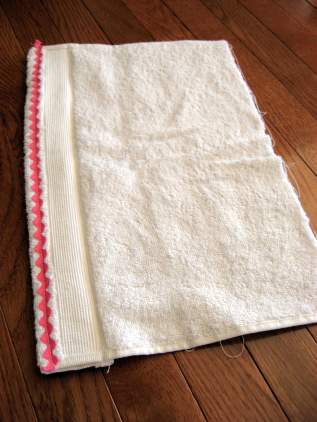
I stitched a little ric -rac to the front.
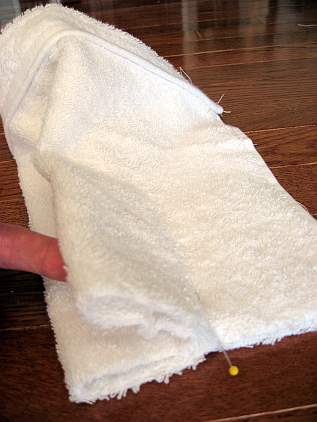
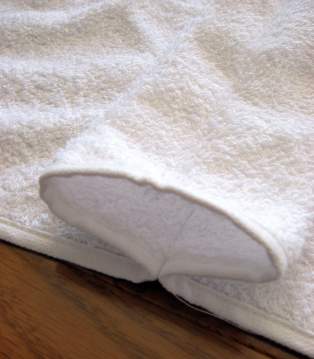
Fold hand towel in half right sides together, find the middle of the side and mark with a pin.
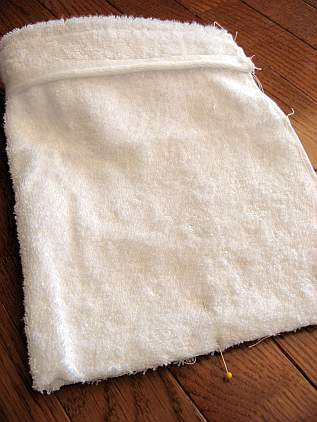
Bring the folded edge into the middle. You may have to remove the pin while you adjust the towel.
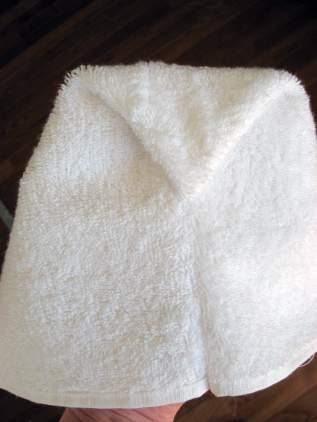
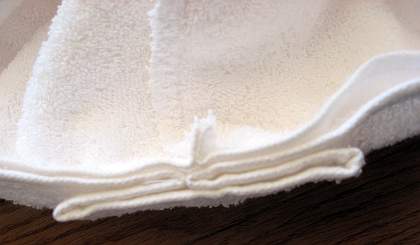
Stitch across the bottom edge making sure you catch all layers of the pleat. When finished stitching, zig zag or overcast your seam to prevent raveling. When you are finished the right side will look like this.
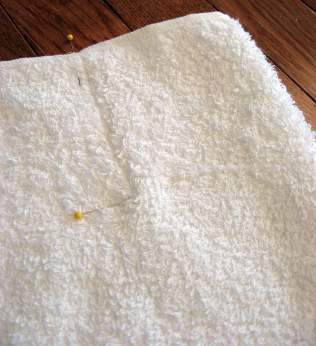
Fold the bath towel in half, right sides together.
Measure over 3-4 inches from the fold and 3-4 inches down from the top and stitch.
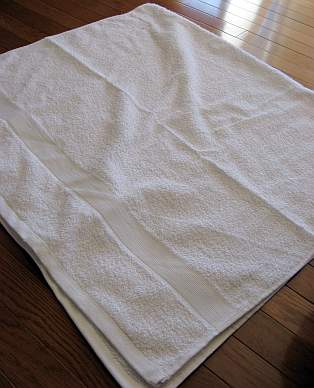
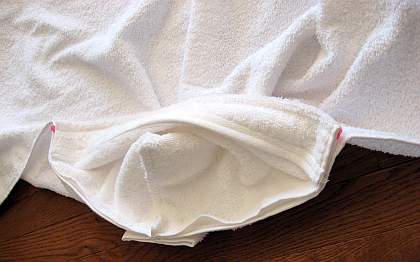
Open bath towel flat and open and flatten the tuck. You can baste across the tuck if you want.
The front of the bath towel will look like this when finished

With right sides together, line up center of bath towel and center of hood.
Pin hood to bath towel. You will stitch from the side edge of the hood across to the other side. Be sure to back stitch when starting and stopping to reinforce the seam. I stitched close to the edge along the inside of the towel’s finished edge. (I have not stitched in the following photo)
The finished towel looks like this
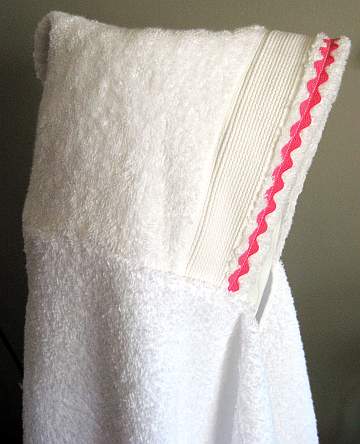
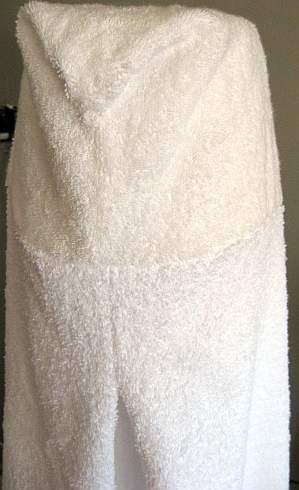
Now that it is finished I am wishing I had added another row of ric- rac or that I could find the darling pink towel with rainbow ribbing I originally purchased for this project!
I would love to keep you fully stocked with creative ideas, yummy recipes, fun crafts, and loads of free printables. Subscribe to Skip to my Lou to get new ideas delivered to your inbox. Follow me on Facebook, Pinterest, Twitter, and Instagram for all my latest updates.


I love this and will be back after Christmas to follow your tutorial.
Thank you for sharing.
Melissa
This is adorable. I received a handmade and personalized hooded towel for my son when he was born. He’s six now and still uses it! One of our most treasured gifts. 🙂
I could kiss you!! I have looked all over the place for this tutorial and don’t know how I landed here. Thank you so much for posting this particular tutorial. It is just what I have been trying to do and needed to double check some details. You are fabulous!!
Thanks for the tutorial. I always loved receiving these as gifts for my kids. Now I can make them for others.
Thanks for visiting my site – you almost made me cry. Seems like you miss Germany a lot, all of the things you mentioned I love too. To cheer you up you should probably think about the old saying that the grass is always greener on the other side.
Your ideas are great, I bookmarked your crayon roll, that’s probably how you came to visit me?! Thanks for the tutorial, I’ll send you a picture whenever I get to do one.
i have wanted and wanted this EXACT tutorial. too lazy (or busy, maybe) to try it on my own…so thanks! my 5 year old girl still loves those hooded baby towels, but they are all so small on her! i told her i’d make her some new ones…now i know how! thanks!
Very cute! Thanks for the tute!
love your hooded towels….i make my a bit different…i use wash cloths.
I know what my daughter’s getting for Christmas!
Woohoo, you’re back! I knew you’d have some awesome gift ideas! Thank you!
cute!
This is great! The easiest way I’ve seen this done by far. I have plenty of little nieces and nephews that will love these.
Great idea! Wonderful tut, I am going to try it as well. Thanks for sharing it with us!
What a wonderful Tutorial! I’m going to try it for my son!
This makes such a great gift. Thanks for the tutorial.